
01/06/2026
3rd-5th and 15th– 26th Oct 2026
Utah Road Trip Itinerary: 13 Days of Epic Hikes, National Parks & Hidden Gems
Low-Cost Travel Tips, Best Hikes & Hidden Gems
Planning a road trip through Utah? This 13-day itinerary takes you to the state’s most spectacular national parks, iconic hikes, scenic drives, natural arches, slot canyons, and hidden gems. Whether you’re travelling on a budget or searching for unforgettable adventures, this guide will help you plan the perfect Utah road trip.
📍 Location: Utah, USA
🗓️ Duration: 13 days
💰 Budget: Budget-friendly (car camping possible)
🚐 Accommodation: Car camping, free campsites & campgrounds
🌤️ Best time to visit: Spring and fall offer the best hiking conditions. Expect anything from hot desert days to freezing nights—and even snow at higher elevations.
🎟️ Good to know: Several of Utah’s most famous hikes, including Angels Landing and The Wave, require permits obtained through a lottery. Some remote destinations also require a high-clearance 4WD.
🧭 Table of Content
- Utah Road Trip Overview
- Day 1 – Bonneville Salt Flats & Potash Canals
- Day 2 – Gobblers Knob
- Day 3 – Fifth Water Hot Springs
- Day 4 – Elephant Hill, Chesler Park & The Joint Trail
- Day 5 – Arches National Park & Moab Highlights
- Day 6 – Capitol Reef National Park & Bentonite Hills
- Day 7 – Cassidy Arch, Peek-a-Boo & Spooky Gulch
- Day 8 – Angels Landing, The Narrows & Observation Point
- Day 9 – Bryce Canyon NP & Red Canyon
- Day 10 – Kolob Arch & The Belly of the Dragon
- Day 11 – The Wave Lottery & Reflection Canyon
- Day 12 – The Wave
- Day 13 – Alpine Pond
- Budget & Costs
- Social media, Travel itinerary
- Travel Q&A and important recommendations with links
Before your trip, don't forget:
This article contains affiliate links. If you make a purchase through them, I may earn a small commission at no extra cost to you.
Want to save on your trip with and eSIM? 👇
– Click on the link above “eSIM data” and use a code Miska for 10% off,
– or MICHAE90689 for a discount of $5–$10 depending on your order.
Utah Road Trip – Our Experience (October 2025)
As I mentioned in the previous article, we made a short stop in Utah before heading to Colorado, and then we came back for more adventures.
Our first impression of Utah was nowhere near what we had expected. However, our return completely changed our minds, and we’re certain we’ll be back one day—at the very least because of (or maybe thanks to) Reflection Canyon.
On the map above, I’ve also marked all the places where we stayed overnight completely free of charge.
Day 1 (October 3, 2025)
Boneville Salt Flats, Potash Canals
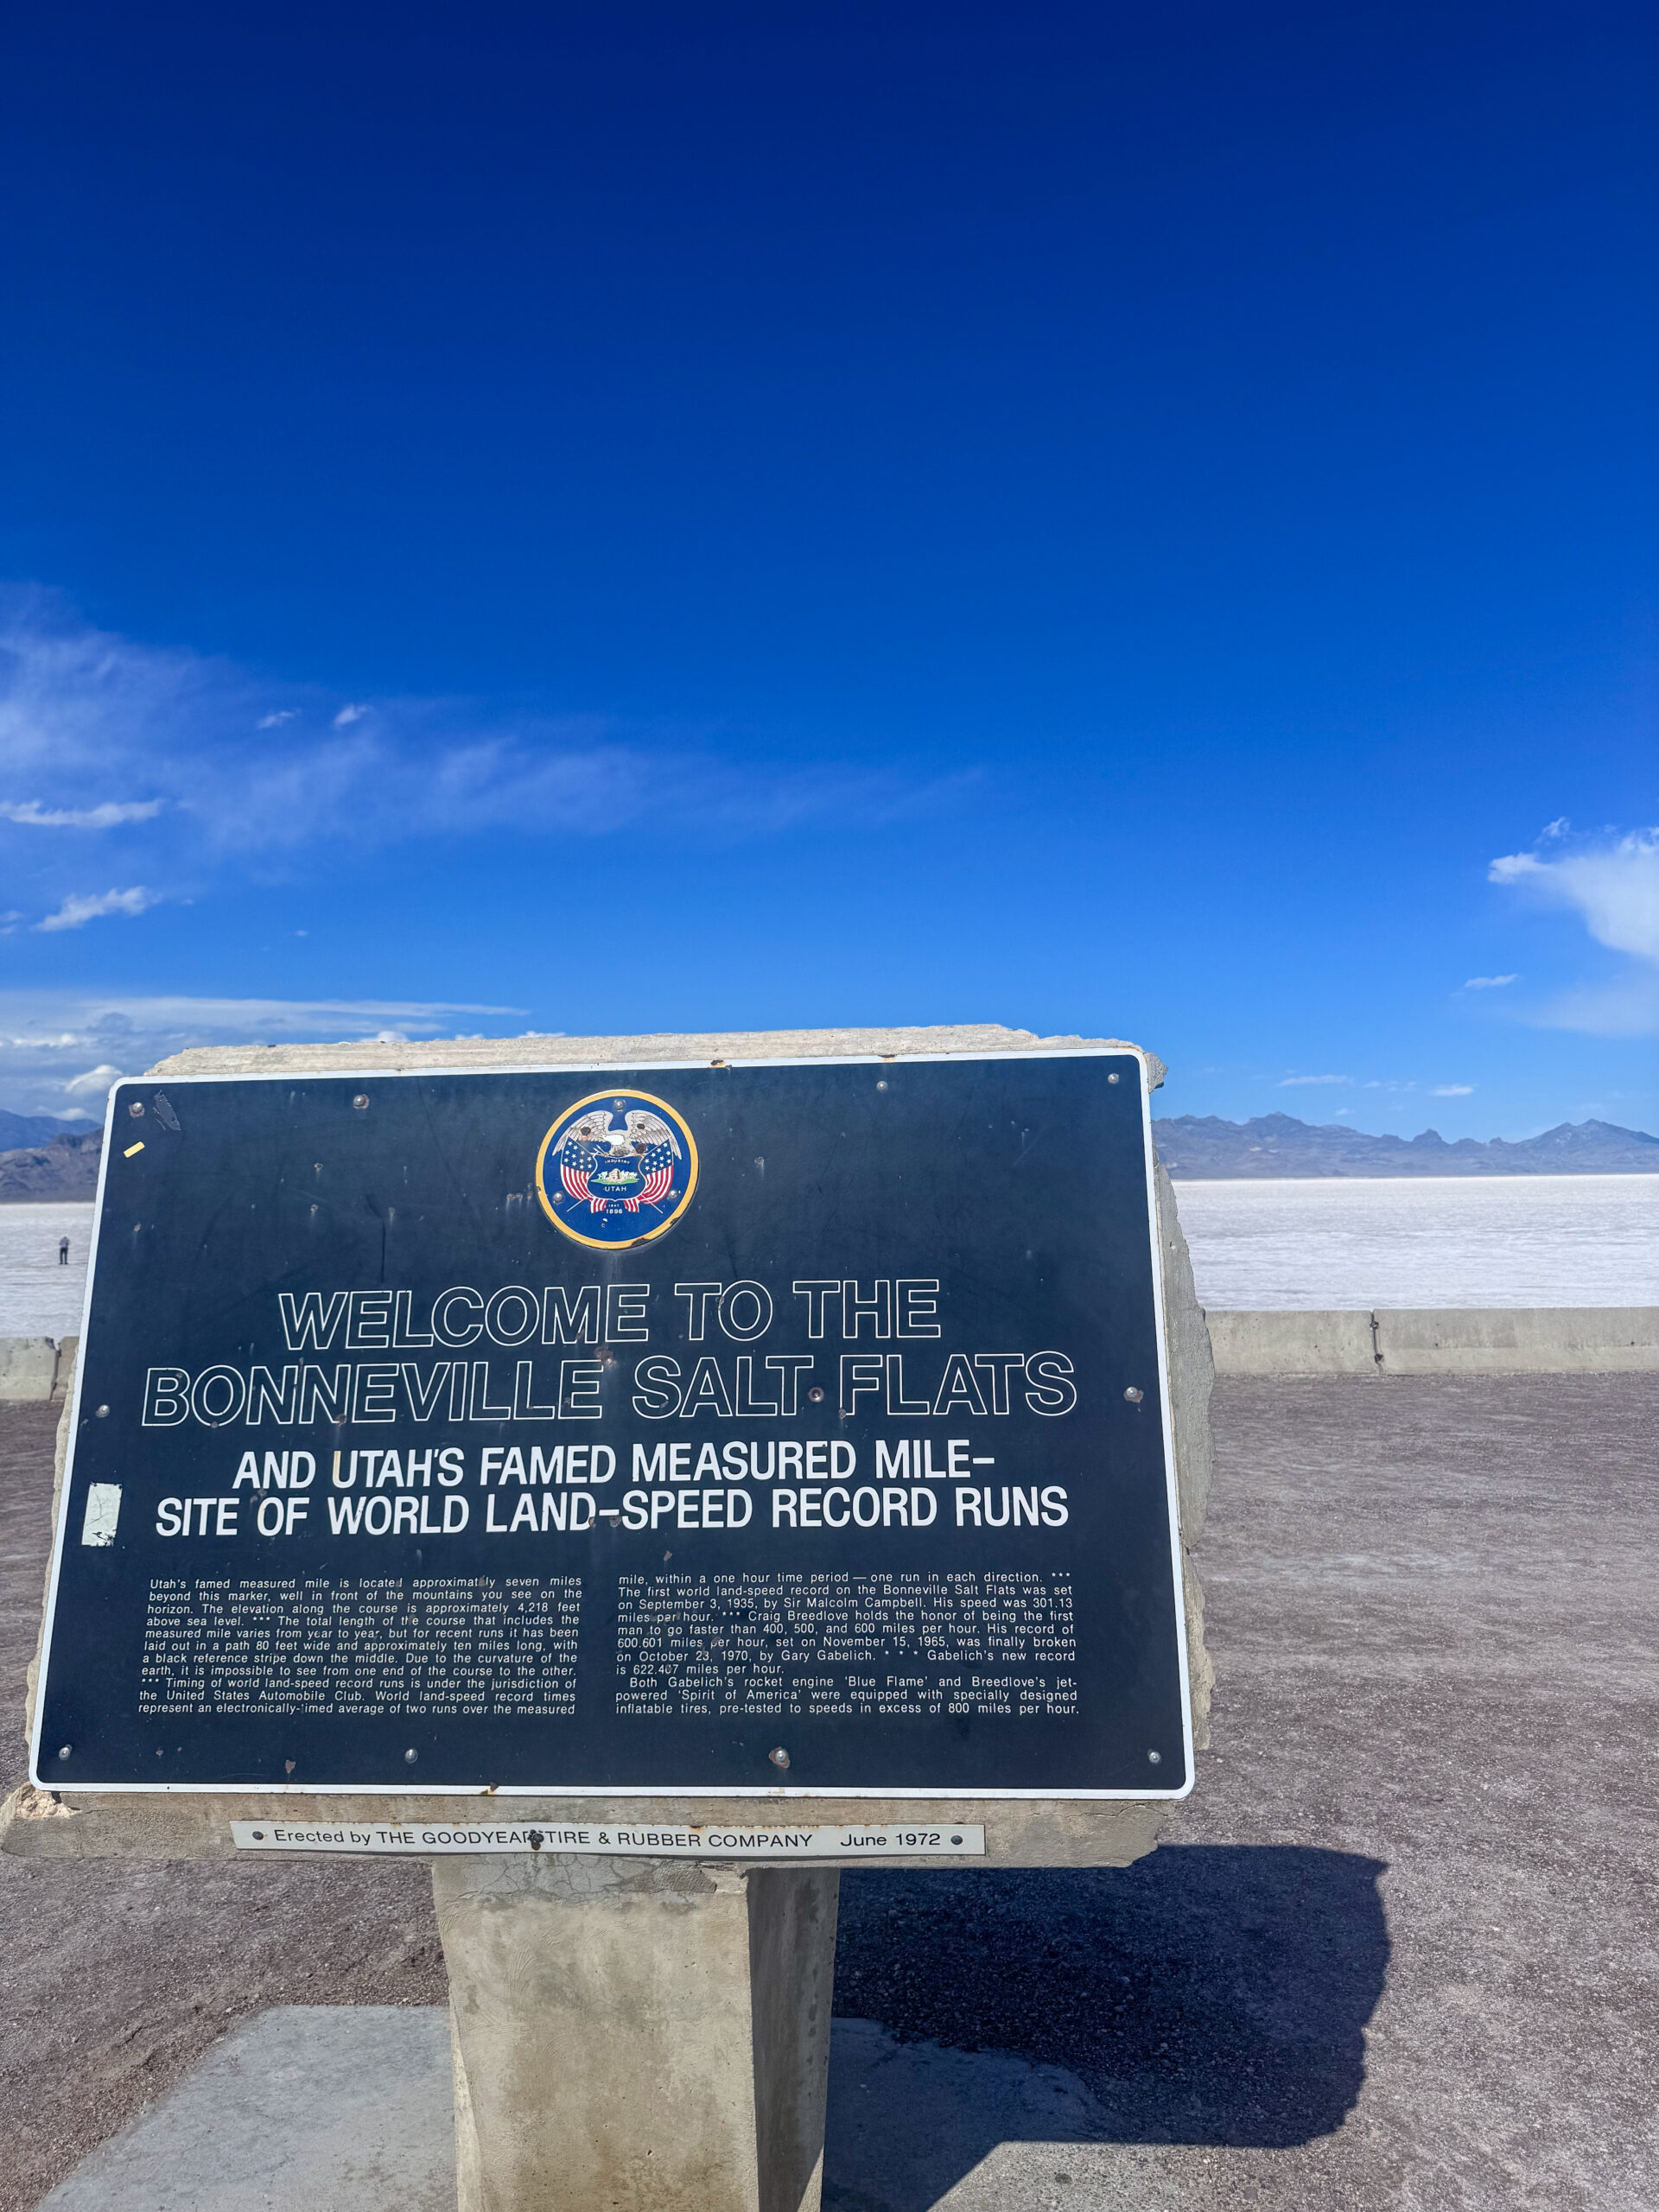
Our first stop in Utah was the Bonneville Salt Flats, as we were already near Salt Lake City and were happy to have a more relaxing day.
These salt flats are best known for the annual land speed racing events held here. If possible, I recommend planning your visit for the first half of August (although the exact dates may vary depending on the weather—after heavy rain, the salt crust may not be firm enough, and the races can be postponed or even cancelled).
The most famous event is Speed Week, where competitors from all over the world attempt to break land speed records in specially built motorcycles, cars, and futuristic rocket-like vehicles on wheels. Some of these machines reach speeds of over 600 km/h (370 mph), and Bonneville has been the site of numerous world land speed records.
The history of racing on the salt flats dates back to the 1930s. Thanks to its incredibly flat surface and vast open space, Bonneville has become one of the most legendary motorsport locations in the world. The atmosphere during the races is very unique—rather than a traditional circuit race, it’s more of a gathering of enthusiasts trying to push the limits of speed. Visitors can get surprisingly close to the vehicles and their owners while watching them prepare in the pits.
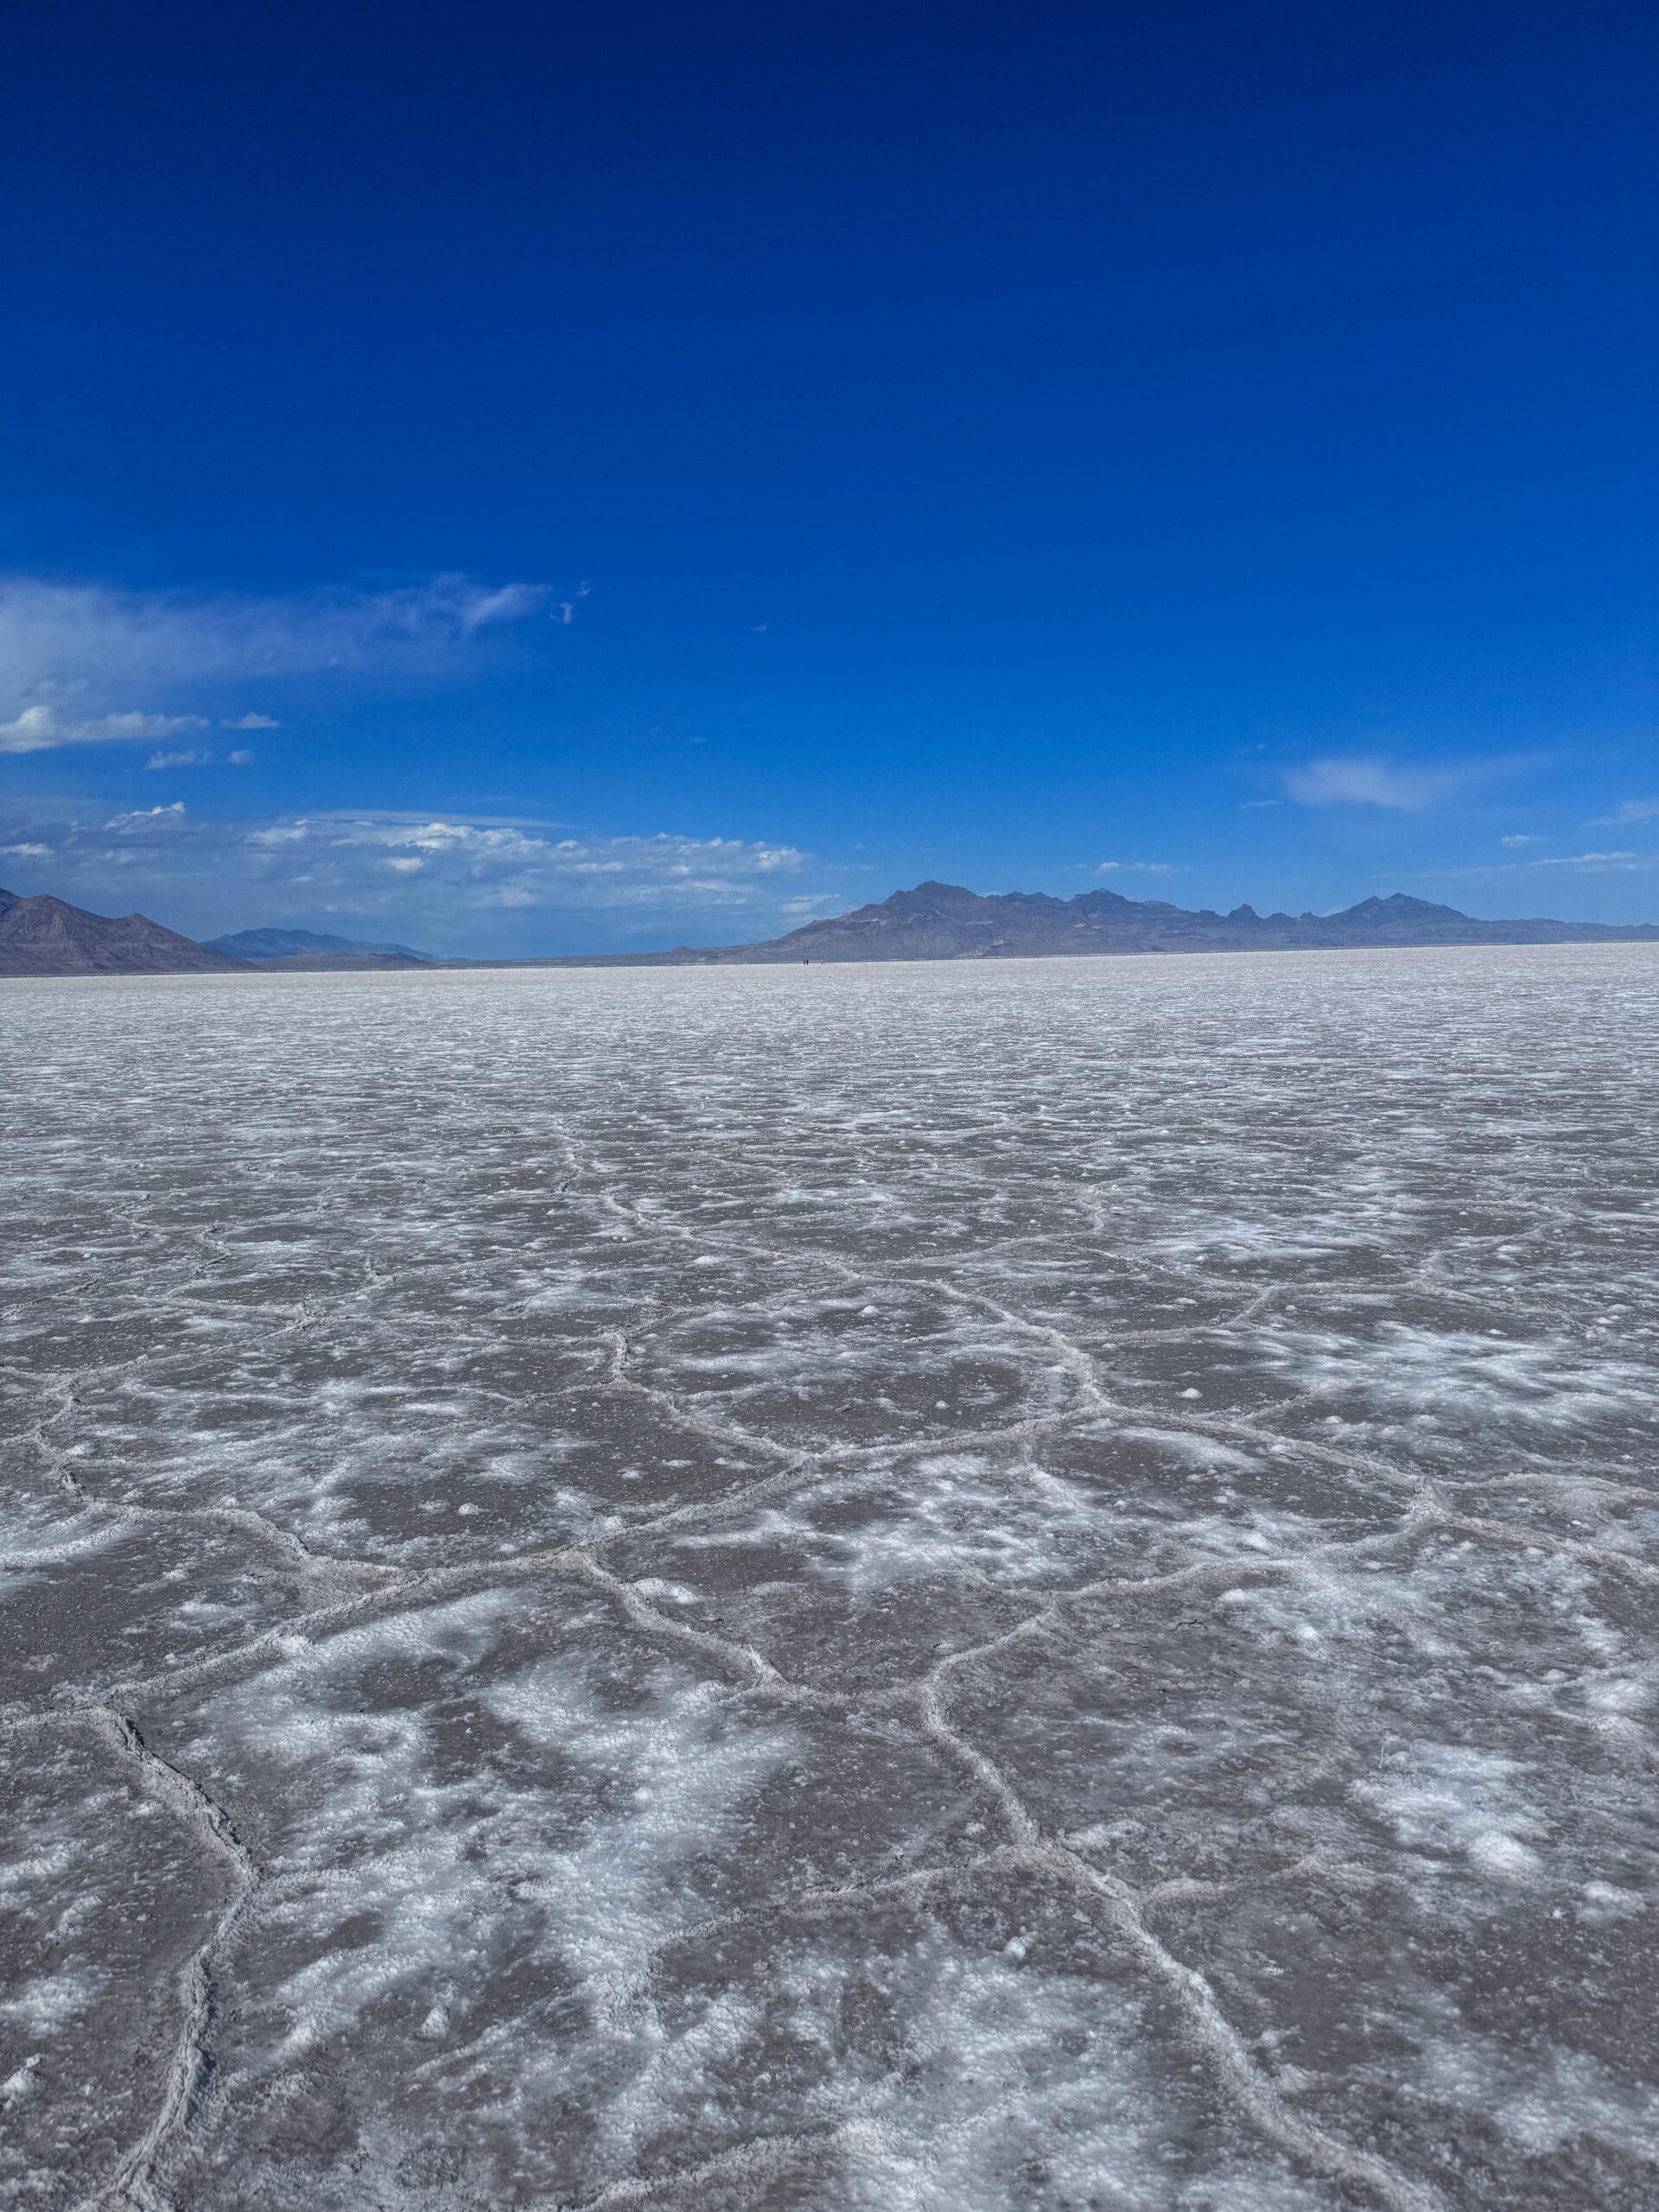
Even outside the racing season, Bonneville is well worth a visit. The endless white landscape creates almost surreal scenery that resembles either a snow-covered plain or the surface of another planet. During dry conditions, you can even walk out onto the salt crust, but always check the current conditions first. After rainfall, shallow pools of water form across the flats, and access may be restricted. Those thin layers of water create incredible reflections, making Bonneville one of the most photogenic places in all of Utah.
Interesting fact: Bonneville has been featured in numerous movies and commercials, and many car manufacturers have also tested their vehicles here. In some places, the salt crust is only a few centimetres thick, yet it creates one of the smoothest natural surfaces in the world.
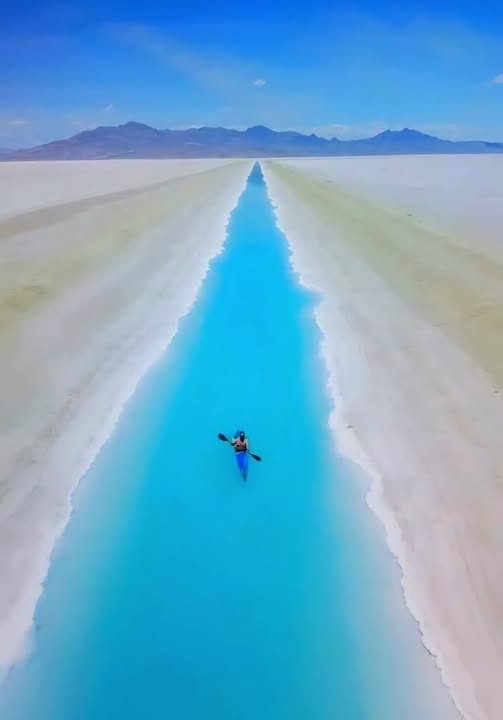
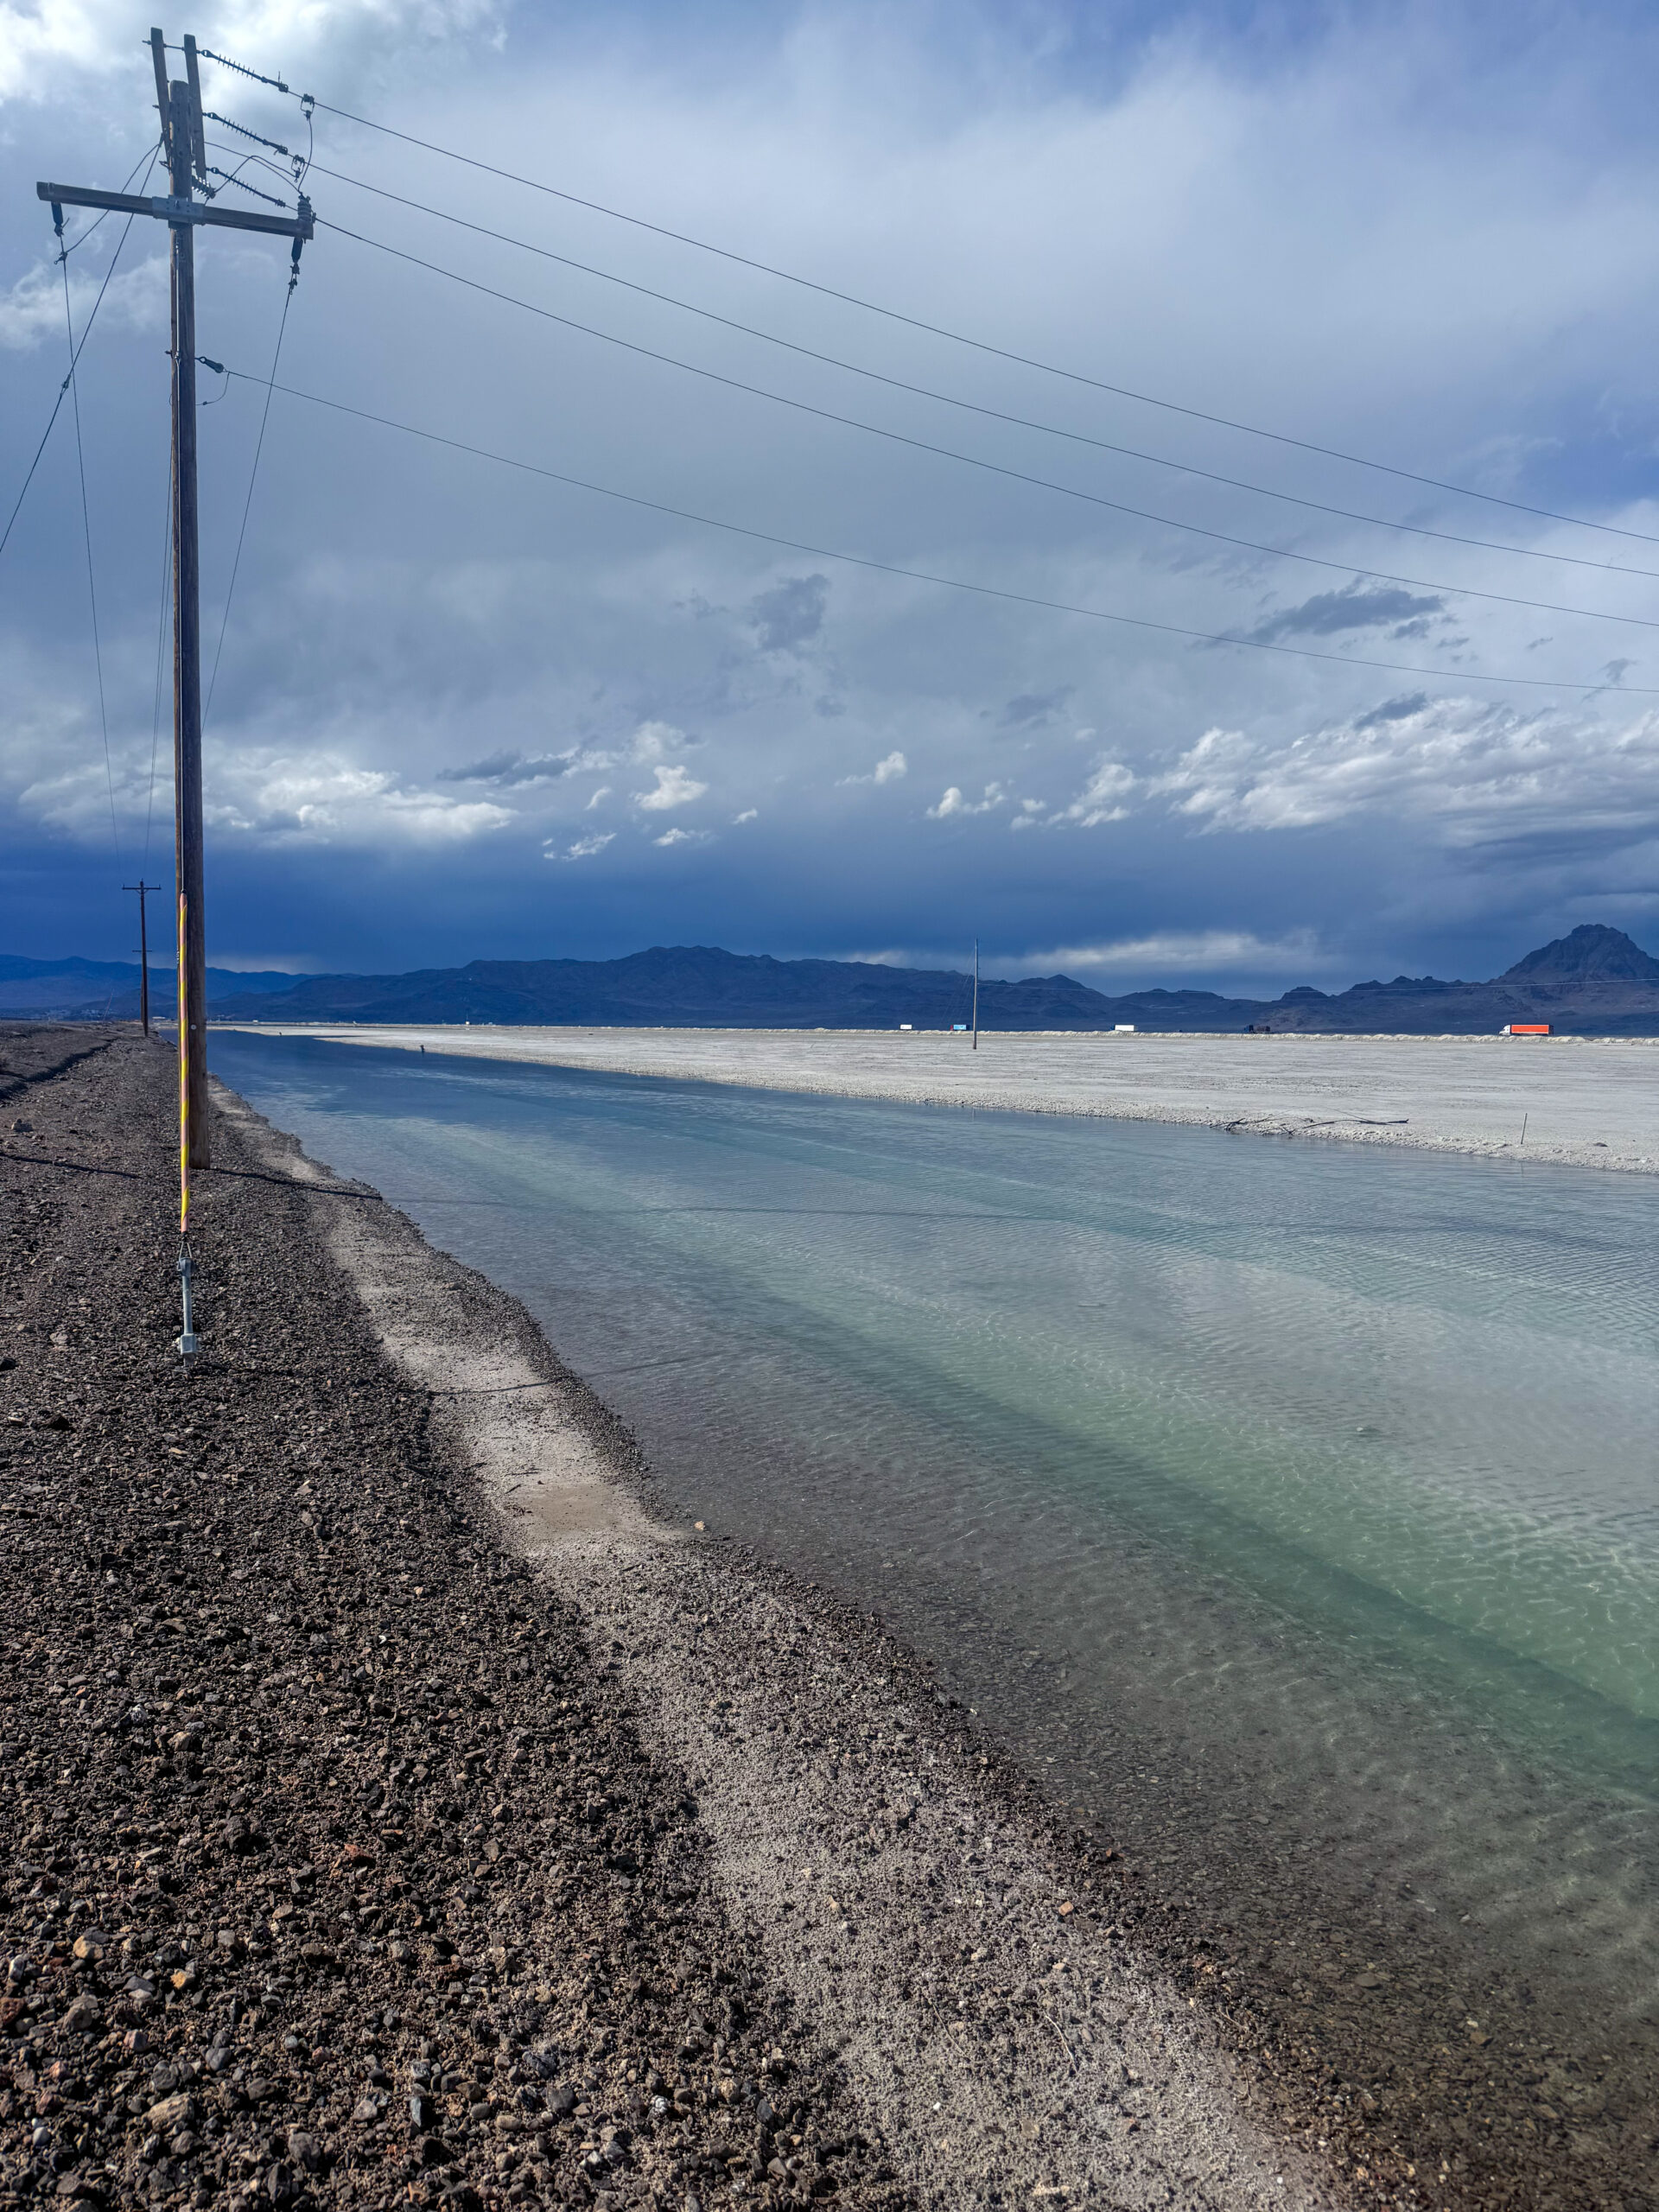
Since we were already in the area, we also wanted to visit the Potash Canals, famous for their beautiful turquoise colour that we’ve all seen on Instagram. Most of those photos feature people paddleboarding on the water, so we started looking into how much that experience would cost.
Not only did I find tours for ridiculous prices, but one particular comment made me do a bit more research. That’s when I discovered that these are actually industrial evaporation ponds used for potash production, and people shouldn’t be going anywhere near the water—let alone swimming in it.
If I hadn’t come across that information beforehand, it honestly never would have crossed my mind. The name certainly doesn’t make it obvious, and I have to admit, the water looked incredibly inviting.
So instead, I took a few photos and we continued on our way.
We headed back to Salt Lake City to buy a new laptop, stock up on groceries, and then the real challenge began—finding somewhere to sleep. The following day we were planning to hike Gobblers Knob with Jess, but camping at the trailhead wasn’t allowed. We wanted to get as close as possible so we wouldn’t have to do much driving early in the next morning.
Day 2 (October 4, 2025)
Gobblers Knob [11.32 km | ↑ 858 m | ↓ 858 m]
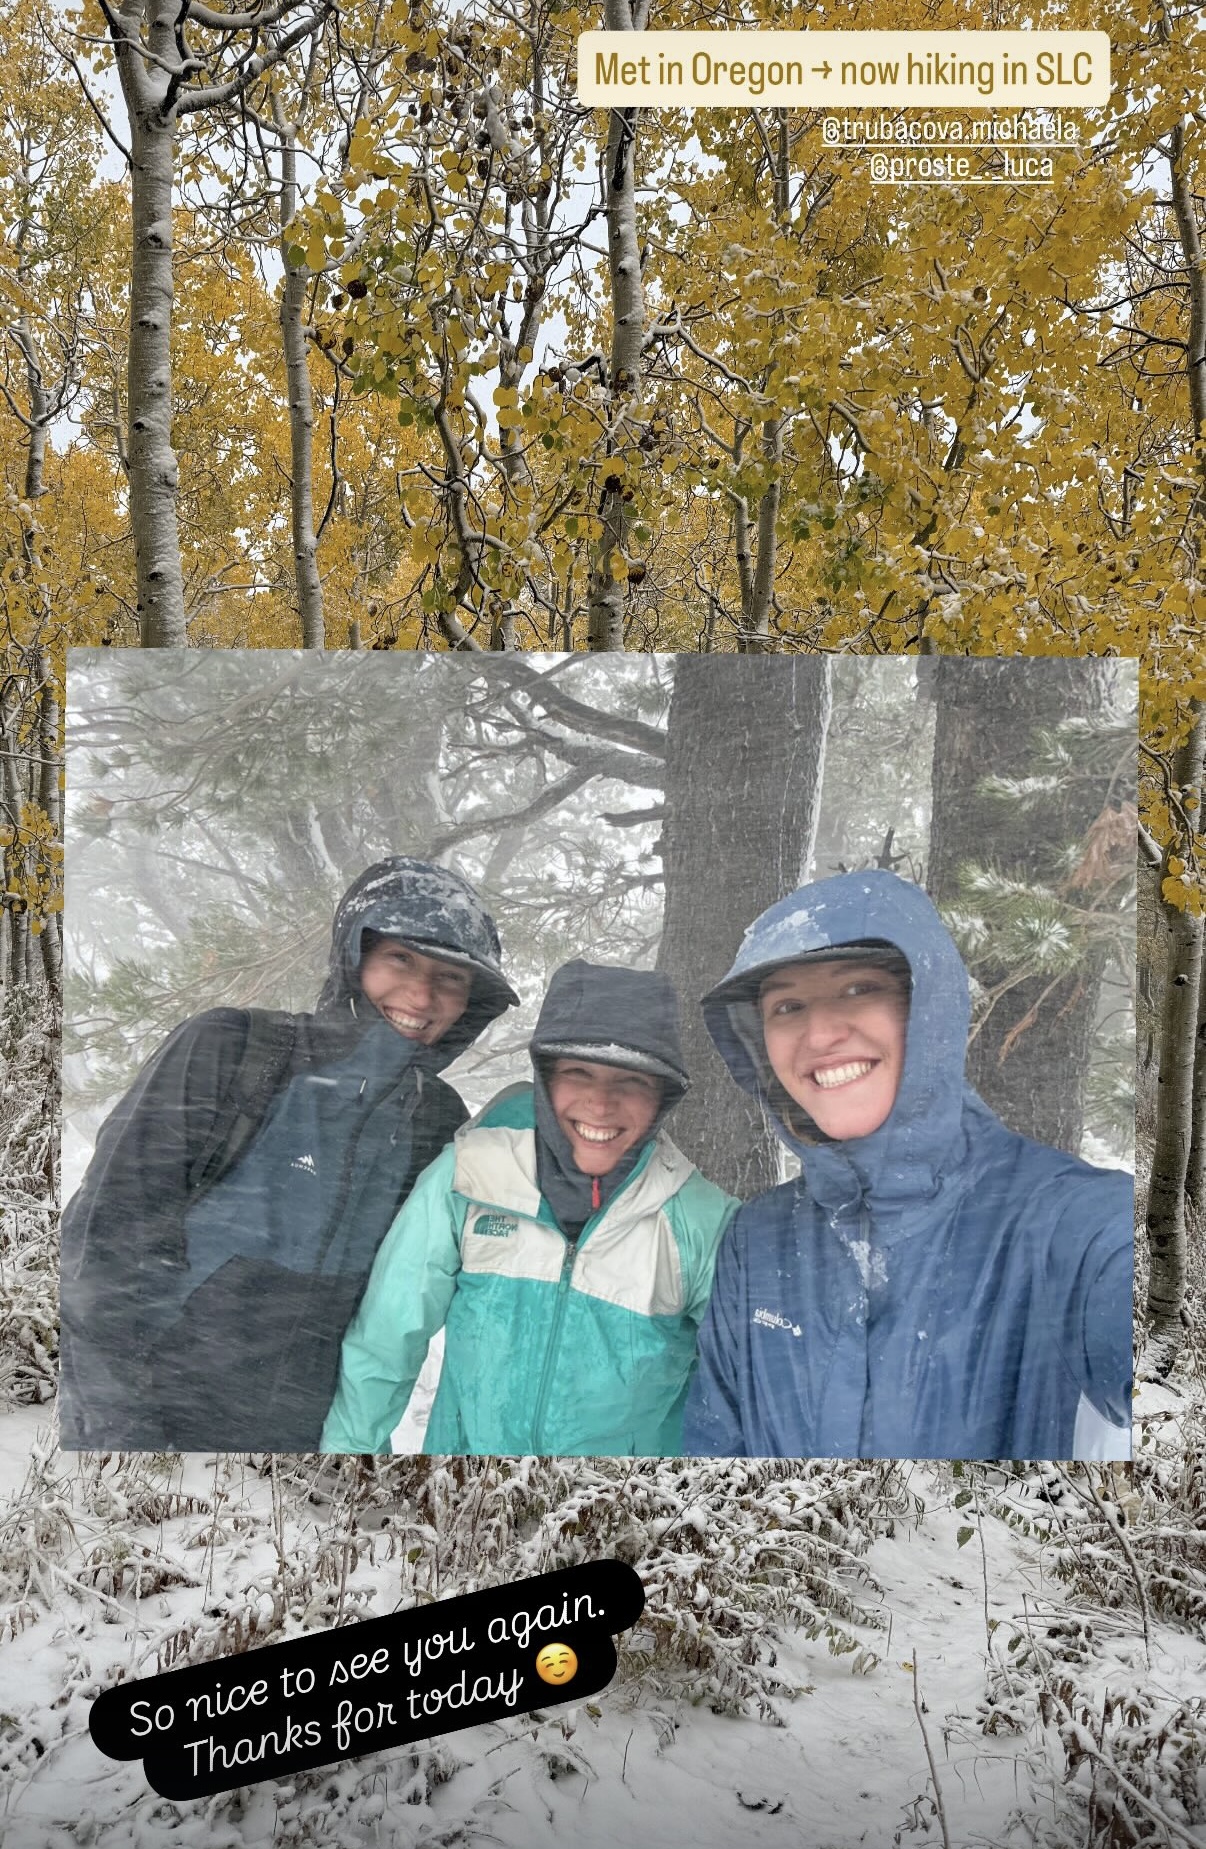
We had arranged to meet Jess at the trailhead early in the morning, and from the very beginning, the weather didn’t look promising. Still, all of us hoped it would improve throughout the day, and giving up on the hike never even crossed our minds. It was raining, the wind was bitterly cold, and the temperature definitely wasn’t inviting us into the mountains, but we kept believing the conditions would get better.
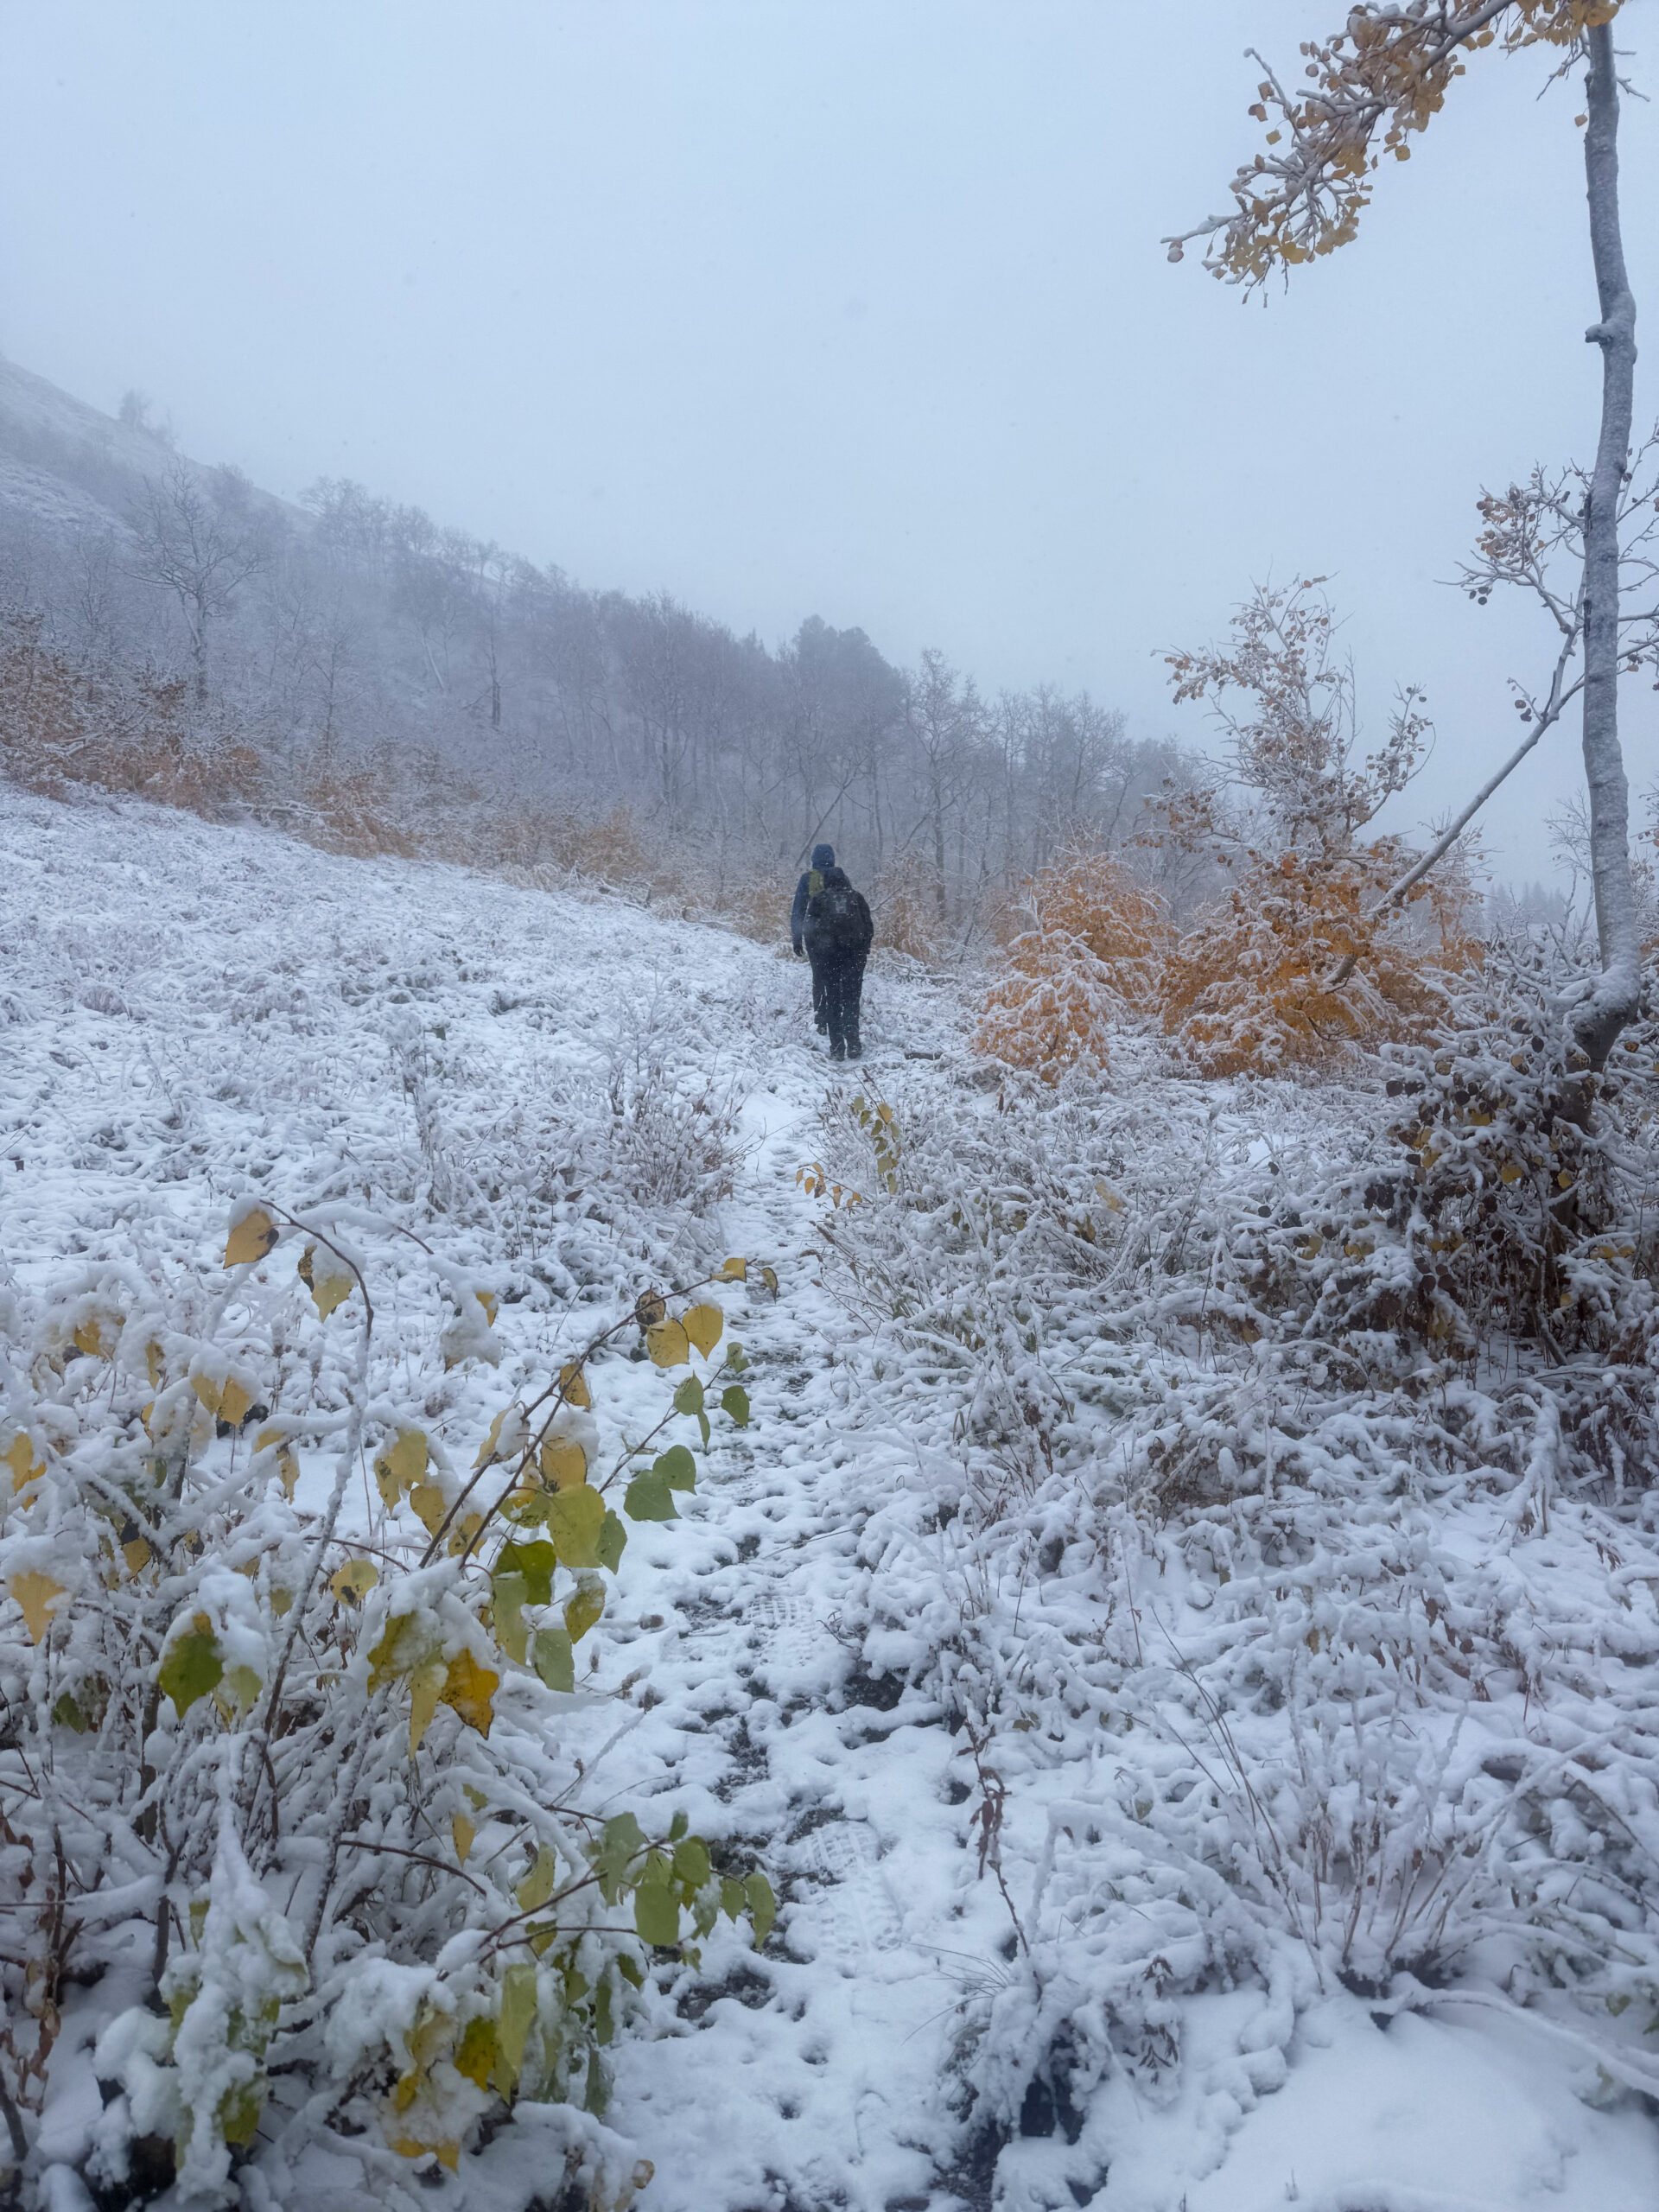
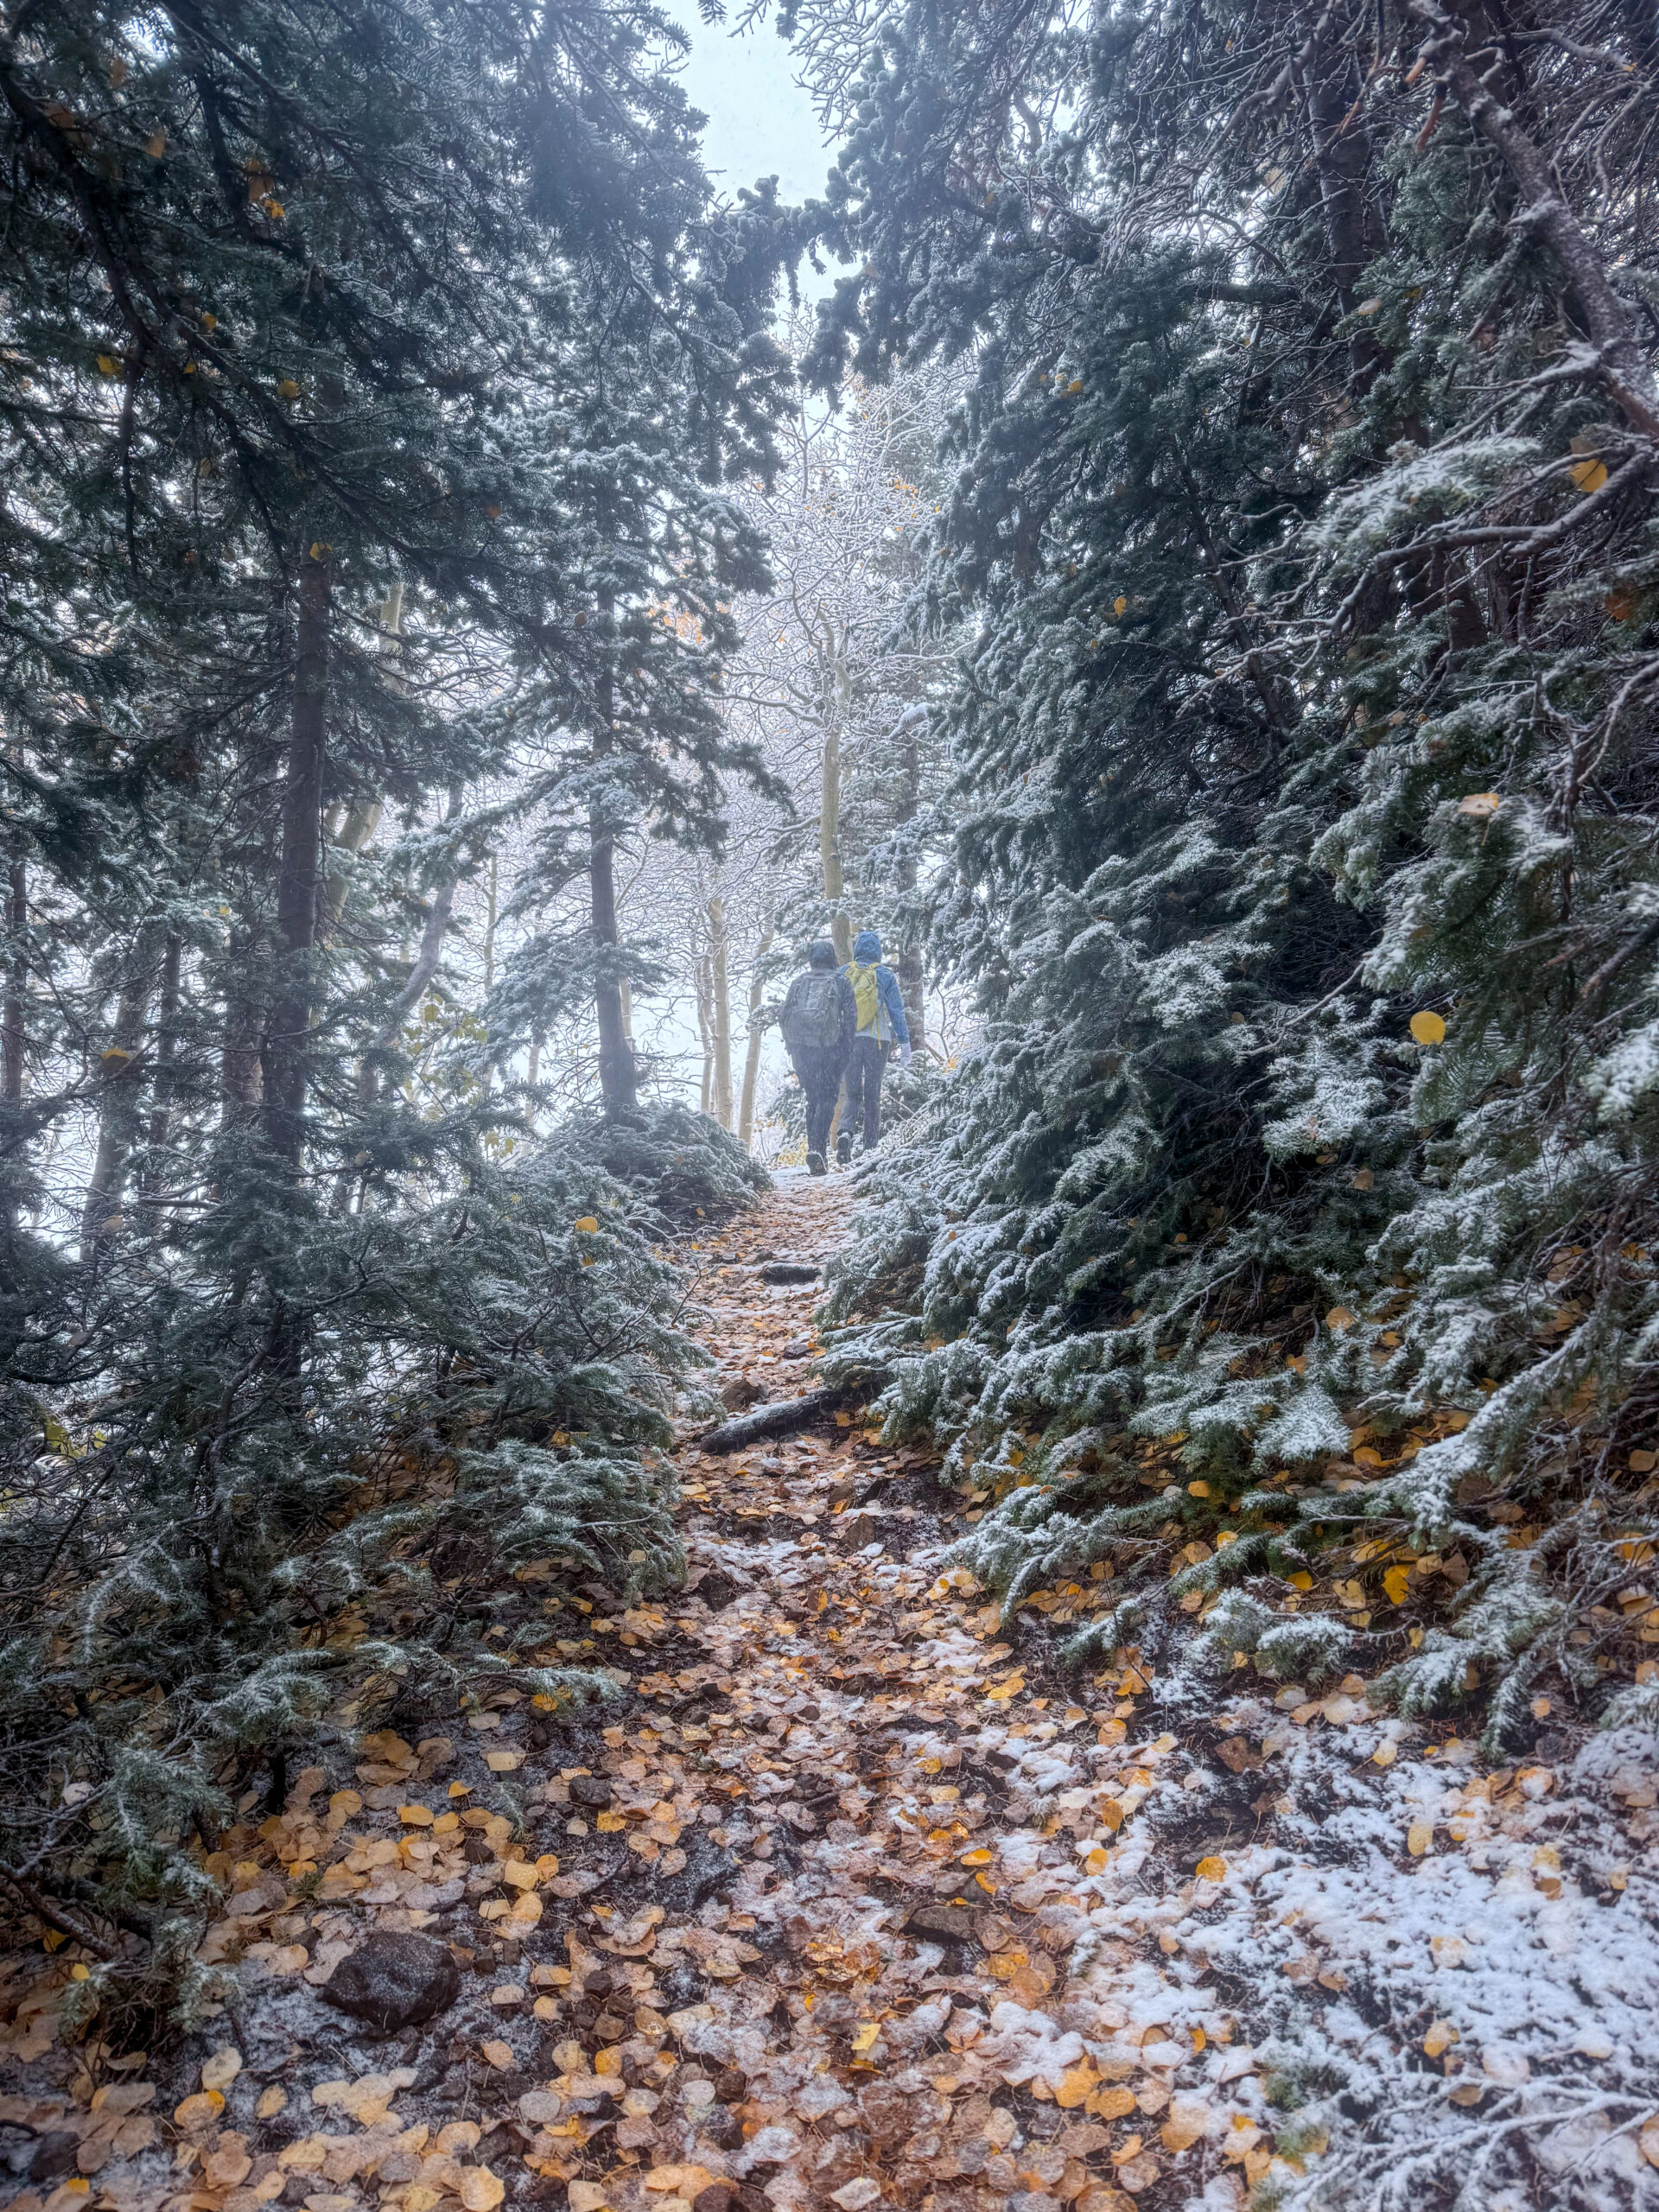
After a while, the rain finally stopped—but our excitement didn’t last long. Instead of rain, it started snowing. At first, we thought that was actually an improvement. After all, snow doesn’t seem nearly as unpleasant as rain, and at least we wouldn’t get completely soaked.
But … We couldn’t have been more wrong. The temperature was hovering right around freezing, so every single snowflake melted the moment it landed on us. Within minutes, we were soaked from head to toe, and our clothes felt like heavy wet sponges.
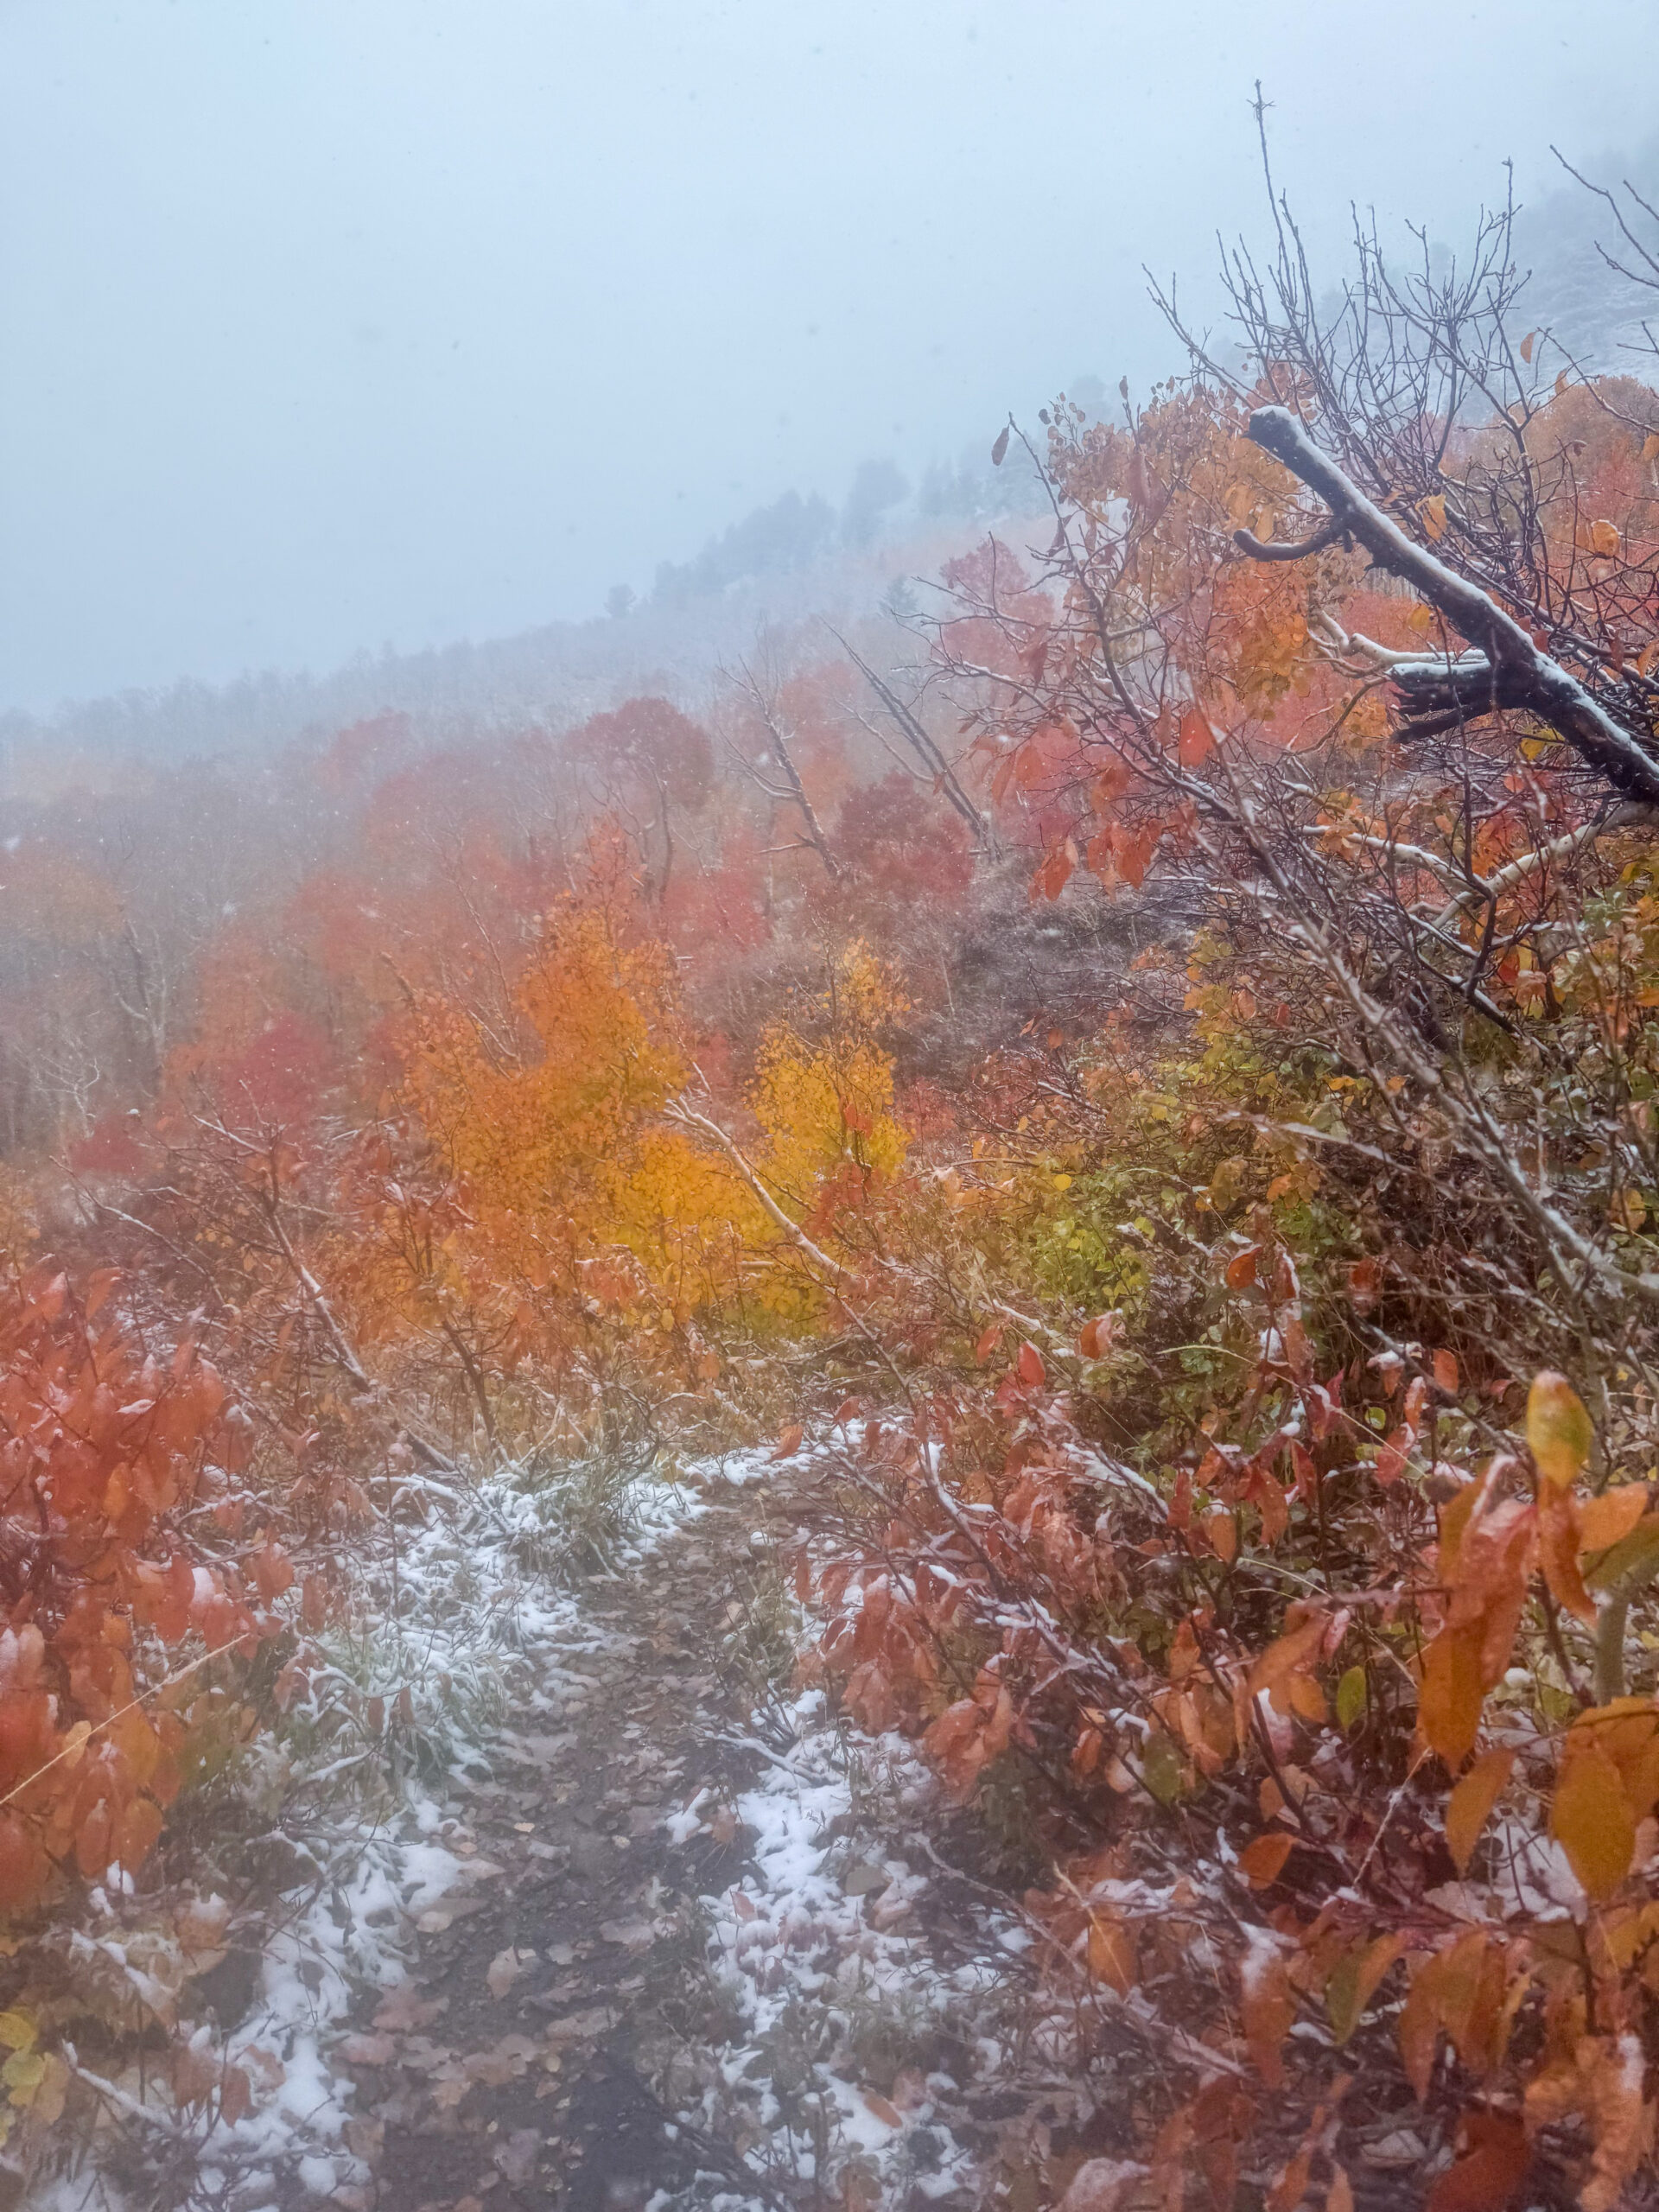
As we climbed higher, the snow gradually became deeper, and the landscape transformed right before our eyes. The trees slowly disappeared beneath a fresh layer of snow, and the colorfull autumn scenery we had expected suddenly looked more like the beginning of winter.
It was one of those days when you keep asking yourself why you voluntarily hike into the mountains in weather like this. And then you stop, look around, take in the incredible scenery… and suddenly you know exactly why.
We weren’t far from the summit when we finally left “the shelter” of the forest. The views opened up, but so did the wind. An icy, powerful gust swept across the ridge, making the conditions even more challenging. None of us had expected weather like this or packed for it. We kept telling ourselves we’d push on just a little farther, but the forecast wasn’t improving, and it quickly became clear that the mountain wasn’t going anywhere. So we made the decision to turn around. Looking back, it was a good decision.
Even without reaching the summit, we returned to the car freezing cold, completely soaked, and with only one thing on our minds—changing into dry clothes as quickly as possible. Sometimes you simply have to put your ego aside and accept that the mountains will still be there tomorrow.
Jess then offered to take us to her place. Her rental happened to have an outdoor hot tub, and although we didn’t want to impose, she reassured us several times that she had no other plans and would genuinely enjoy the company. Honestly, we didn’t need much convincing.
What had started as a cold and miserable mountain adventure turned into one of the most relaxing afternoons of the entire trip. We spent hours talking about travel, life, and just about everything else while slowly warming up in the hot tub. After a few hours, we finally felt like ourselves again. Days like this are rarely the ones you plan—but they’re often the ones you remember the most.
Since we had a long drive across Utah ahead of us the following day and planned to visit one of the state’s most famous hot springs along the way, we drove closer to the Fifth Water Hot Springs trailhead to spend the night.
We did not know that one of the most memorable hot spring experiences of our entire American road trip was waiting for us there.
Day 3 (October 5, 2025)
Fifth Water Hot Springs [8.04 km | ↑ 290 m | ↓ 290 m]
Getting up that morning was much easier than usual because we knew we were about to spend a relaxing morning at Fifth Water Hot Springs. After making breakfast, we drove to the trailhead and set off at around 9 a.m. We were lucky—we managed to grab one of the last available parking spots.
There are several campgrounds near the trailhead, and they’re very popular, often fully booked well in advance. As a result, the parking lot tends to stay full for most of the day. If you want to enjoy the hot springs without too many people around, I highly recommend arriving as early as possible or booking a campsite nearby.
Even on the hike in, it was obvious that many people had very different plans from ours. The highlight was probably a Mexican family of around ten people carrying several large bags filled with food, drinks, and everything they needed for what looked like an all-day picnic. They hauled all of it nearly four kilometres to the hot springs. As a side note—they arrived just as we were getting ready to leave after spending a few relaxing hours there or maybe even less. They clearly planned to stay by the water all day.
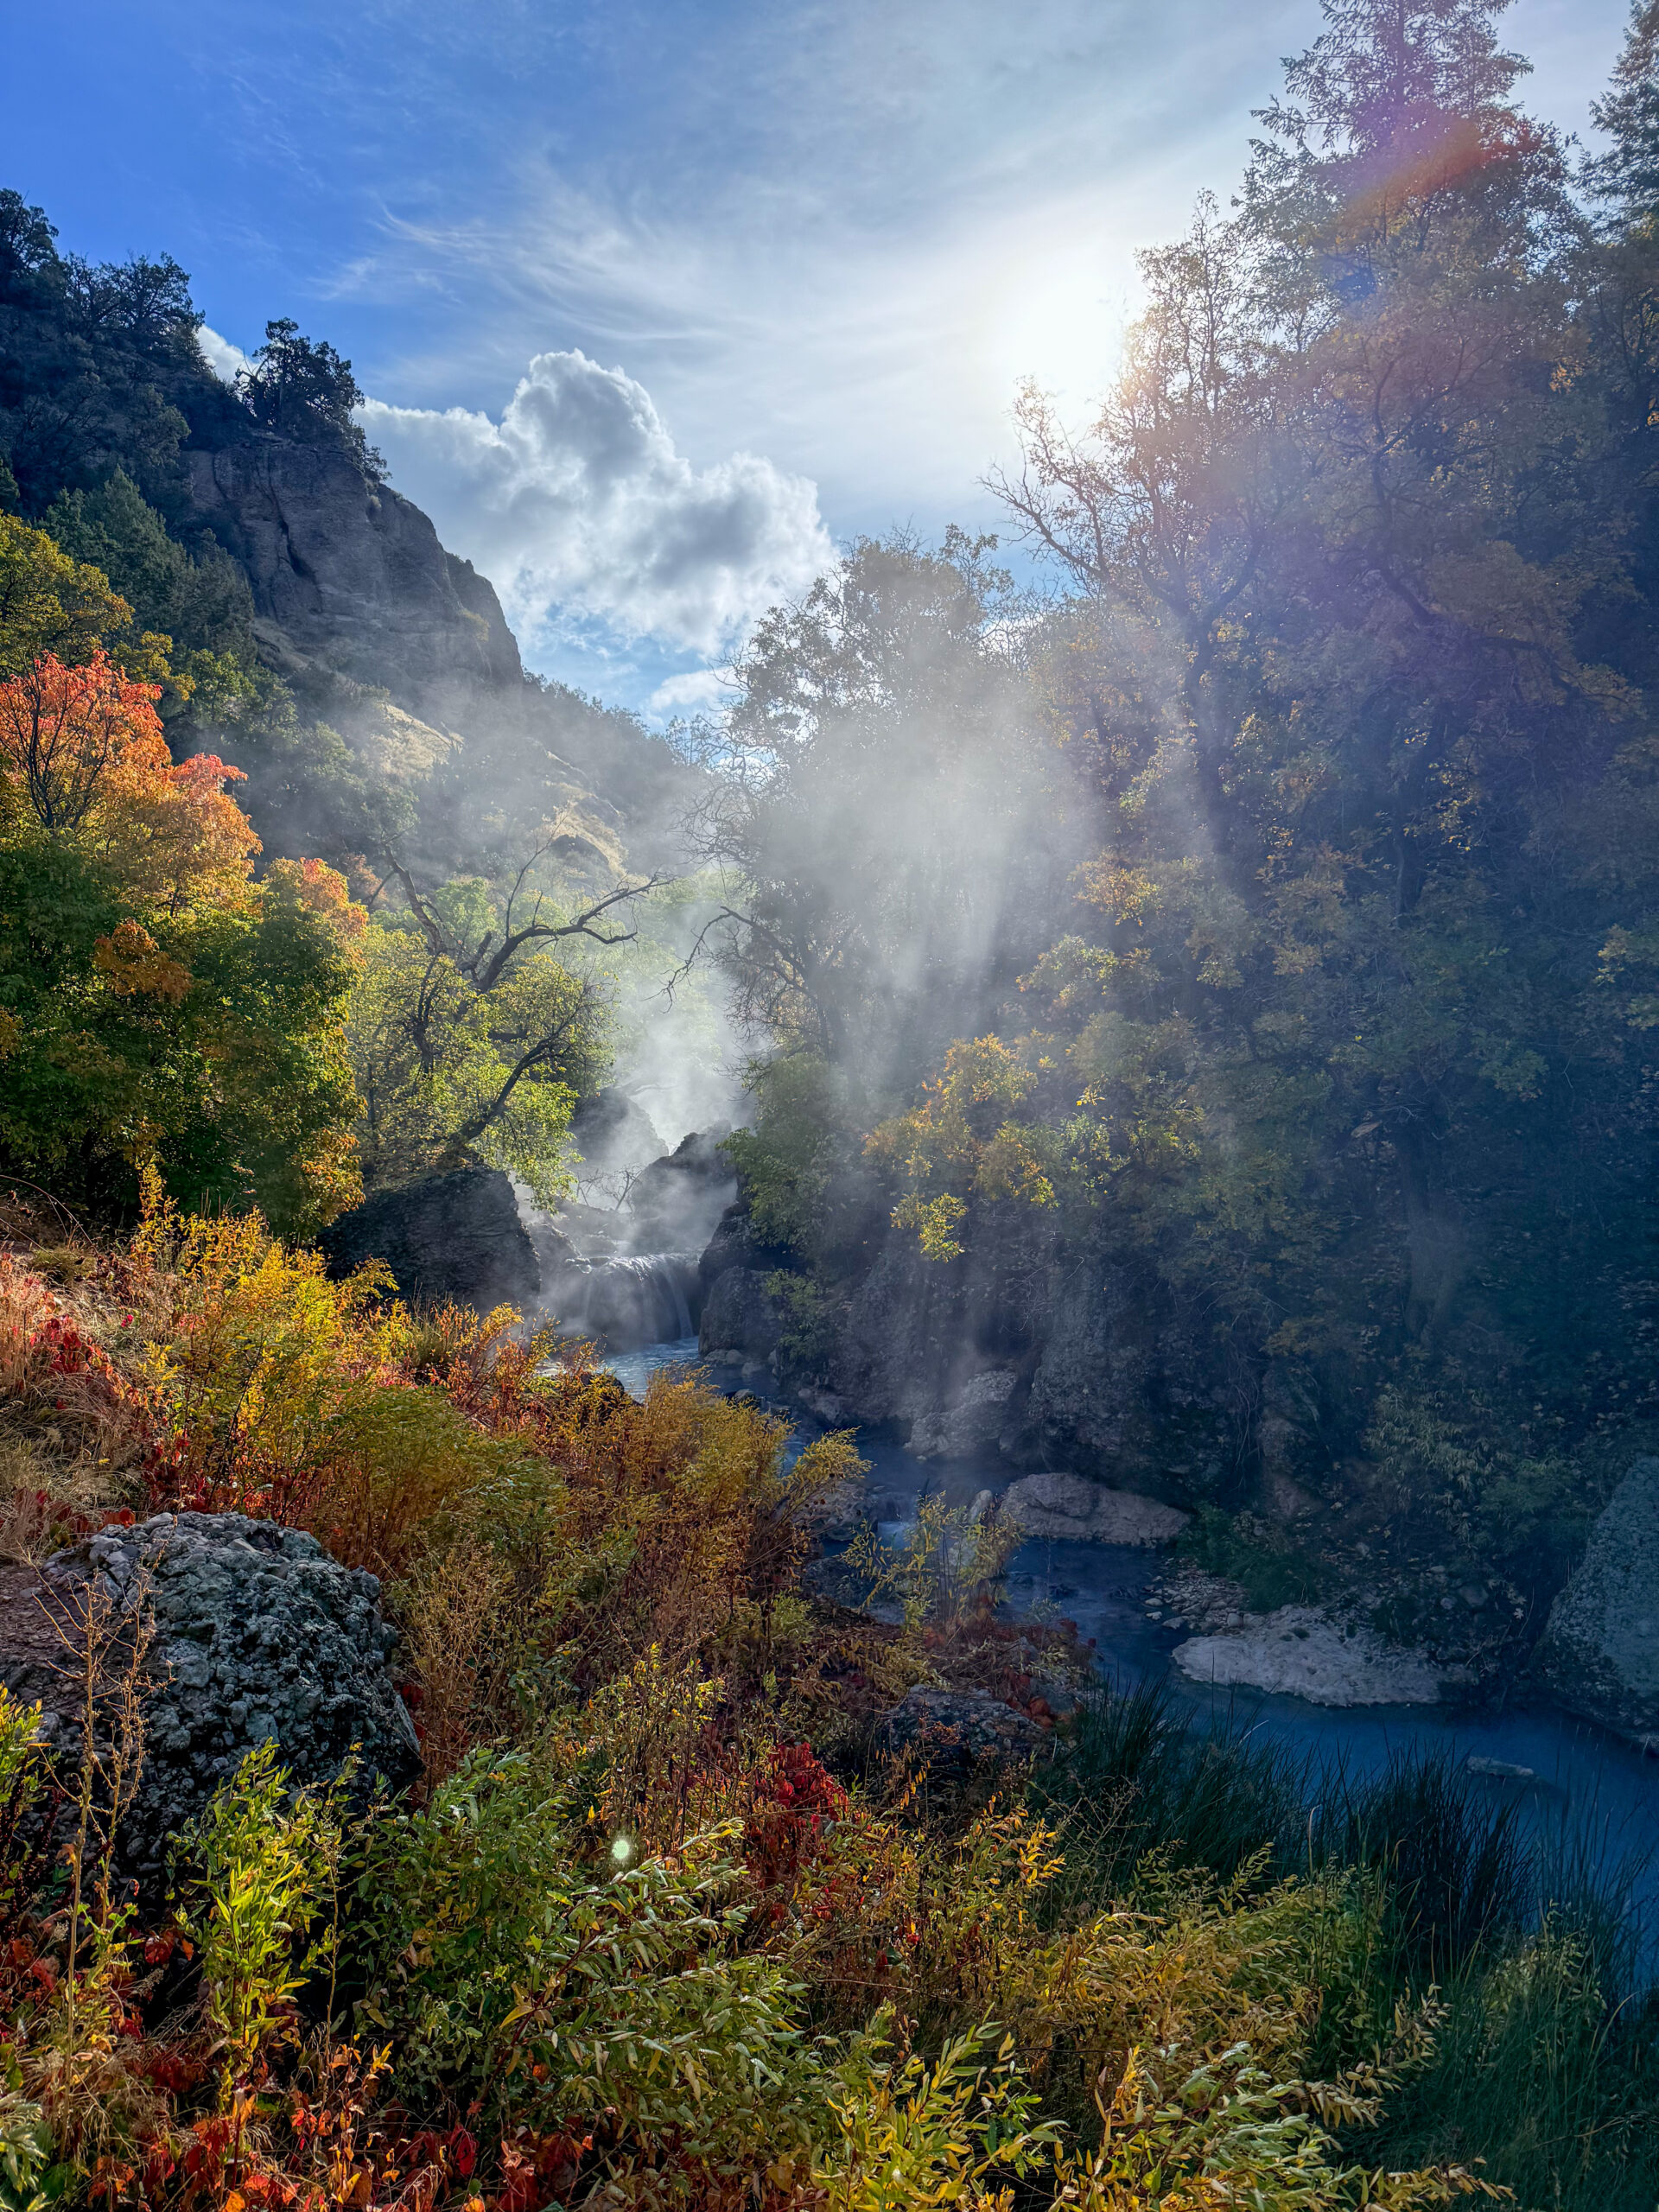
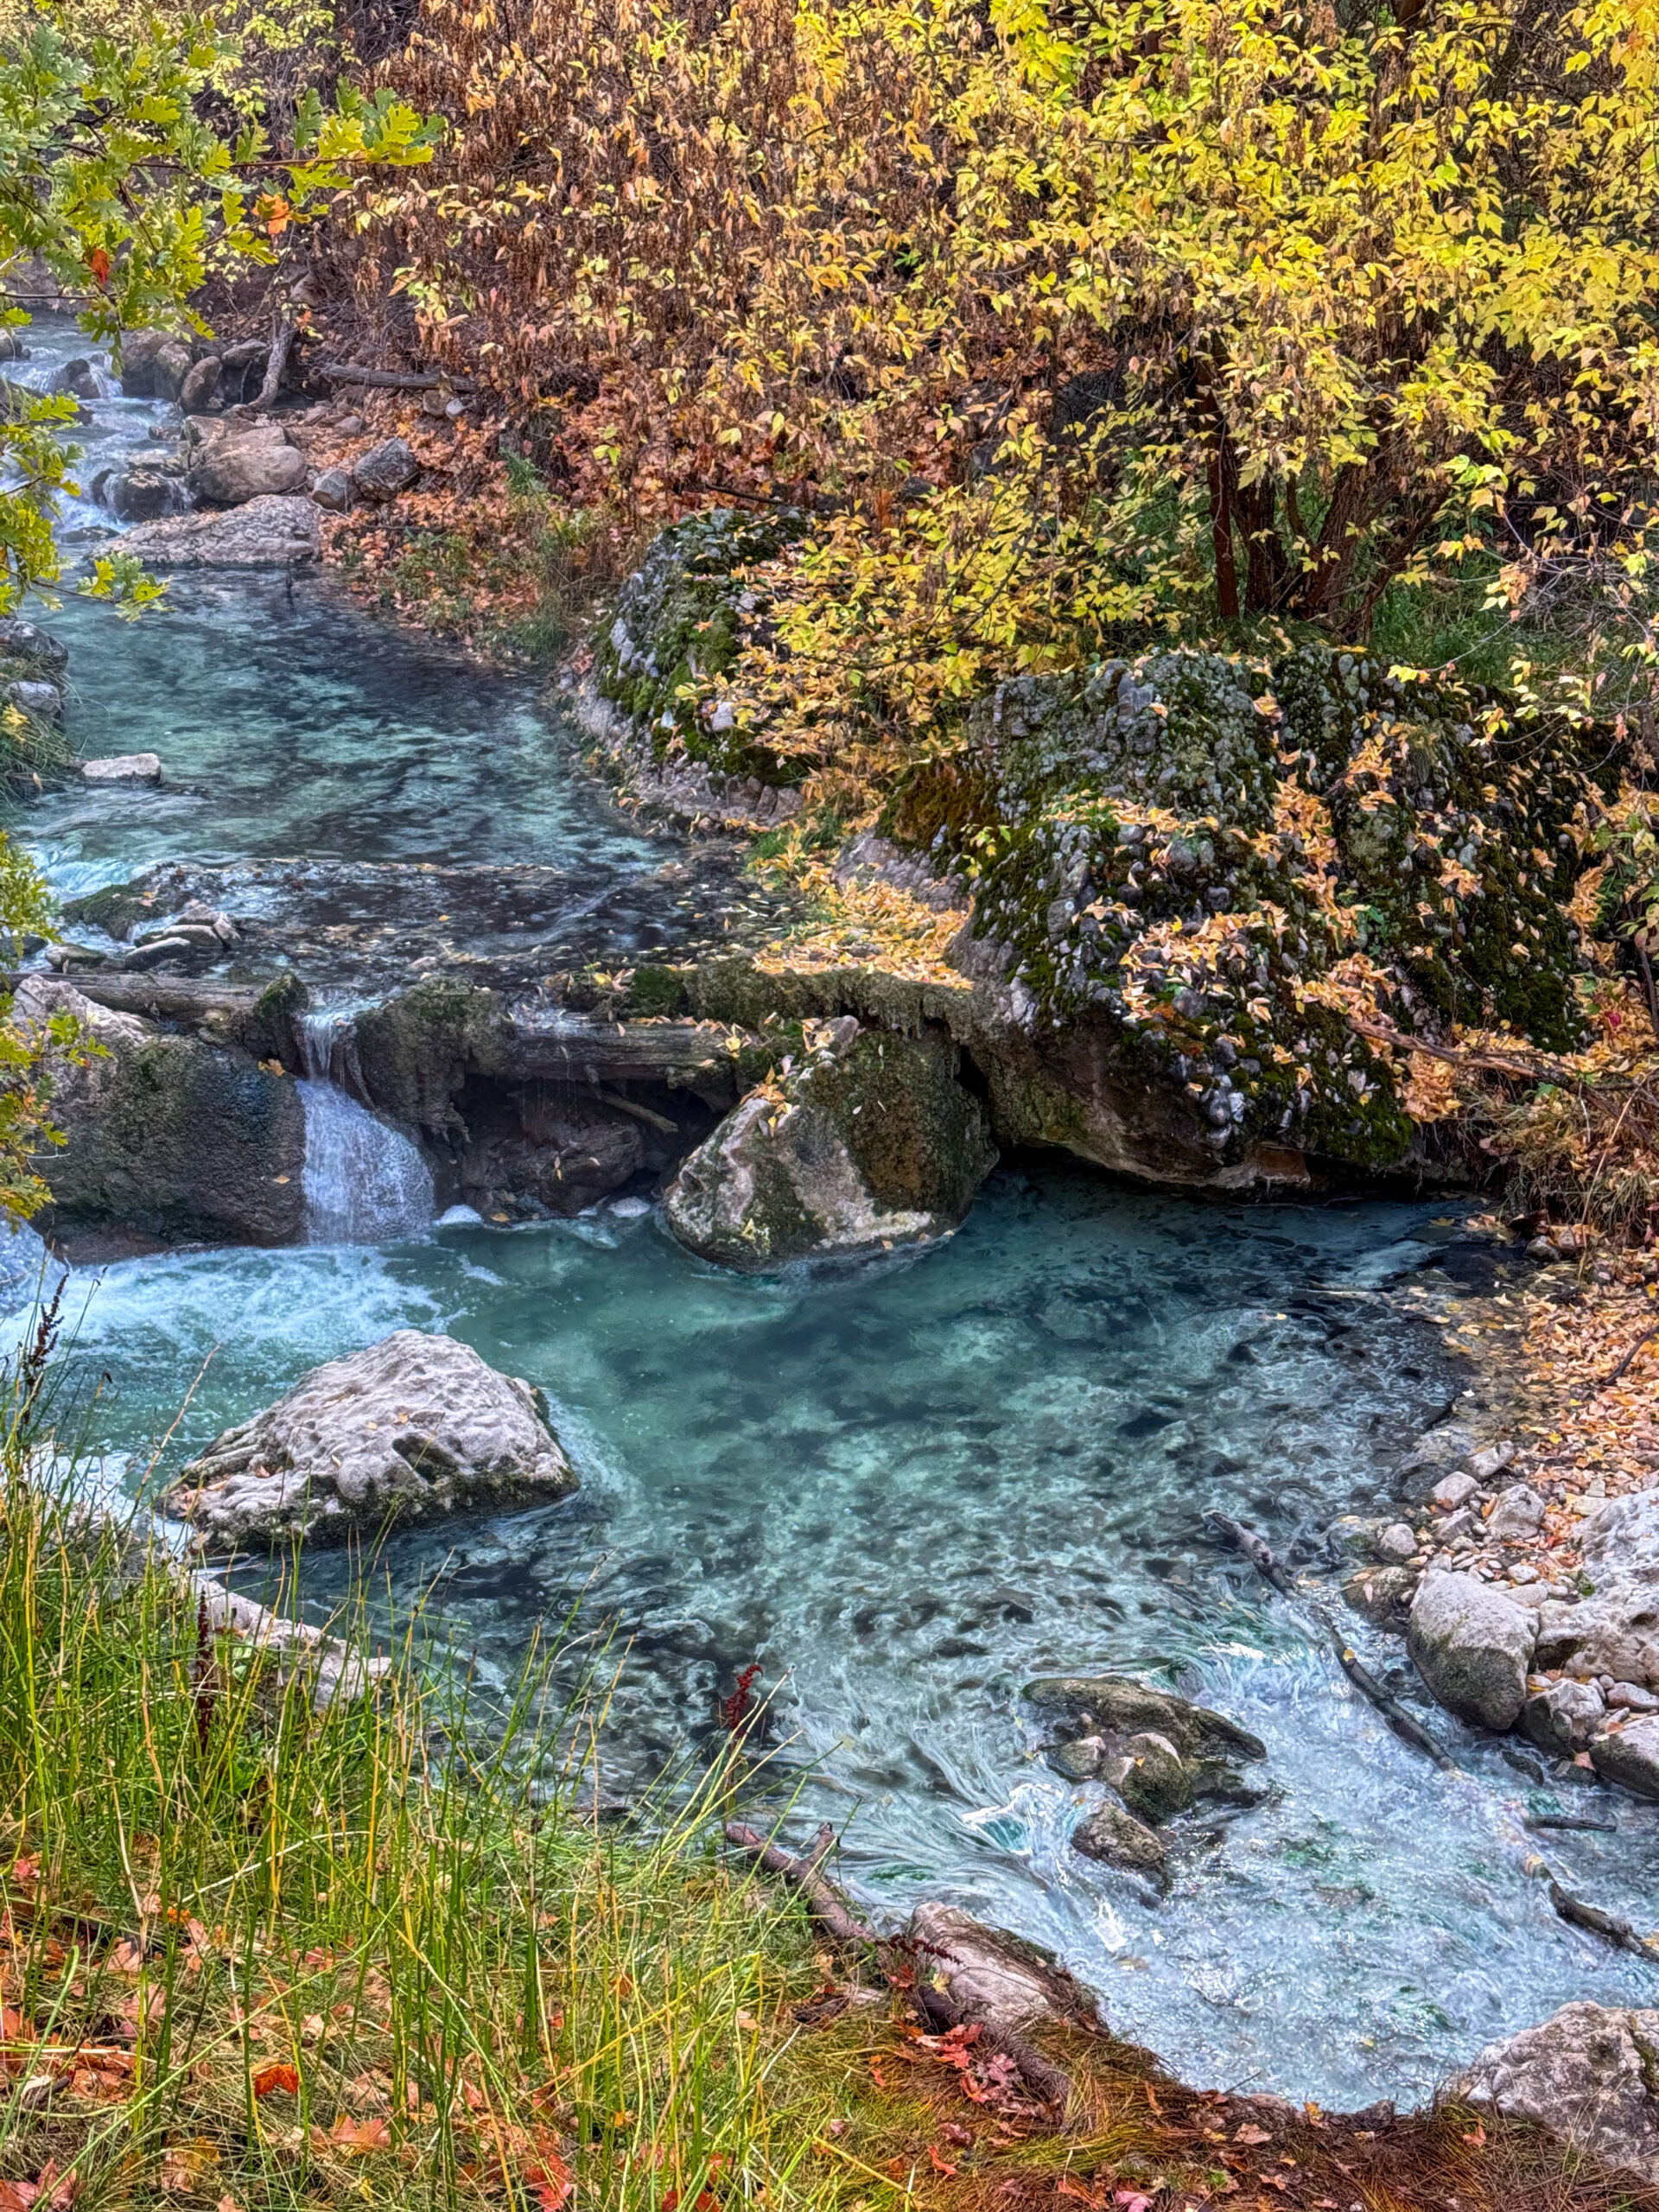
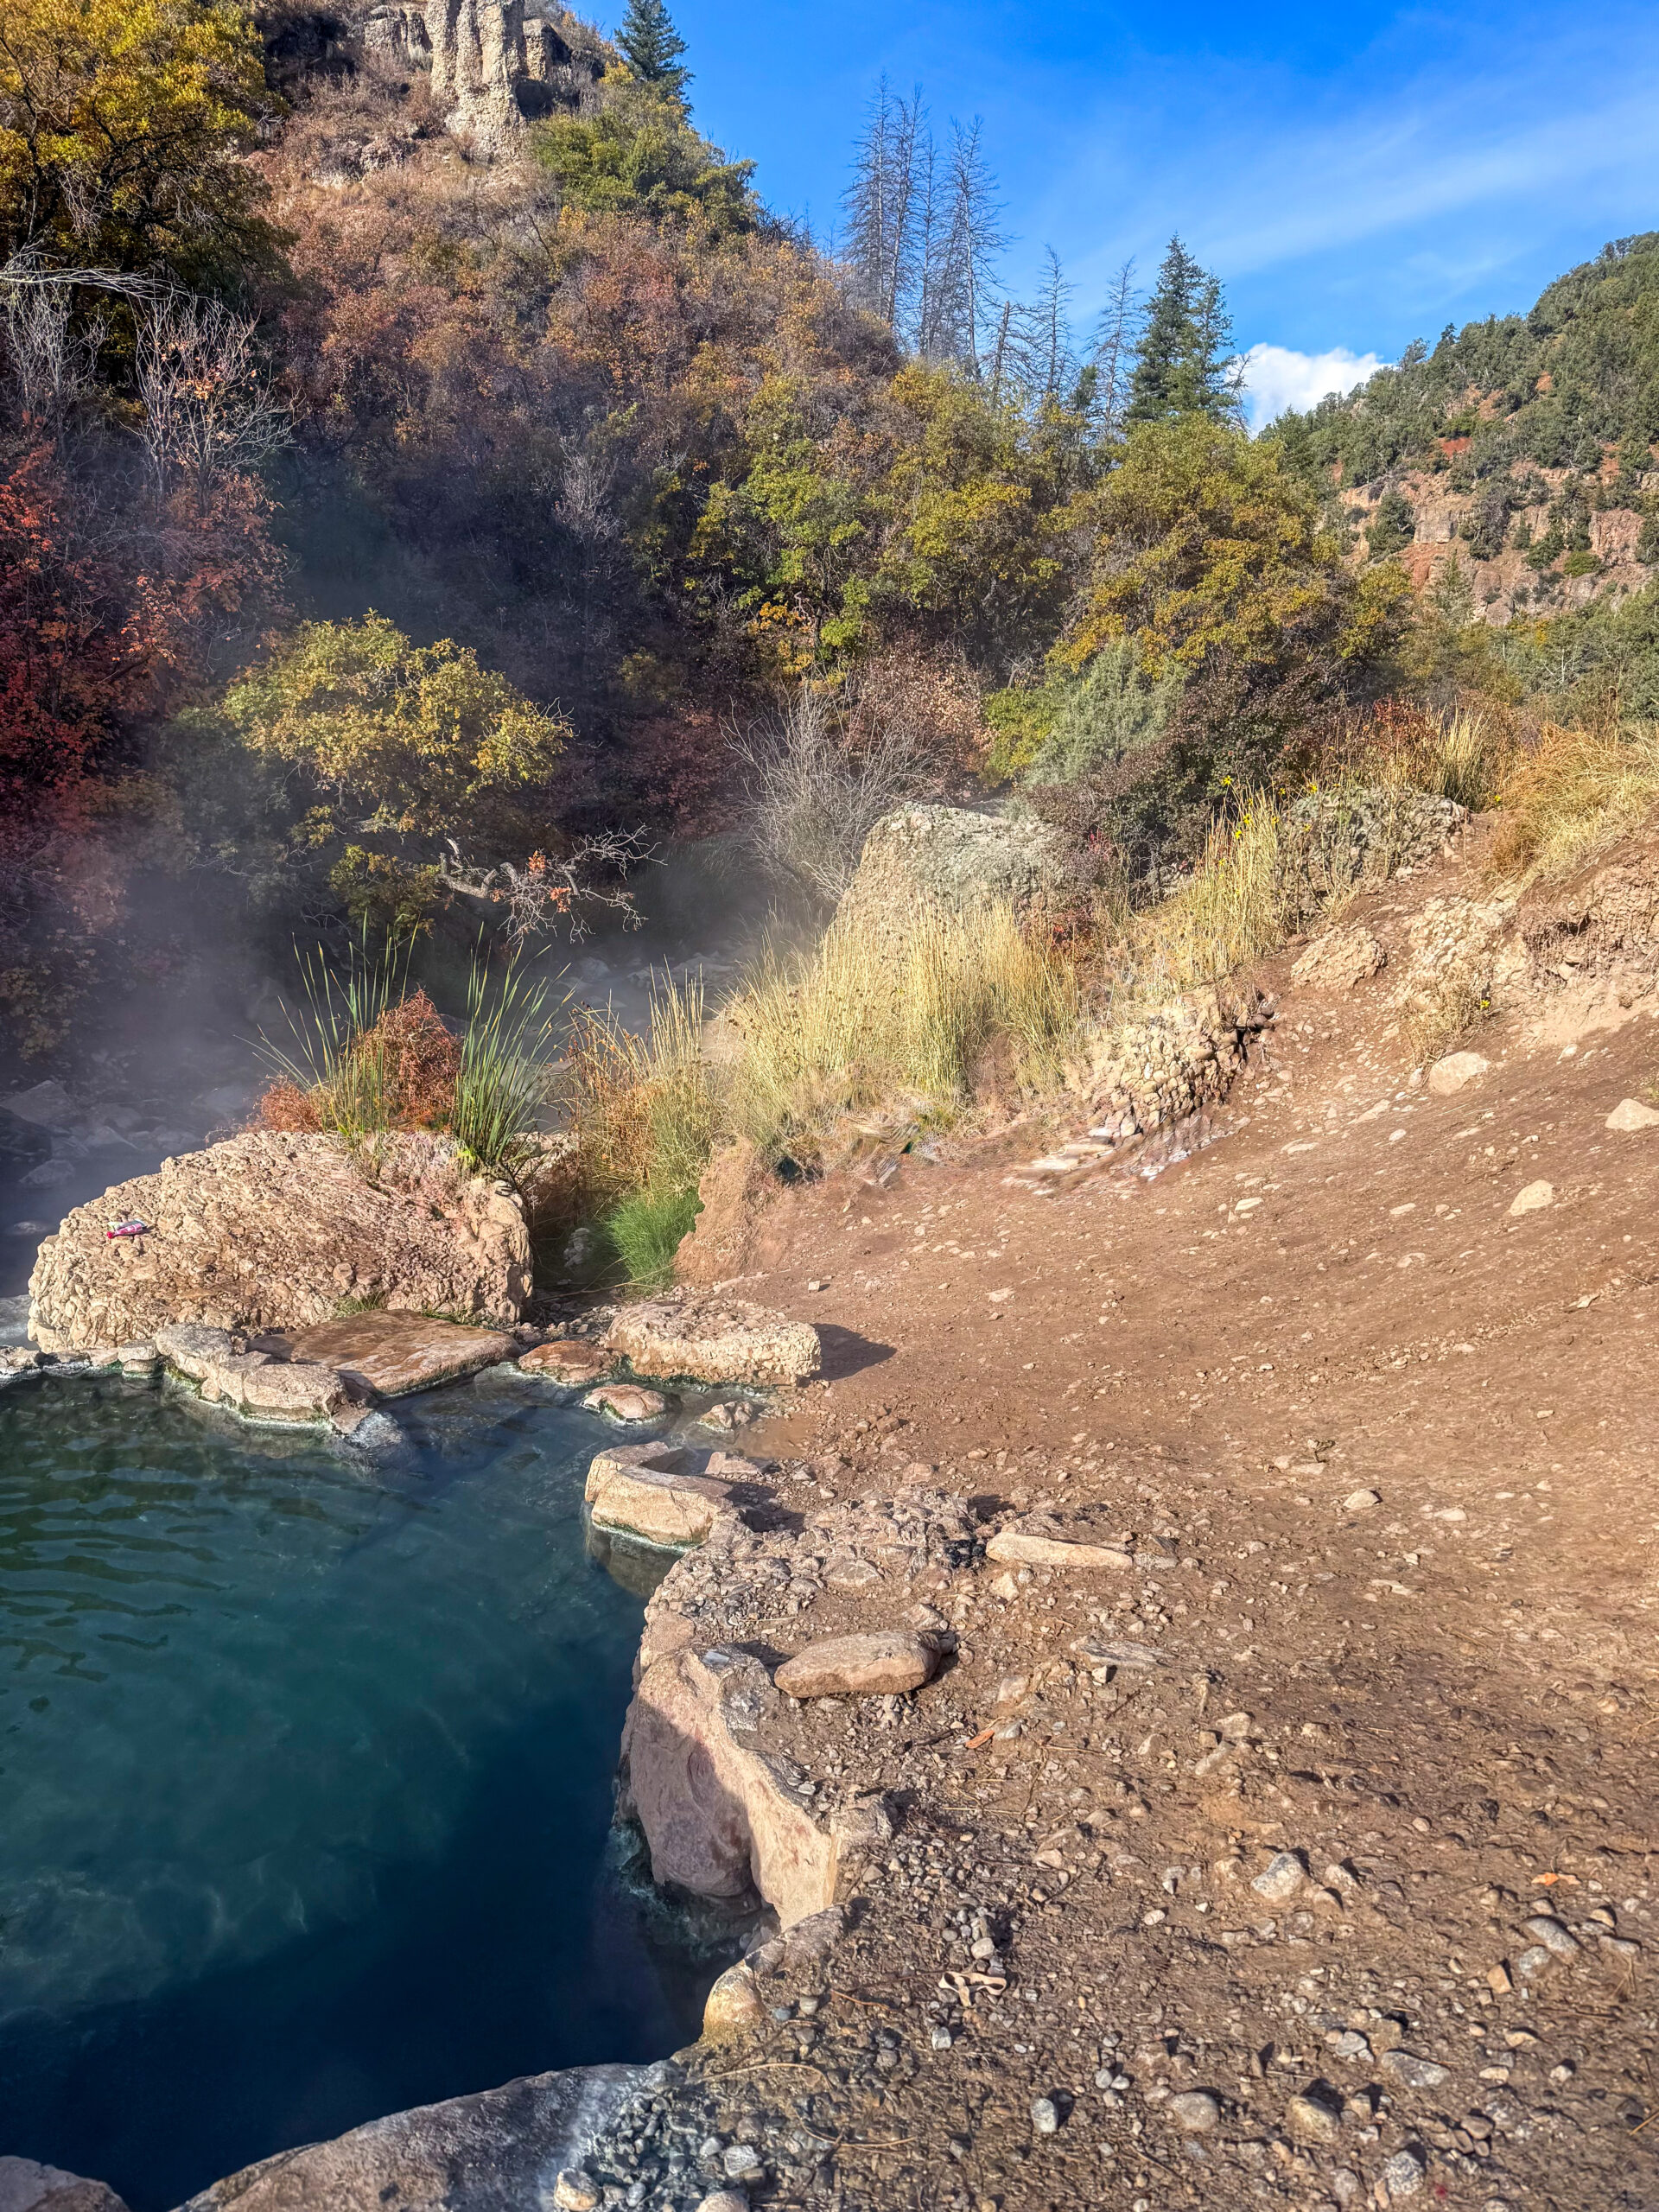
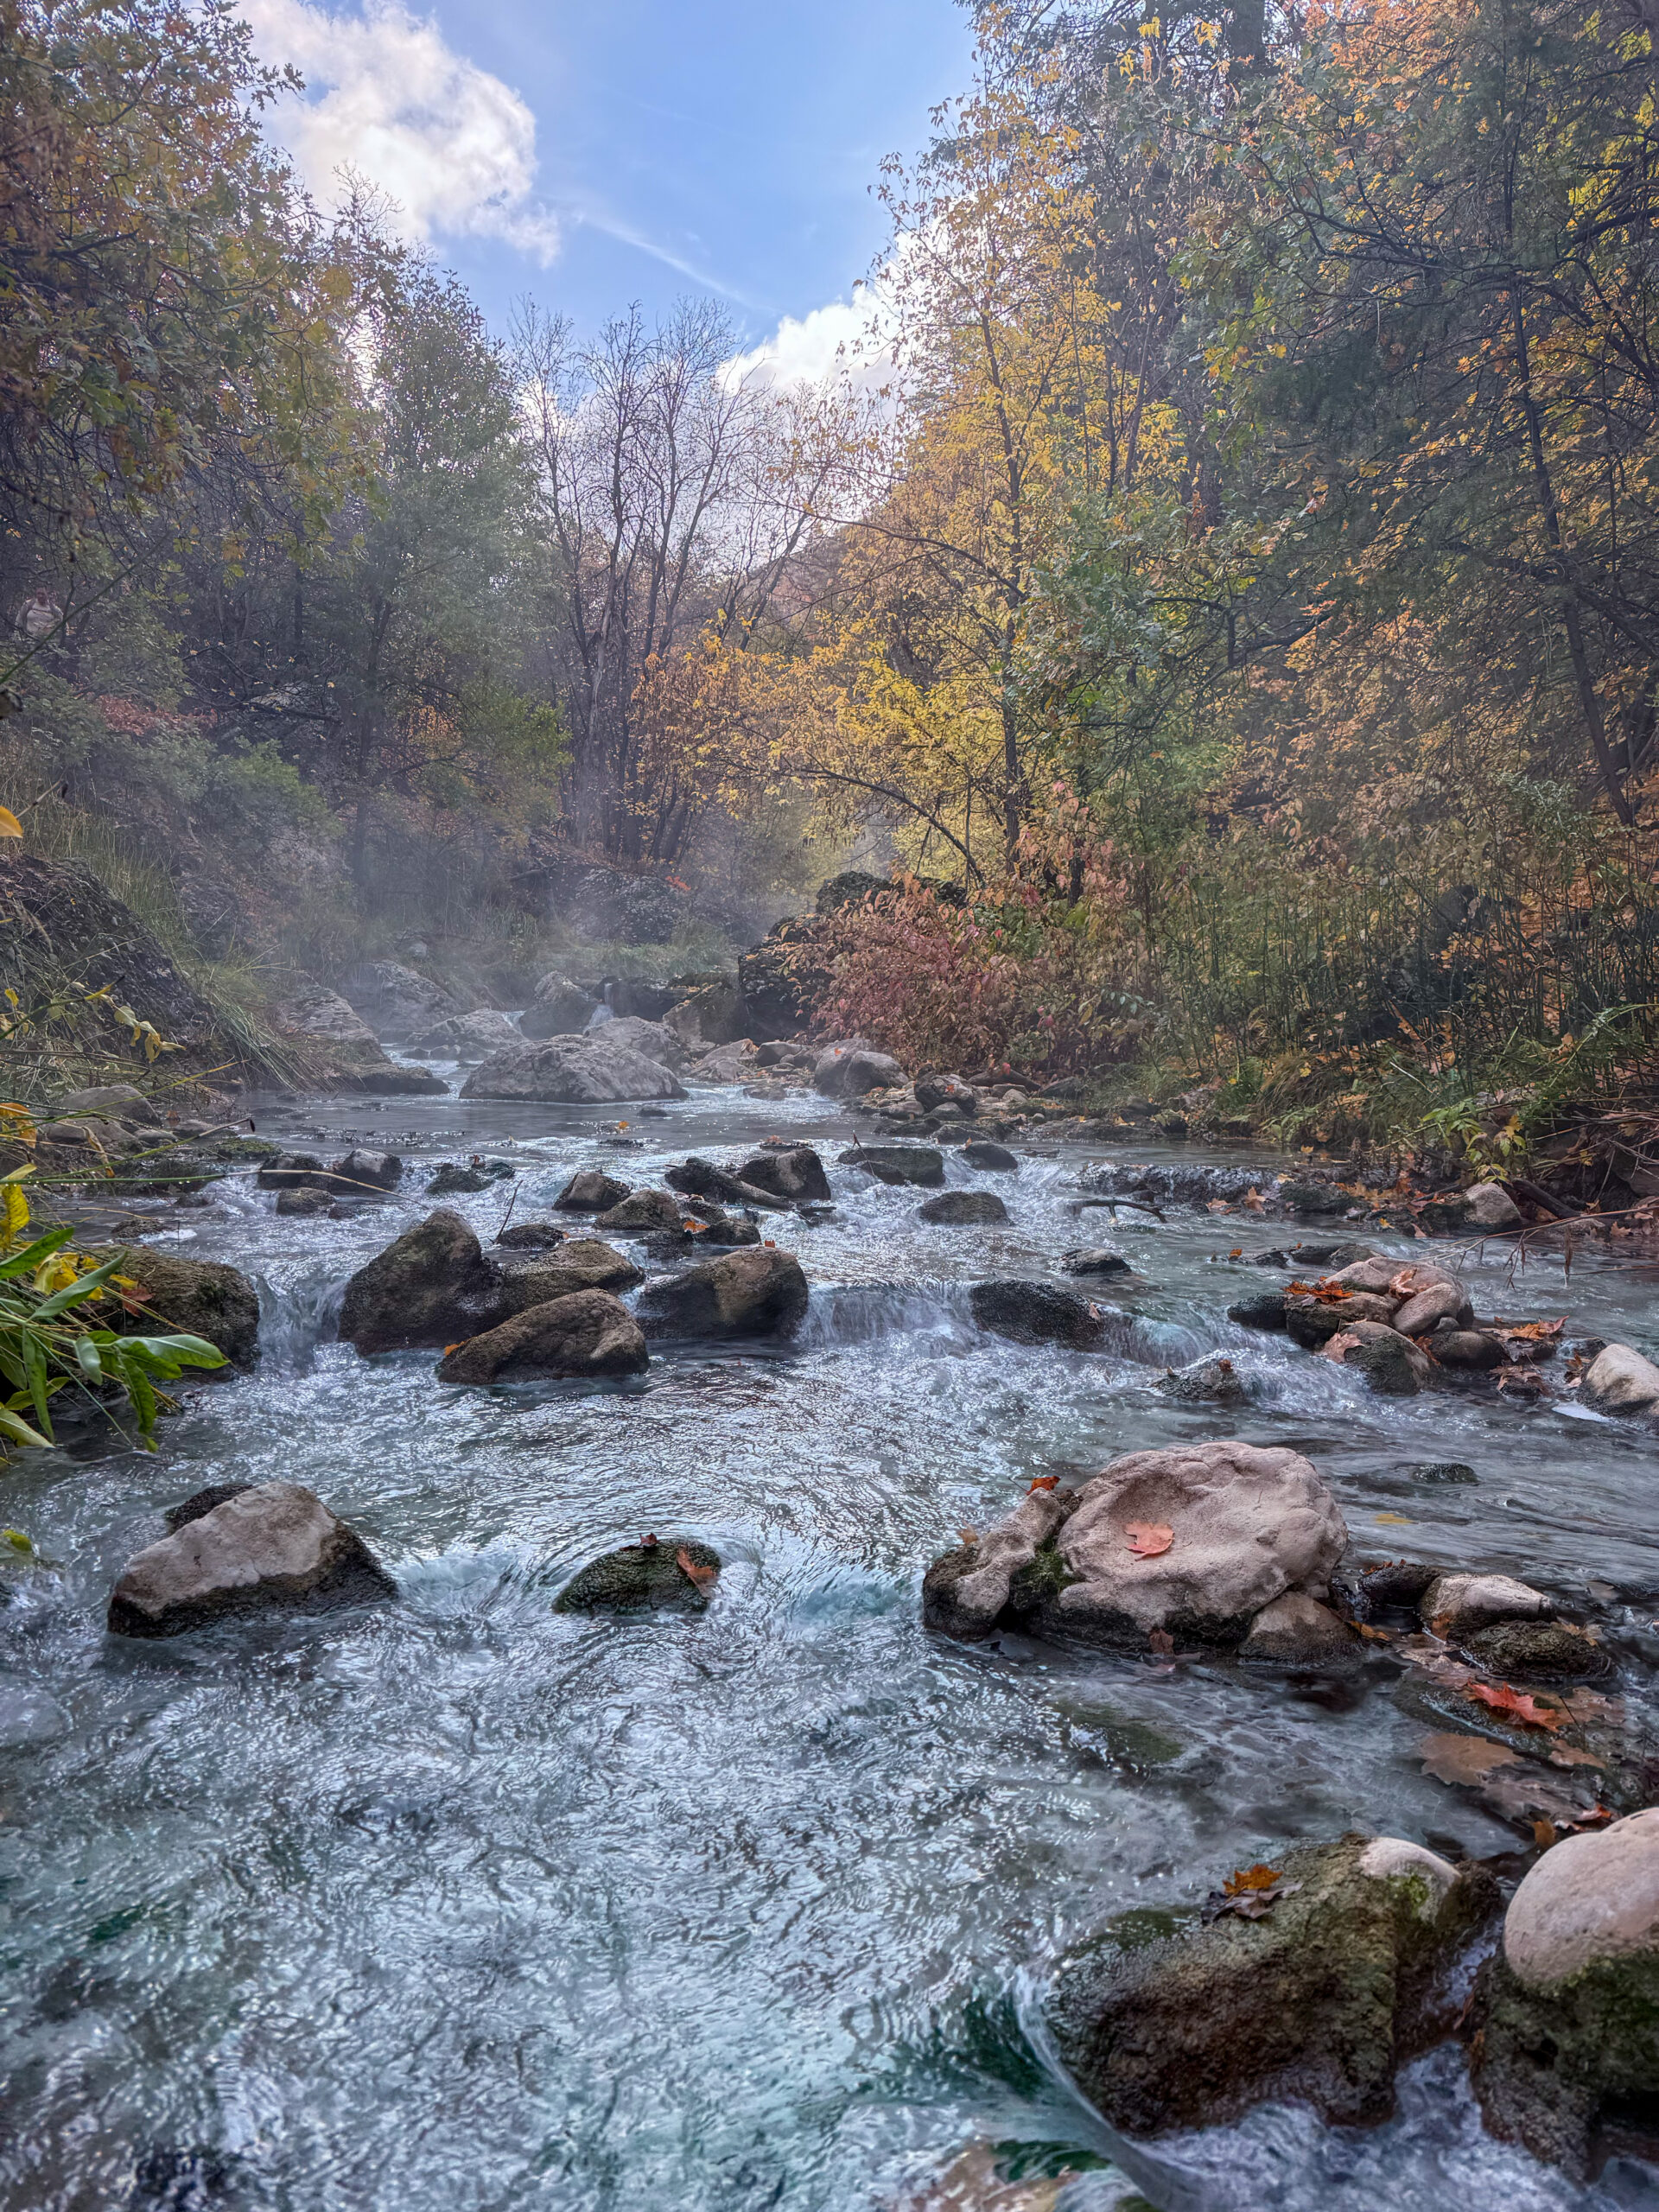
That said, the hot springs aren’t the only reason this hike is worth doing. The trail itself is absolutely beautiful. We visited in the fall, and the surrounding hillsides were covered in shades of yellow, orange, and red. Add the turquoise water, steam rising above the river, and the surrounding canyon walls, and there was always something to admire. We found ourselves stopping over and over again just to soak in the scenery for a little longer.
The hot springs themselves are fed by geothermal activity deep underground. The mineral-rich water gives the pools their distinctive blue-green colour while gradually creating small cascades and natural pools of different temperatures. Whether you prefer hotter or cooler water, you’ll have no trouble finding a spot that’s just right.
After spending a some time relaxing and soaking in the springs, we made our way back to the car. We still had a long drive across Utah ahead of us. By the evening, we had reached Colorado National Monument—but that’s a story for the Colorado chapter.
Day 4 (October 15, 2025)
Elephant Hill, Chesler Park, The Joint Trail & Devil’s Kitchen [19.39 km | ↑ 574 m | ↓ 574 m]
Fisher Towers [7.18 km | ↑ 350 m | ↓ 350 m]
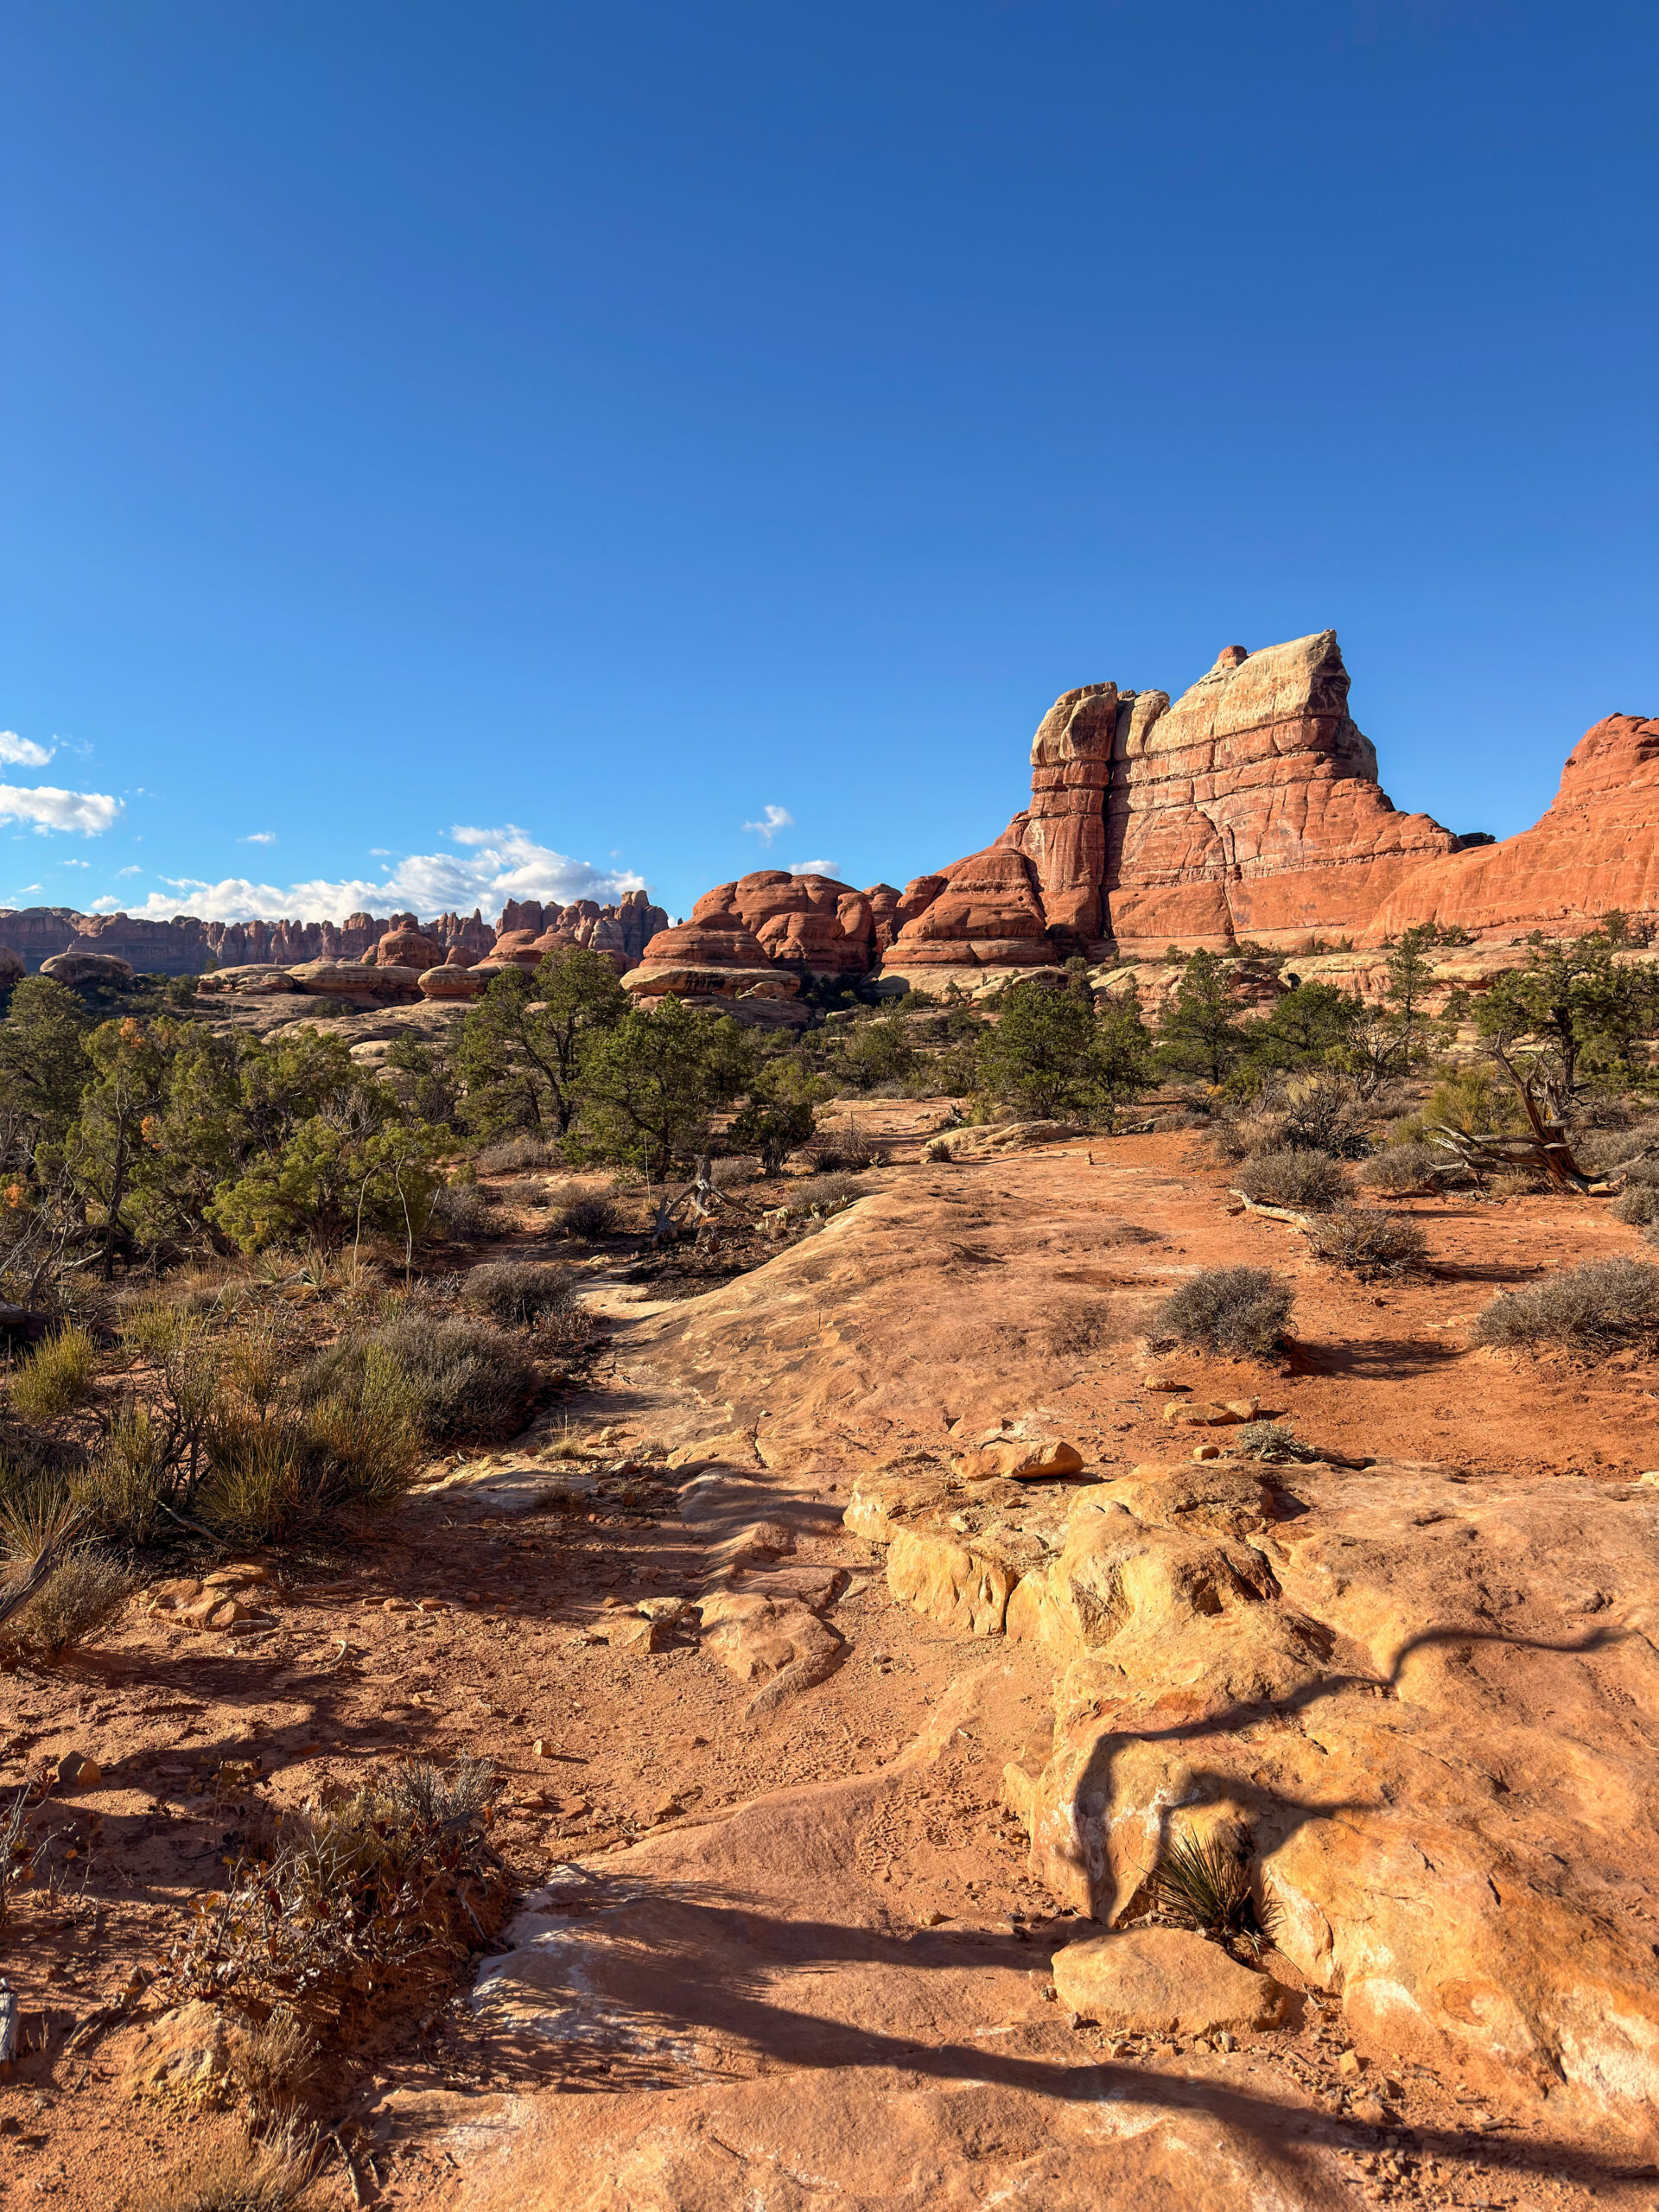
After some time enjoyed in Colorado we came back to Utah and we started the day early in Canyonlands National Park, where we had spent the night just outside the park boundary. Our main goal was to hike the Elephant Hill loop. We adjusted our route along the way depending on what caught our attention, how we felt, and how many more kilometres we were in the mood to hike.
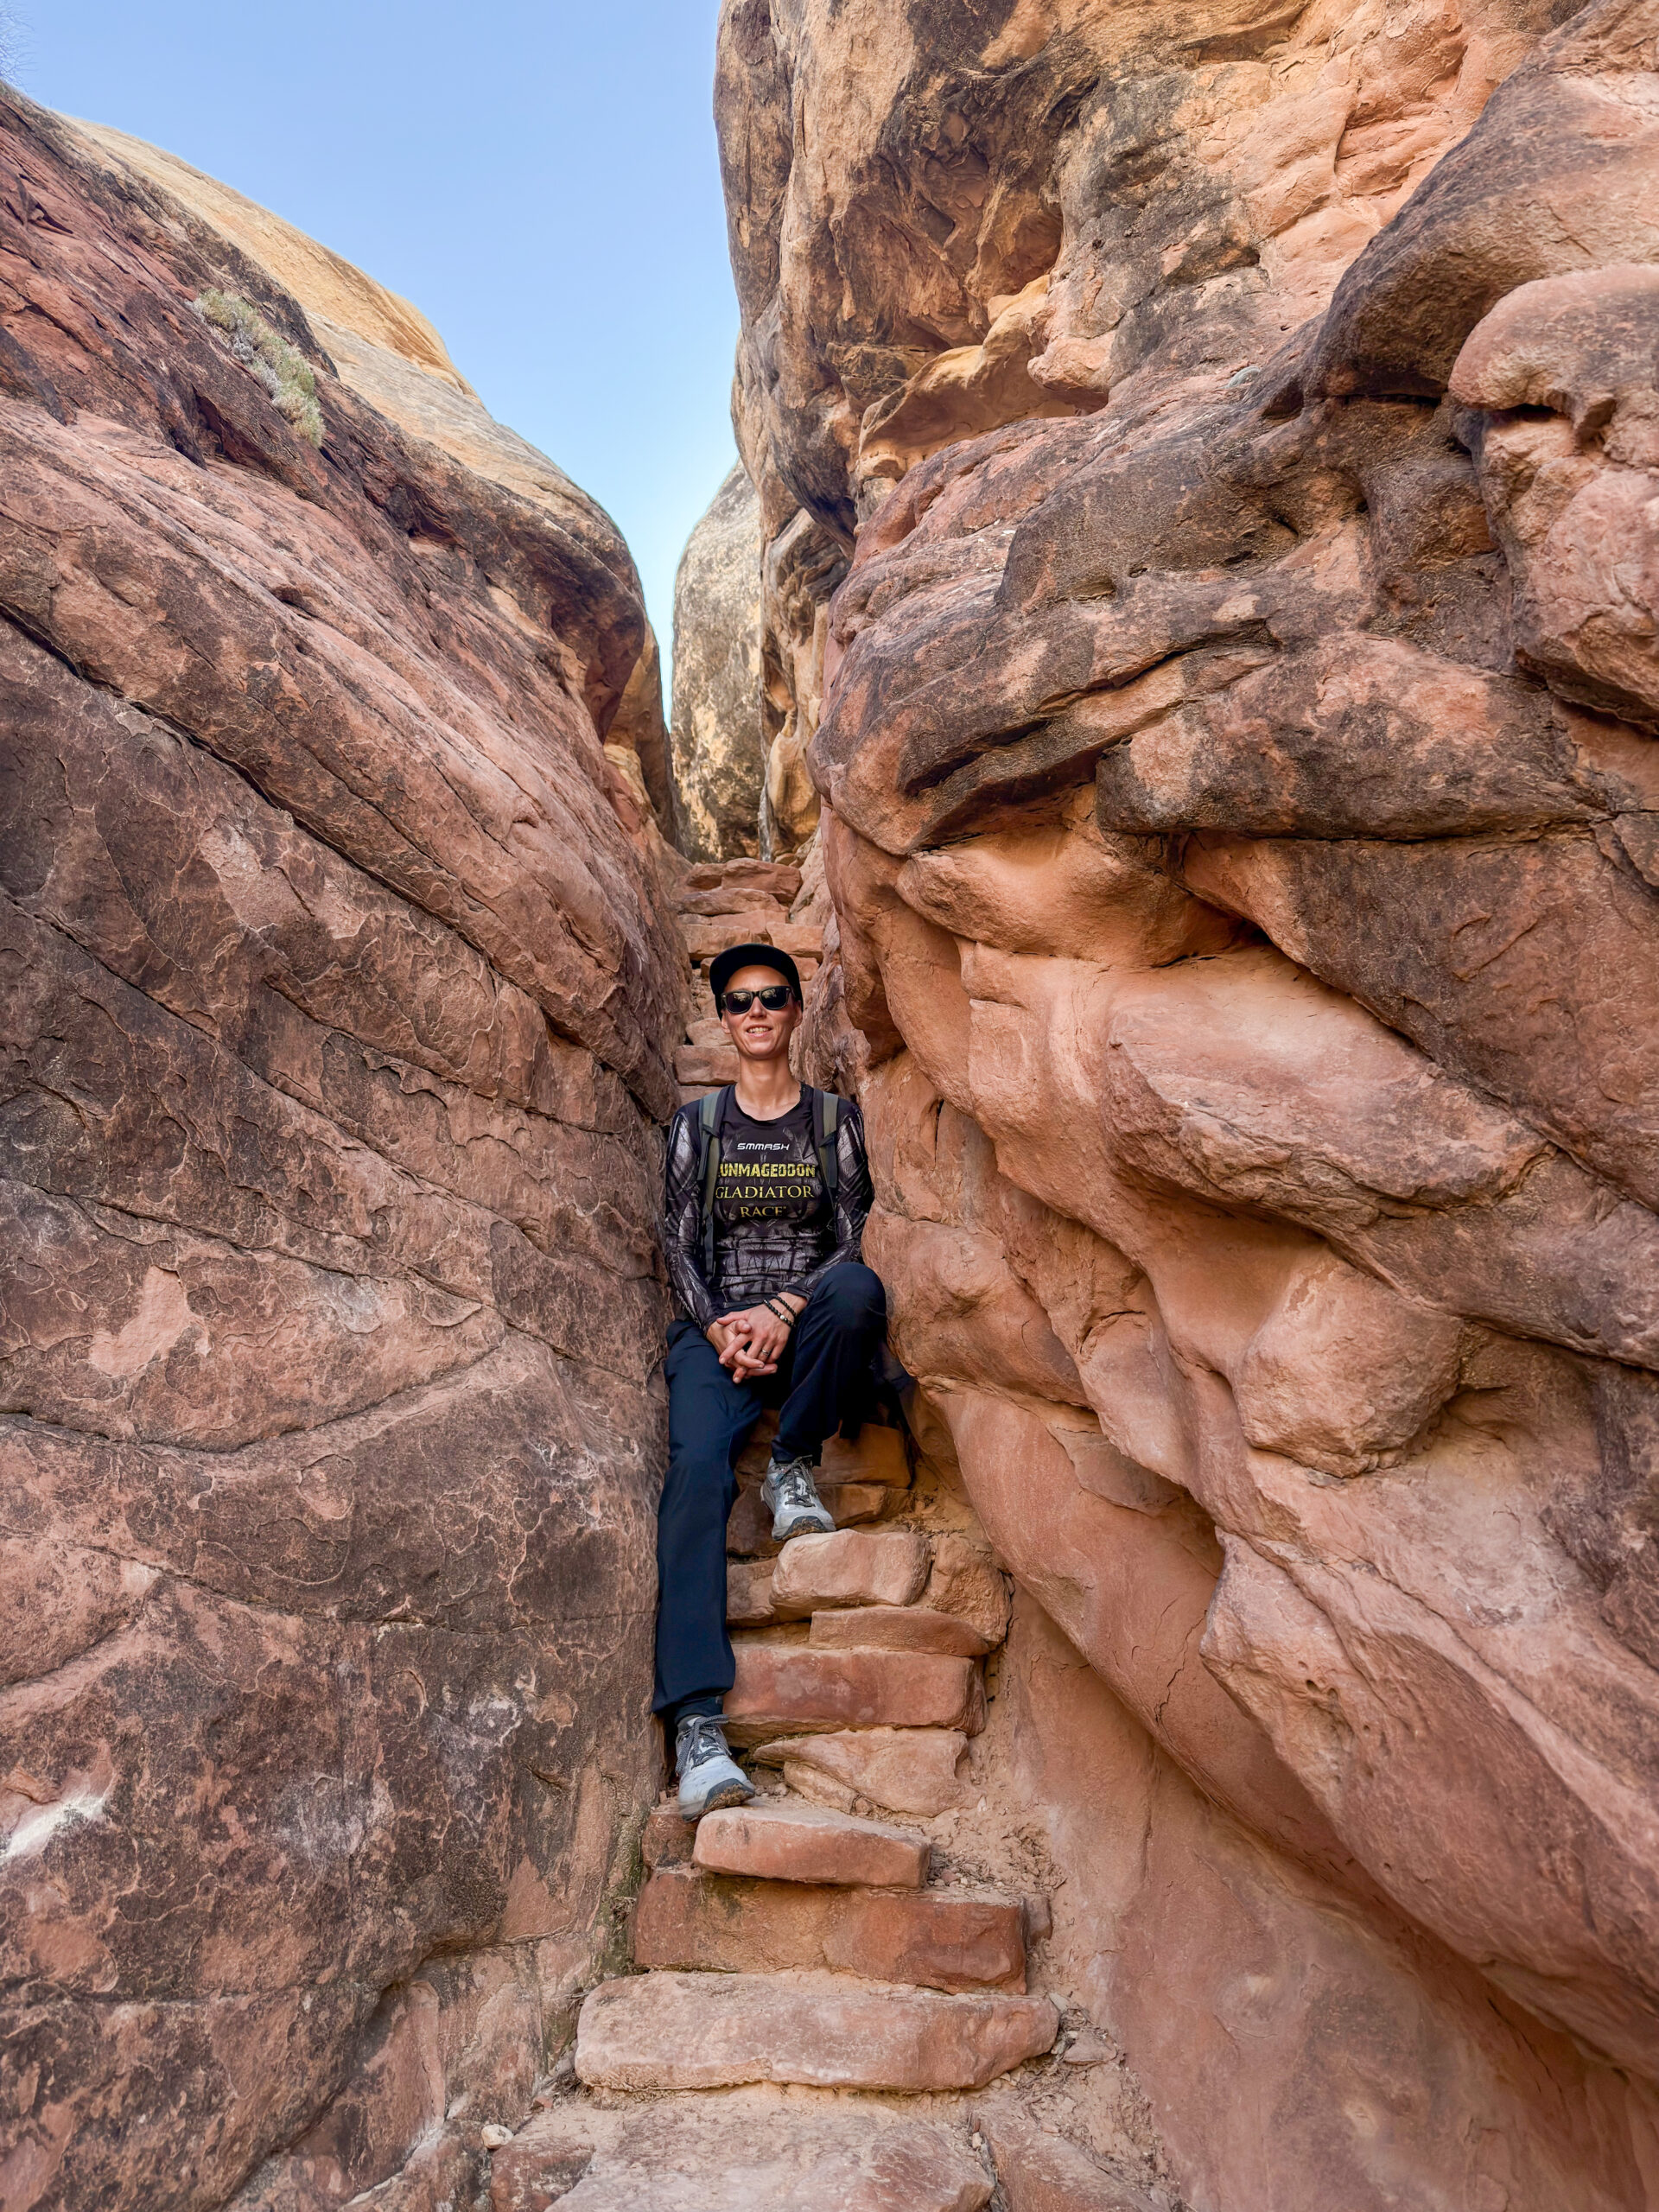
One detour we simply couldn’t skip was The Joint Trail. This unique section takes you through a maze of incredibly narrow rock passages, where you’re sometimes squeezing between towering sandstone walls that rise dozens of metres above your head. Some of the cracks are so narrow that it feels more like walking through a natural hallway than hiking a trail. Without a doubt, this was one of the highlights of the entire day.
On our way back, we joined the famous Elephant Hill 4WD Road, considered one of the most challenging off-road routes in the entire national park. Unfortunately, it wasn’t exactly made for our little Cherry, which only has front-wheel drive and definitely isn’t blessed with high ground clearance. Or maybe… fortunately. After seeing some of the obstacles along the route, we were actually quite happy with our limitations.
We were lucky enough to arrive at one of the toughest sections just as a family travelling in two Jeeps was attempting a steep rock climb. The wife laughed as she told us that her husband absolutely loves challenges like this, while she prefers to get out of the vehicle whenever the trail becomes too extreme and guide him from a safe distance instead. After watching them tackle the obstacle, I kind of understood why – doing this with their 3 year old son, would be too much.
At the end of the hike, we stopped to chat with one of the park rangers. He explained that although these 4WD trails are famous among off-road enthusiasts, they actually don’t see as much traffic as most people would expect. He also mentioned that permits for the backcountry roads and campsites can be reserved online or at the visitor centre, but if there’s availability, you can sometimes book them directly on-site as well.
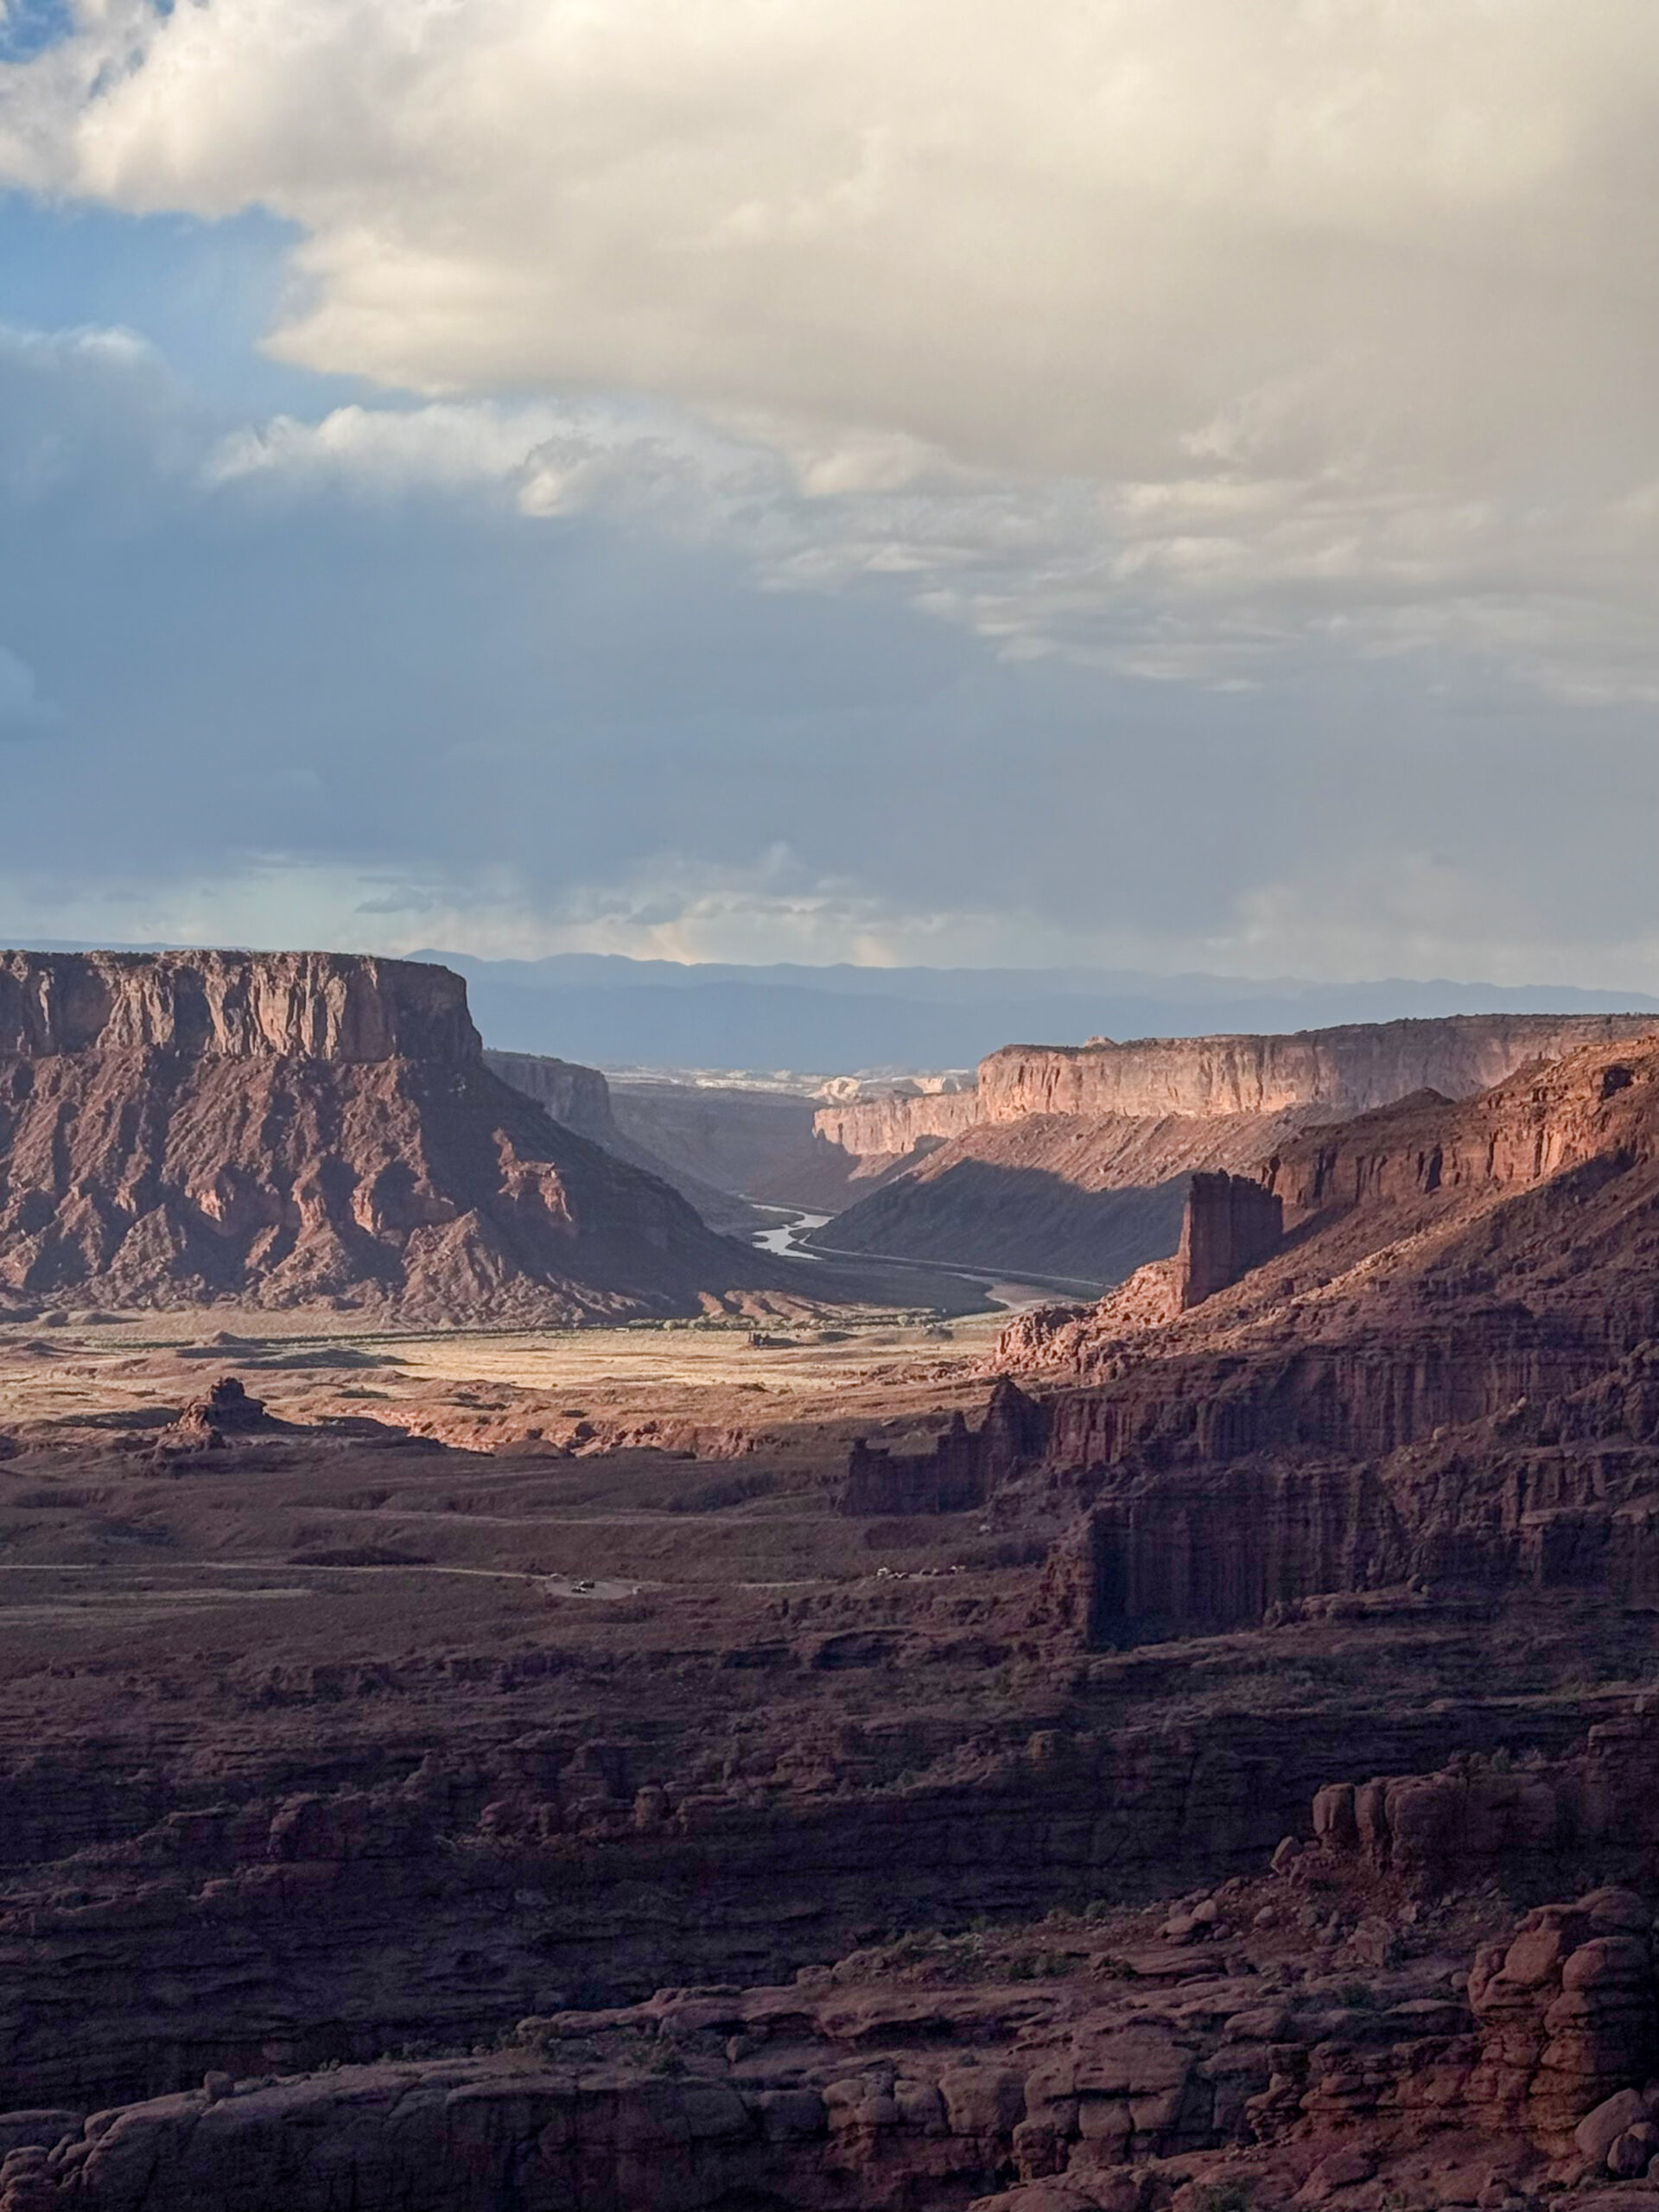
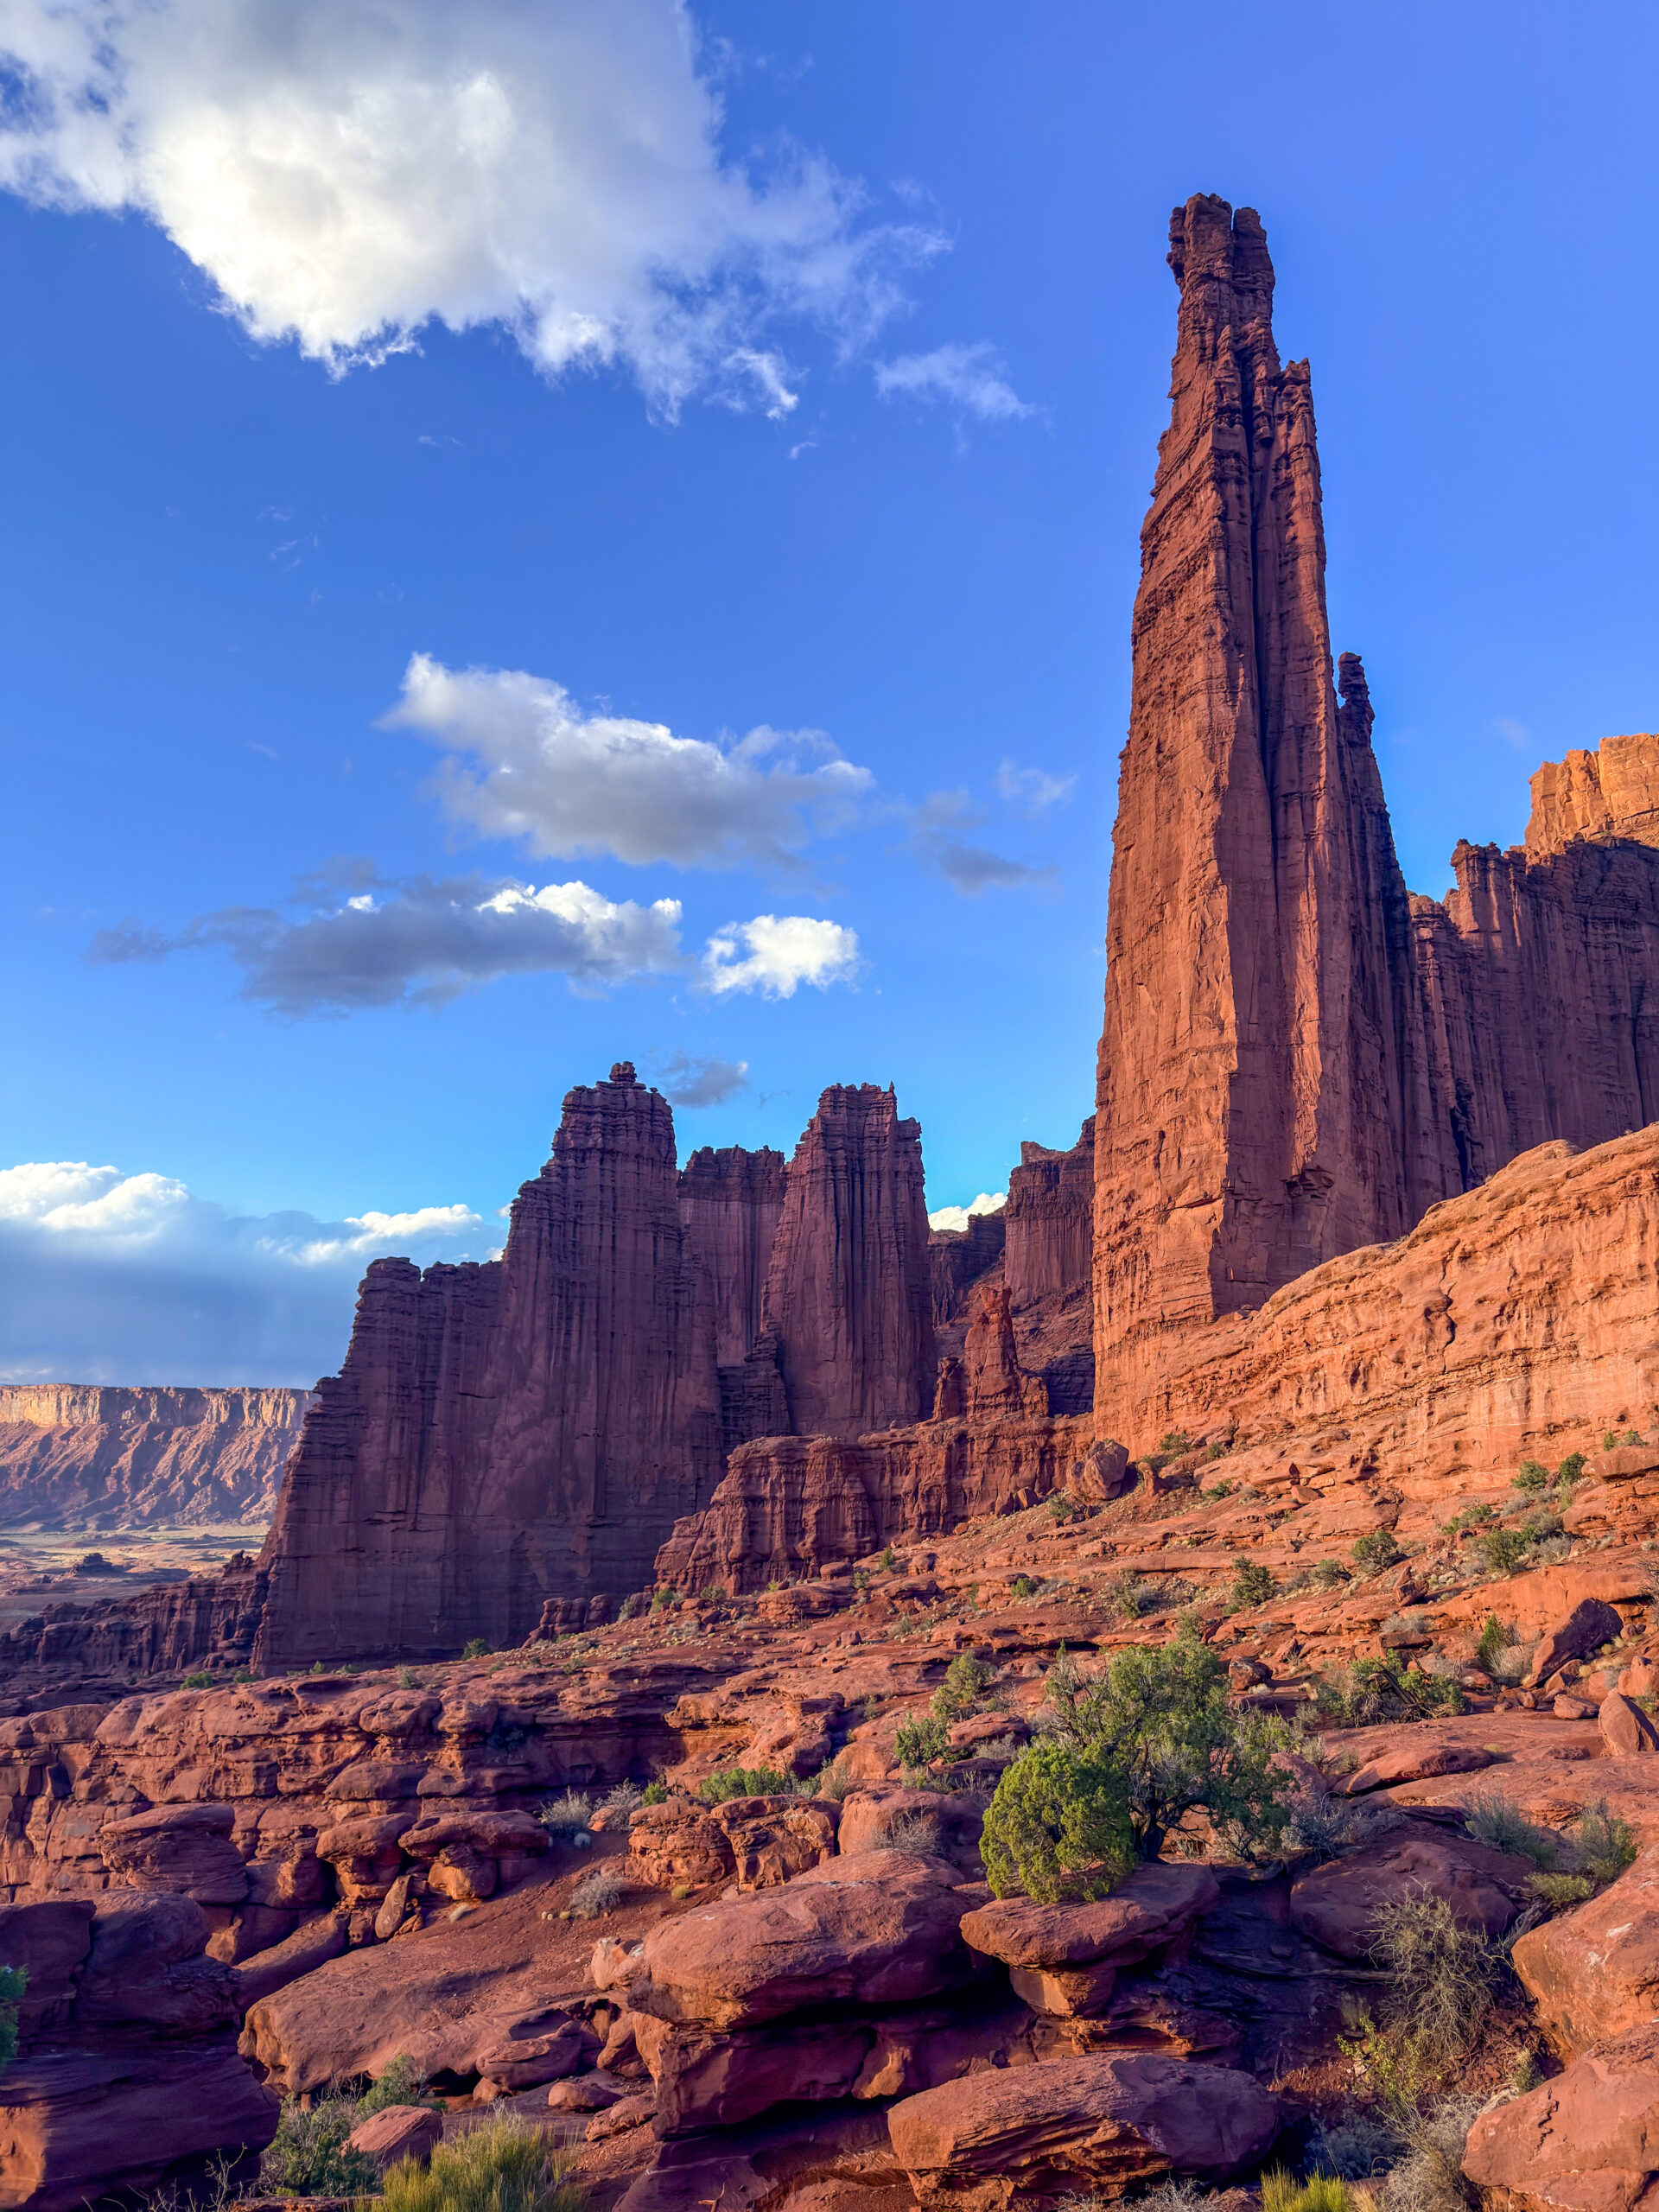
Since we realised we still had plenty of daylight left, we decided to make the most of it and drove to Fisher Towers, just outside Moab. The drive alone is worth the trip. This entire area is unbelievably photogenic. Massive red rock towers rise dramatically from the desert floor, and the landscape changes with every kilometre.
As if that wasn’t enough, nature had one more surprise waiting for us. Shortly after we arrived, a beautiful rainbow appeared above the sandstone towers. For a moment, I honestly thought I was imagining it. The combination of deep red rock formations, dramatic storm clouds, and a rainbow stretching across the sky looked more like a perfectly edited postcard than real life.
The Fisher Towers Trail isn’t particularly long or difficult, but the scenery is absolutely unforgettable. At times, I even felt like I was standing somewhere in the Grand Canyon—even though I hadn’t actually been there yet.
By the time we returned to the car, the sun was slowly disappearing behind the horizon, painting the surrounding cliffs in rich shades of orange and red. After a day like that, we honestly couldn’t have asked for anything more.
That night, we camped just outside Moab, away from both the national park and the paid campgrounds. Places like this can still be found around Moab, although they aren’t always easy to locate. Of course, there are no facilities, but we’re completely fine with that. There are also some beautiful campgrounds along the Colorado River, starting at around $25 USD per night, as well as campgrounds inside the national parks. However, those tend to be more expensive and are often booked months in advance.
Day 5 (October 16, 2025)
Devils Garden Trail [12.74 km | ↑ 362 m | ↓ 362 m]
Delicate Arch [5.14 km | ↑ 211 m | ↓ 211 m]
The Windows & Double Arch [2.27 km | ↑ 74 m | ↓ 74 m]
Corona Arch [3.80 km | ↑ 160 m | ↓ 160 m]
As always, we started the morning with breakfast while planning everything we wanted to fit into the day. It was quite an ambitious itinerary, but with good logistics and a steady pace, it felt completely achievable.
Even the drive through Arches National Park is an experience in itself. Around almost every corner, another incredible rock formation appears, such as Courthouse Towers or Balanced Rock. That’s exactly what makes Arches one of the few national parks that can truly be enjoyed by everyone, even those who can’t hike long distances because of age, mobility limitations, or simply because they’re travelling with young children. Many of the park’s most famous viewpoints are just a short walk from the parking areas.
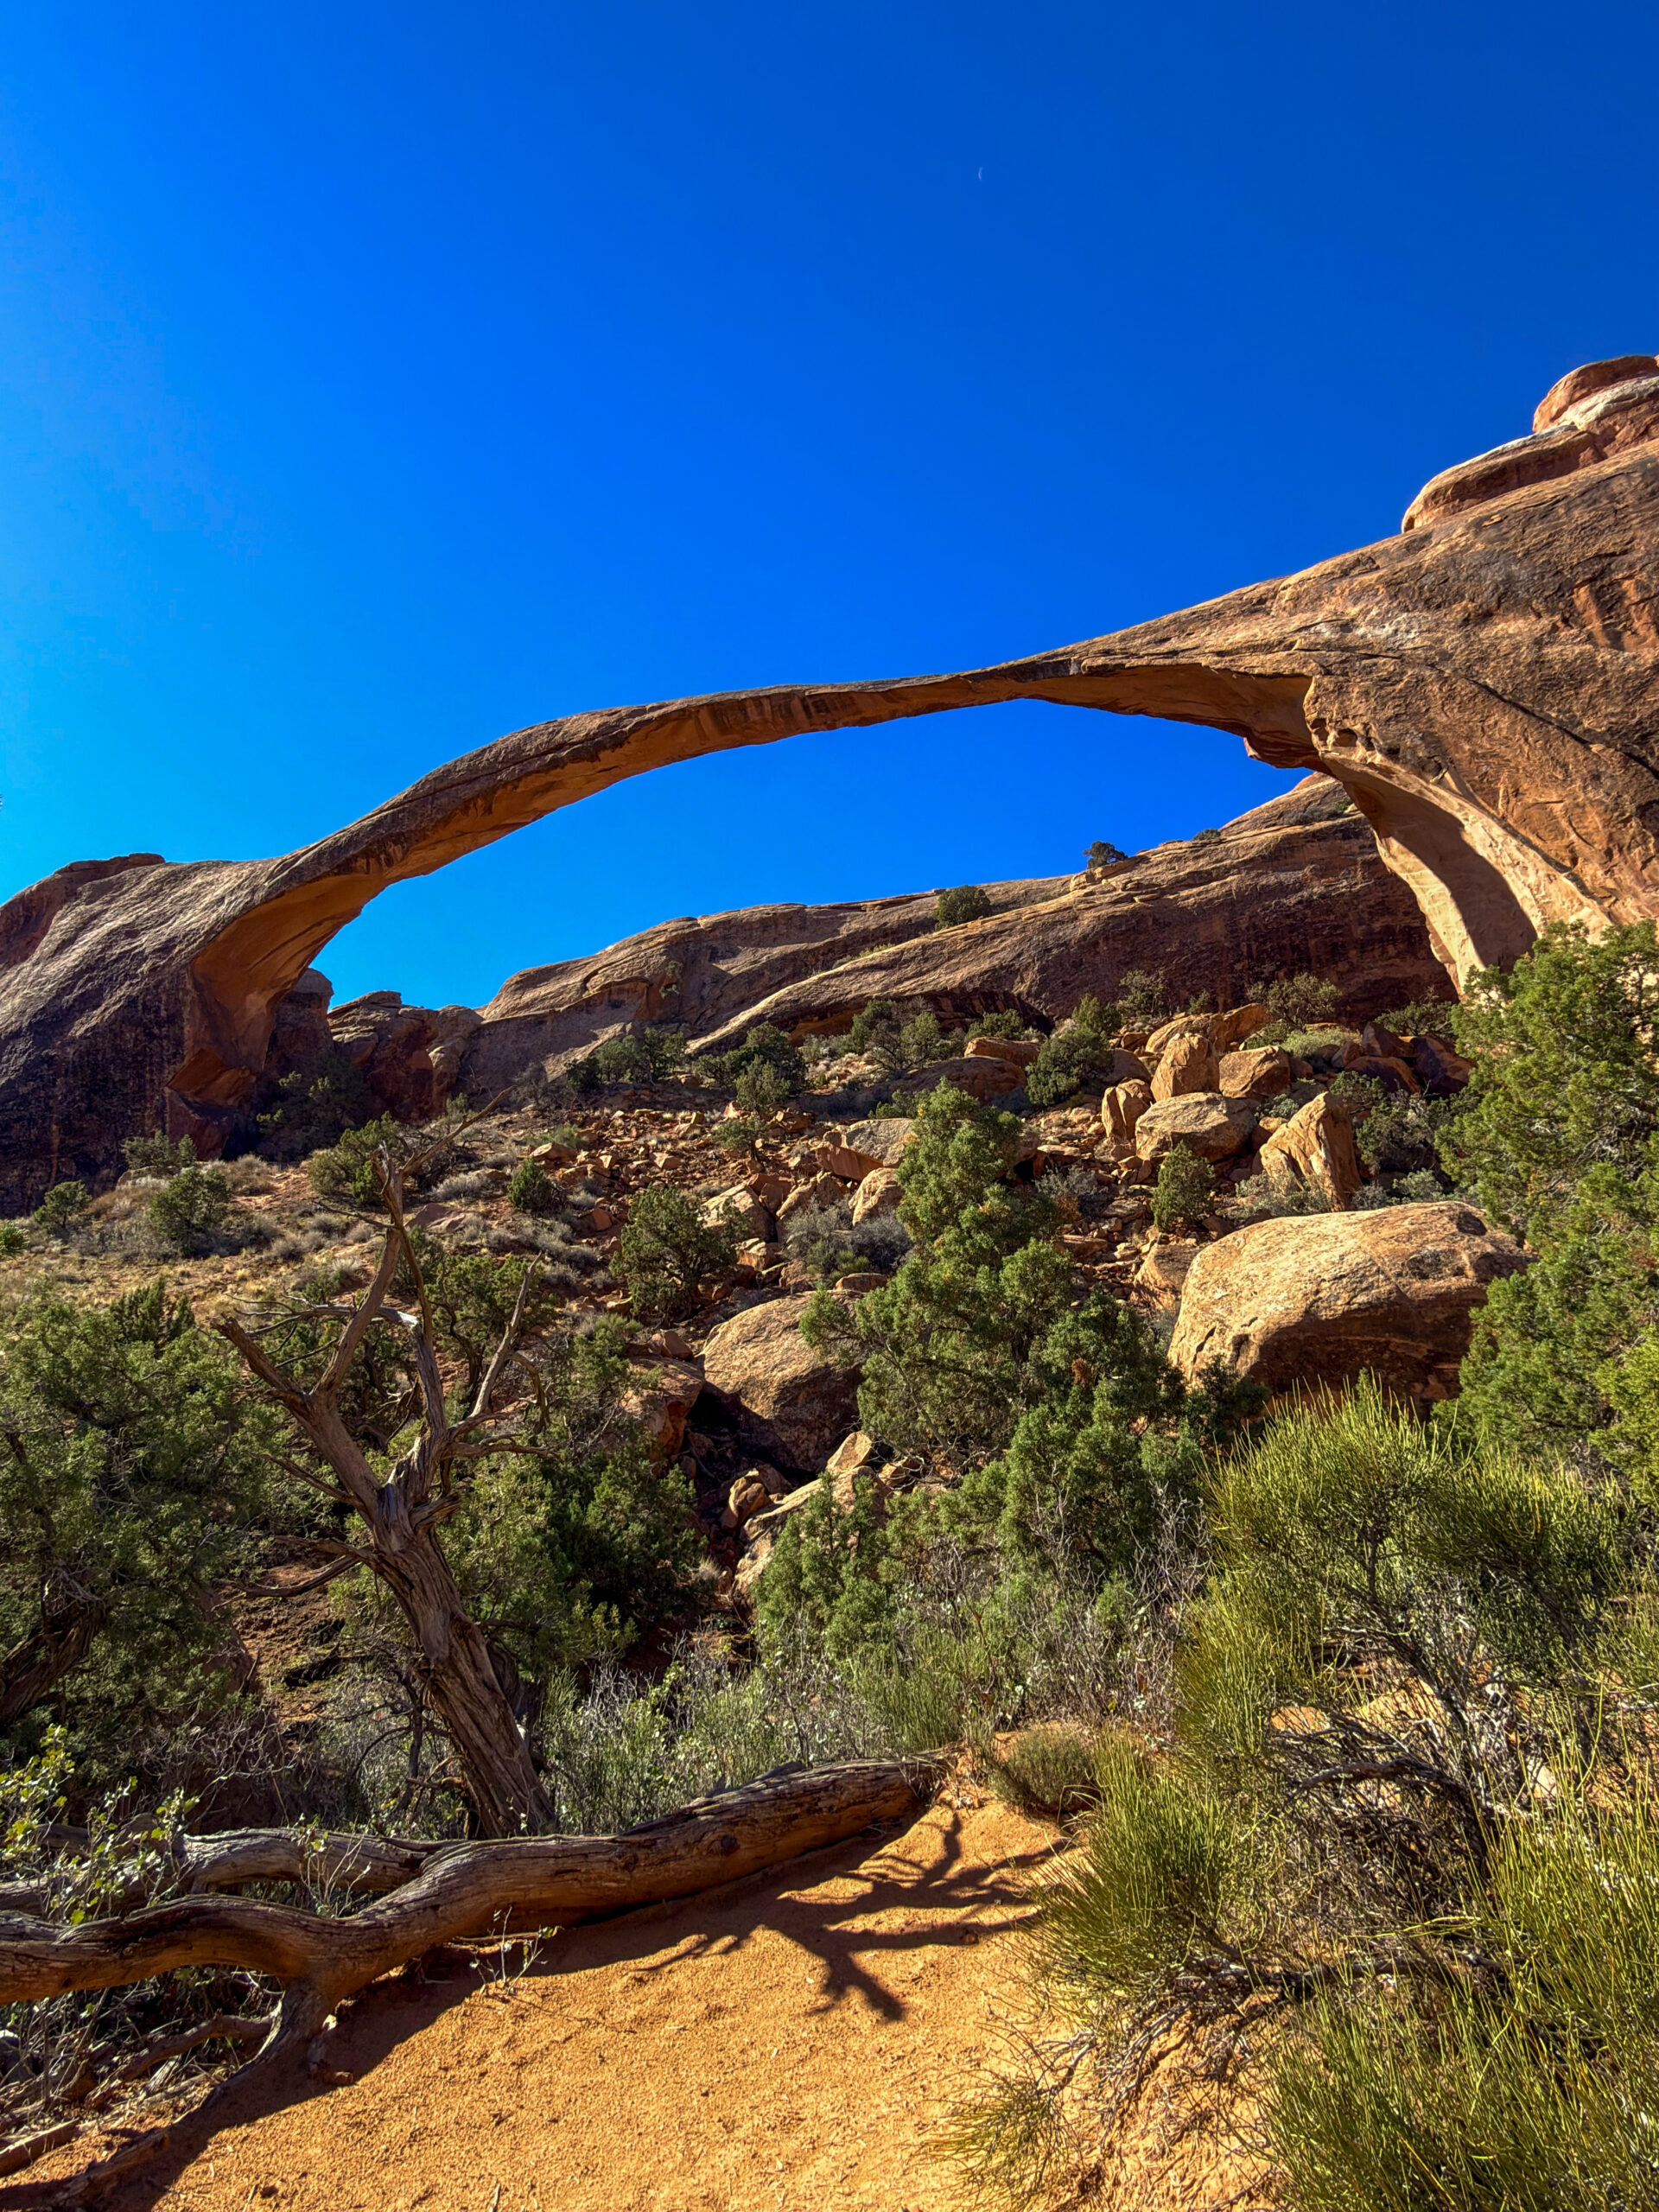
Our main goal for the day was the Devils Garden Trail, taking the longer route via the Primitive Loop. The hike is just under 13 kilometres long with around 370 metres of elevation gain, and along the way you’ll see several of the park’s most impressive natural arches. Our first stop was Landscape Arch, which, at 93.3 metres (306 feet) long, is the longest natural arch in North America and one of the longest in the world. Despite looking unbelievably fragile, it continues to defy gravity. In 1991, however, a massive slab of rock collapsed from the arch, and geologists agree that one day it will eventually fall completely. The only question is whether that will happen in ten years… or several hundred.
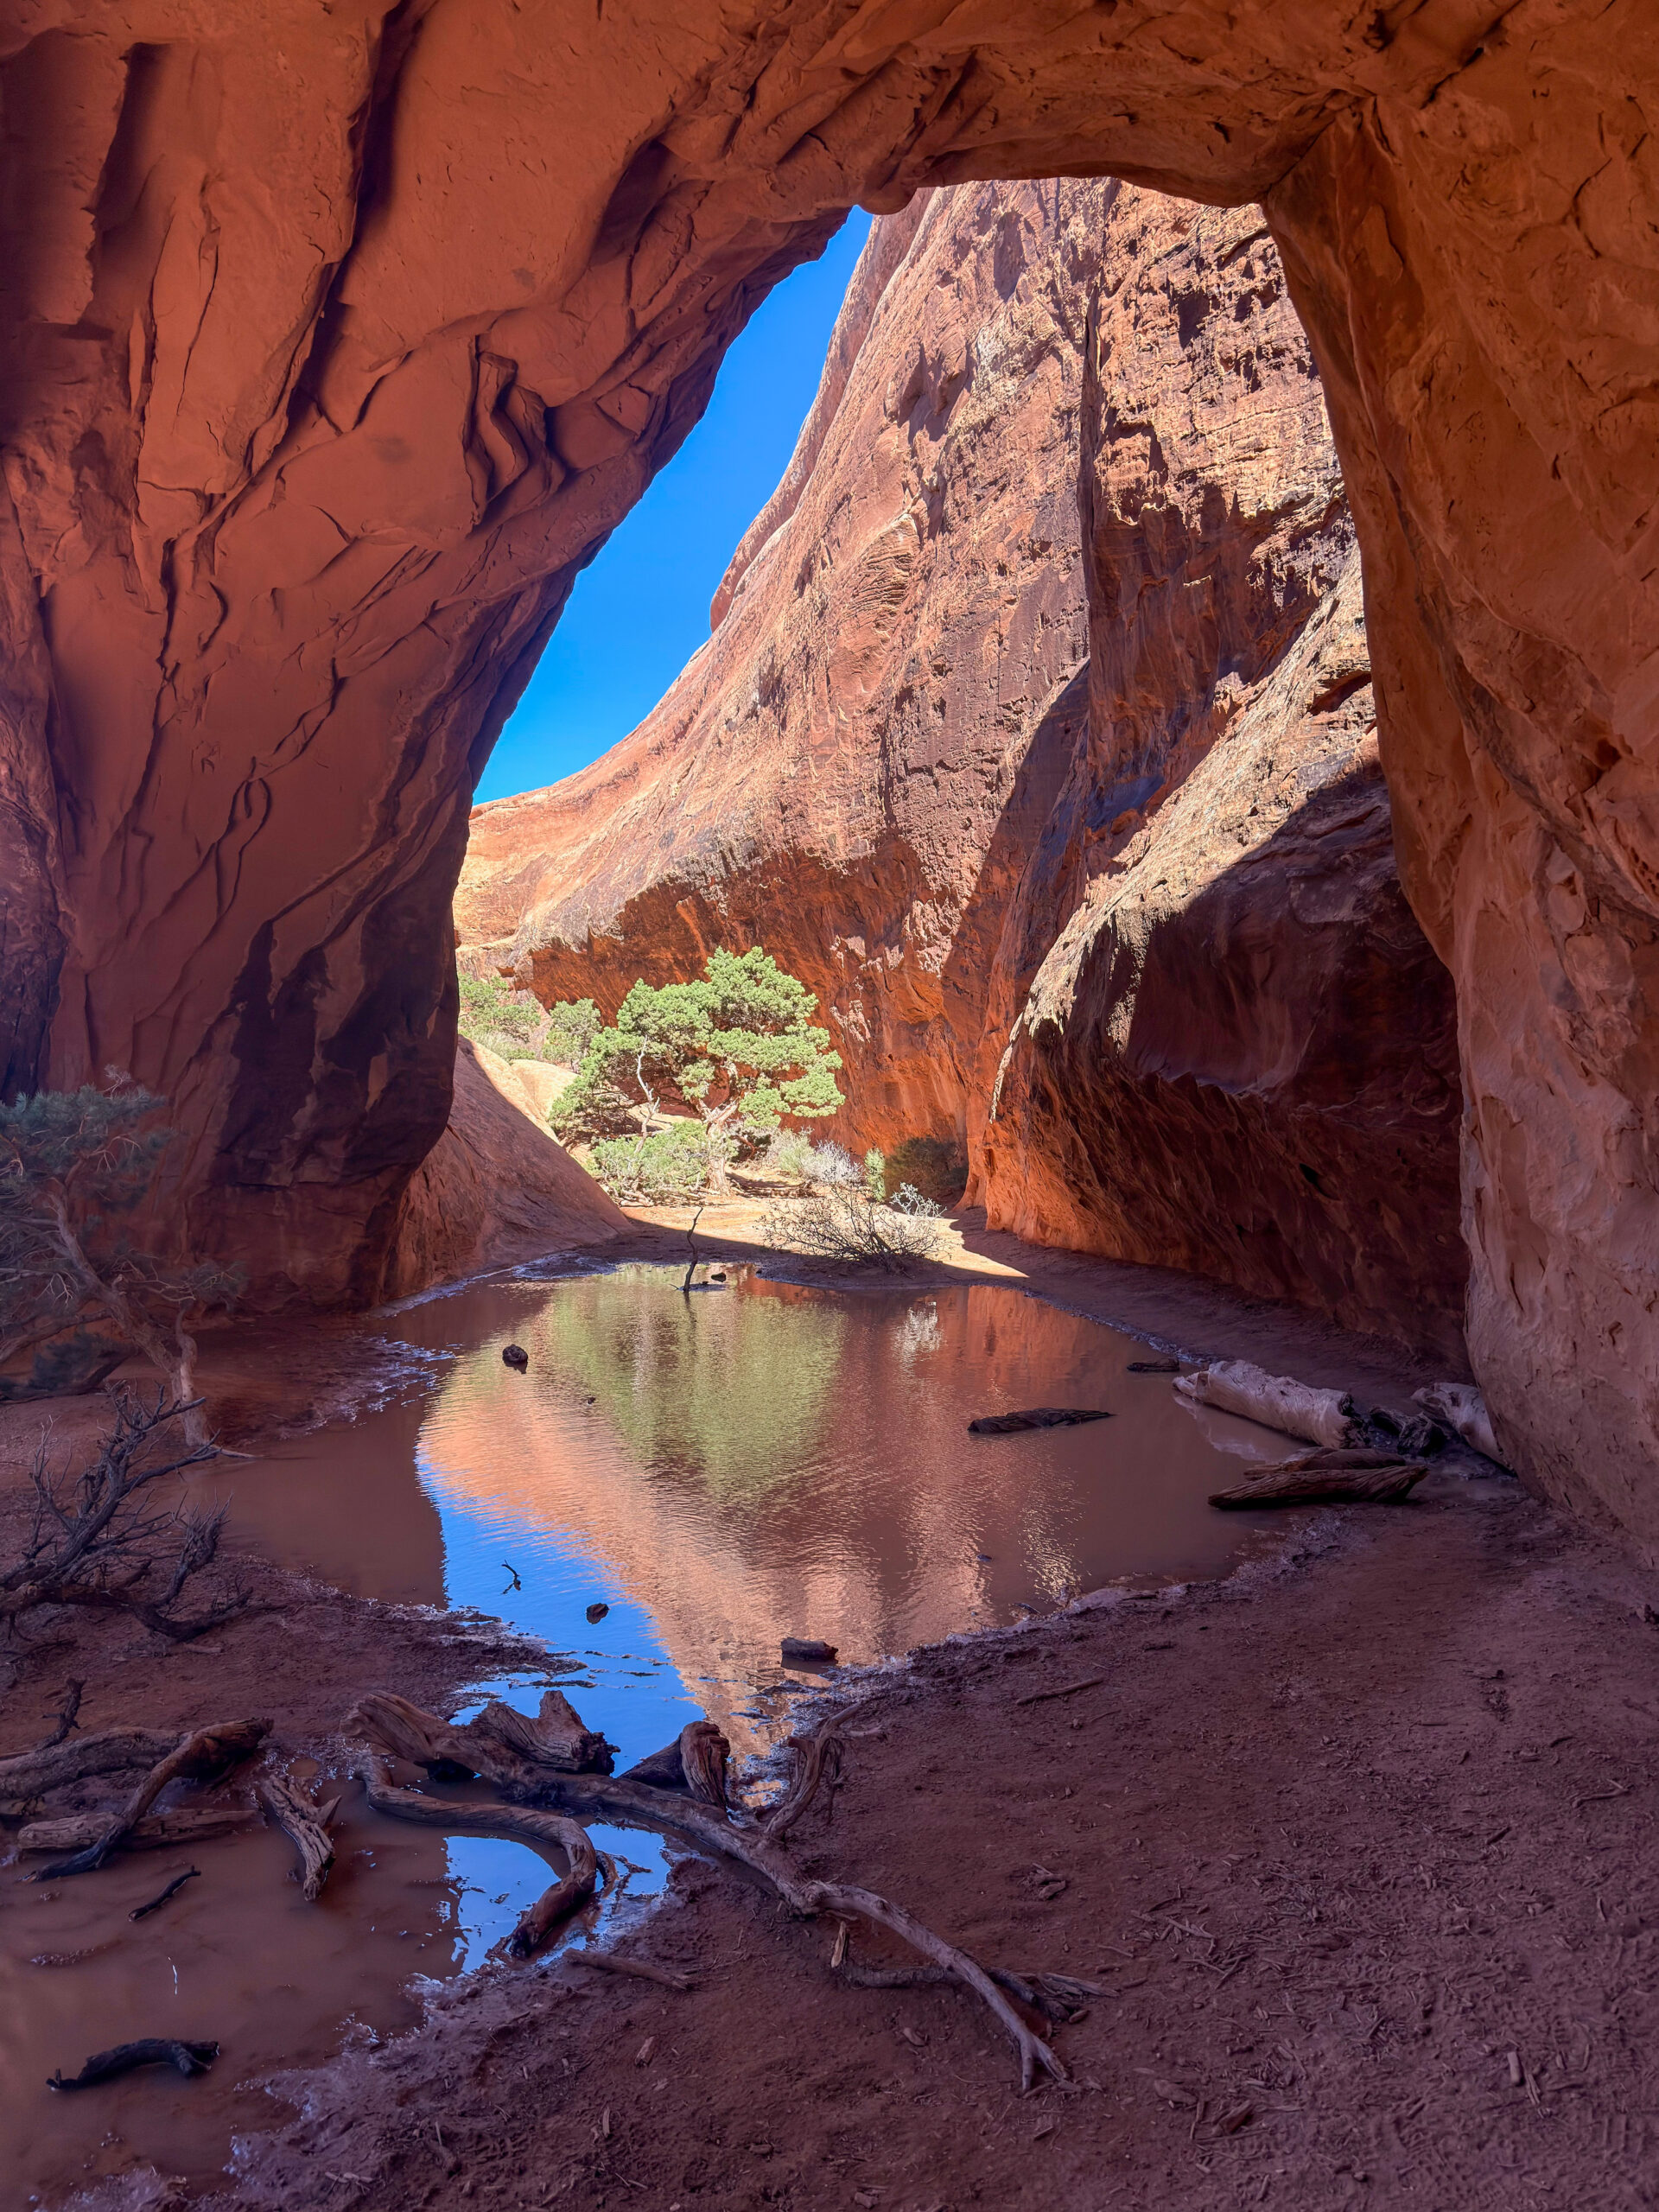
From there, we continued to Navajo Arch, Partition Arch, Double O Arch, before finishing the loop with Pine Tree Arch and Tunnel Arch. And I have to say that every single arch feels completely different, and each has its own unique character. If I had to recommend just two, they would definitely be Partition Arch and Navajo Arch. Both are only a short detour from the main trail, yet they attract far fewer visitors. Partition Arch looks like two enormous stone windows framing the surrounding landscape, while Navajo Arch feels almost like the entrance to another world. Even the short walk to reach it takes you past beautifully textured sandstone walls that are worth stopping to admire.
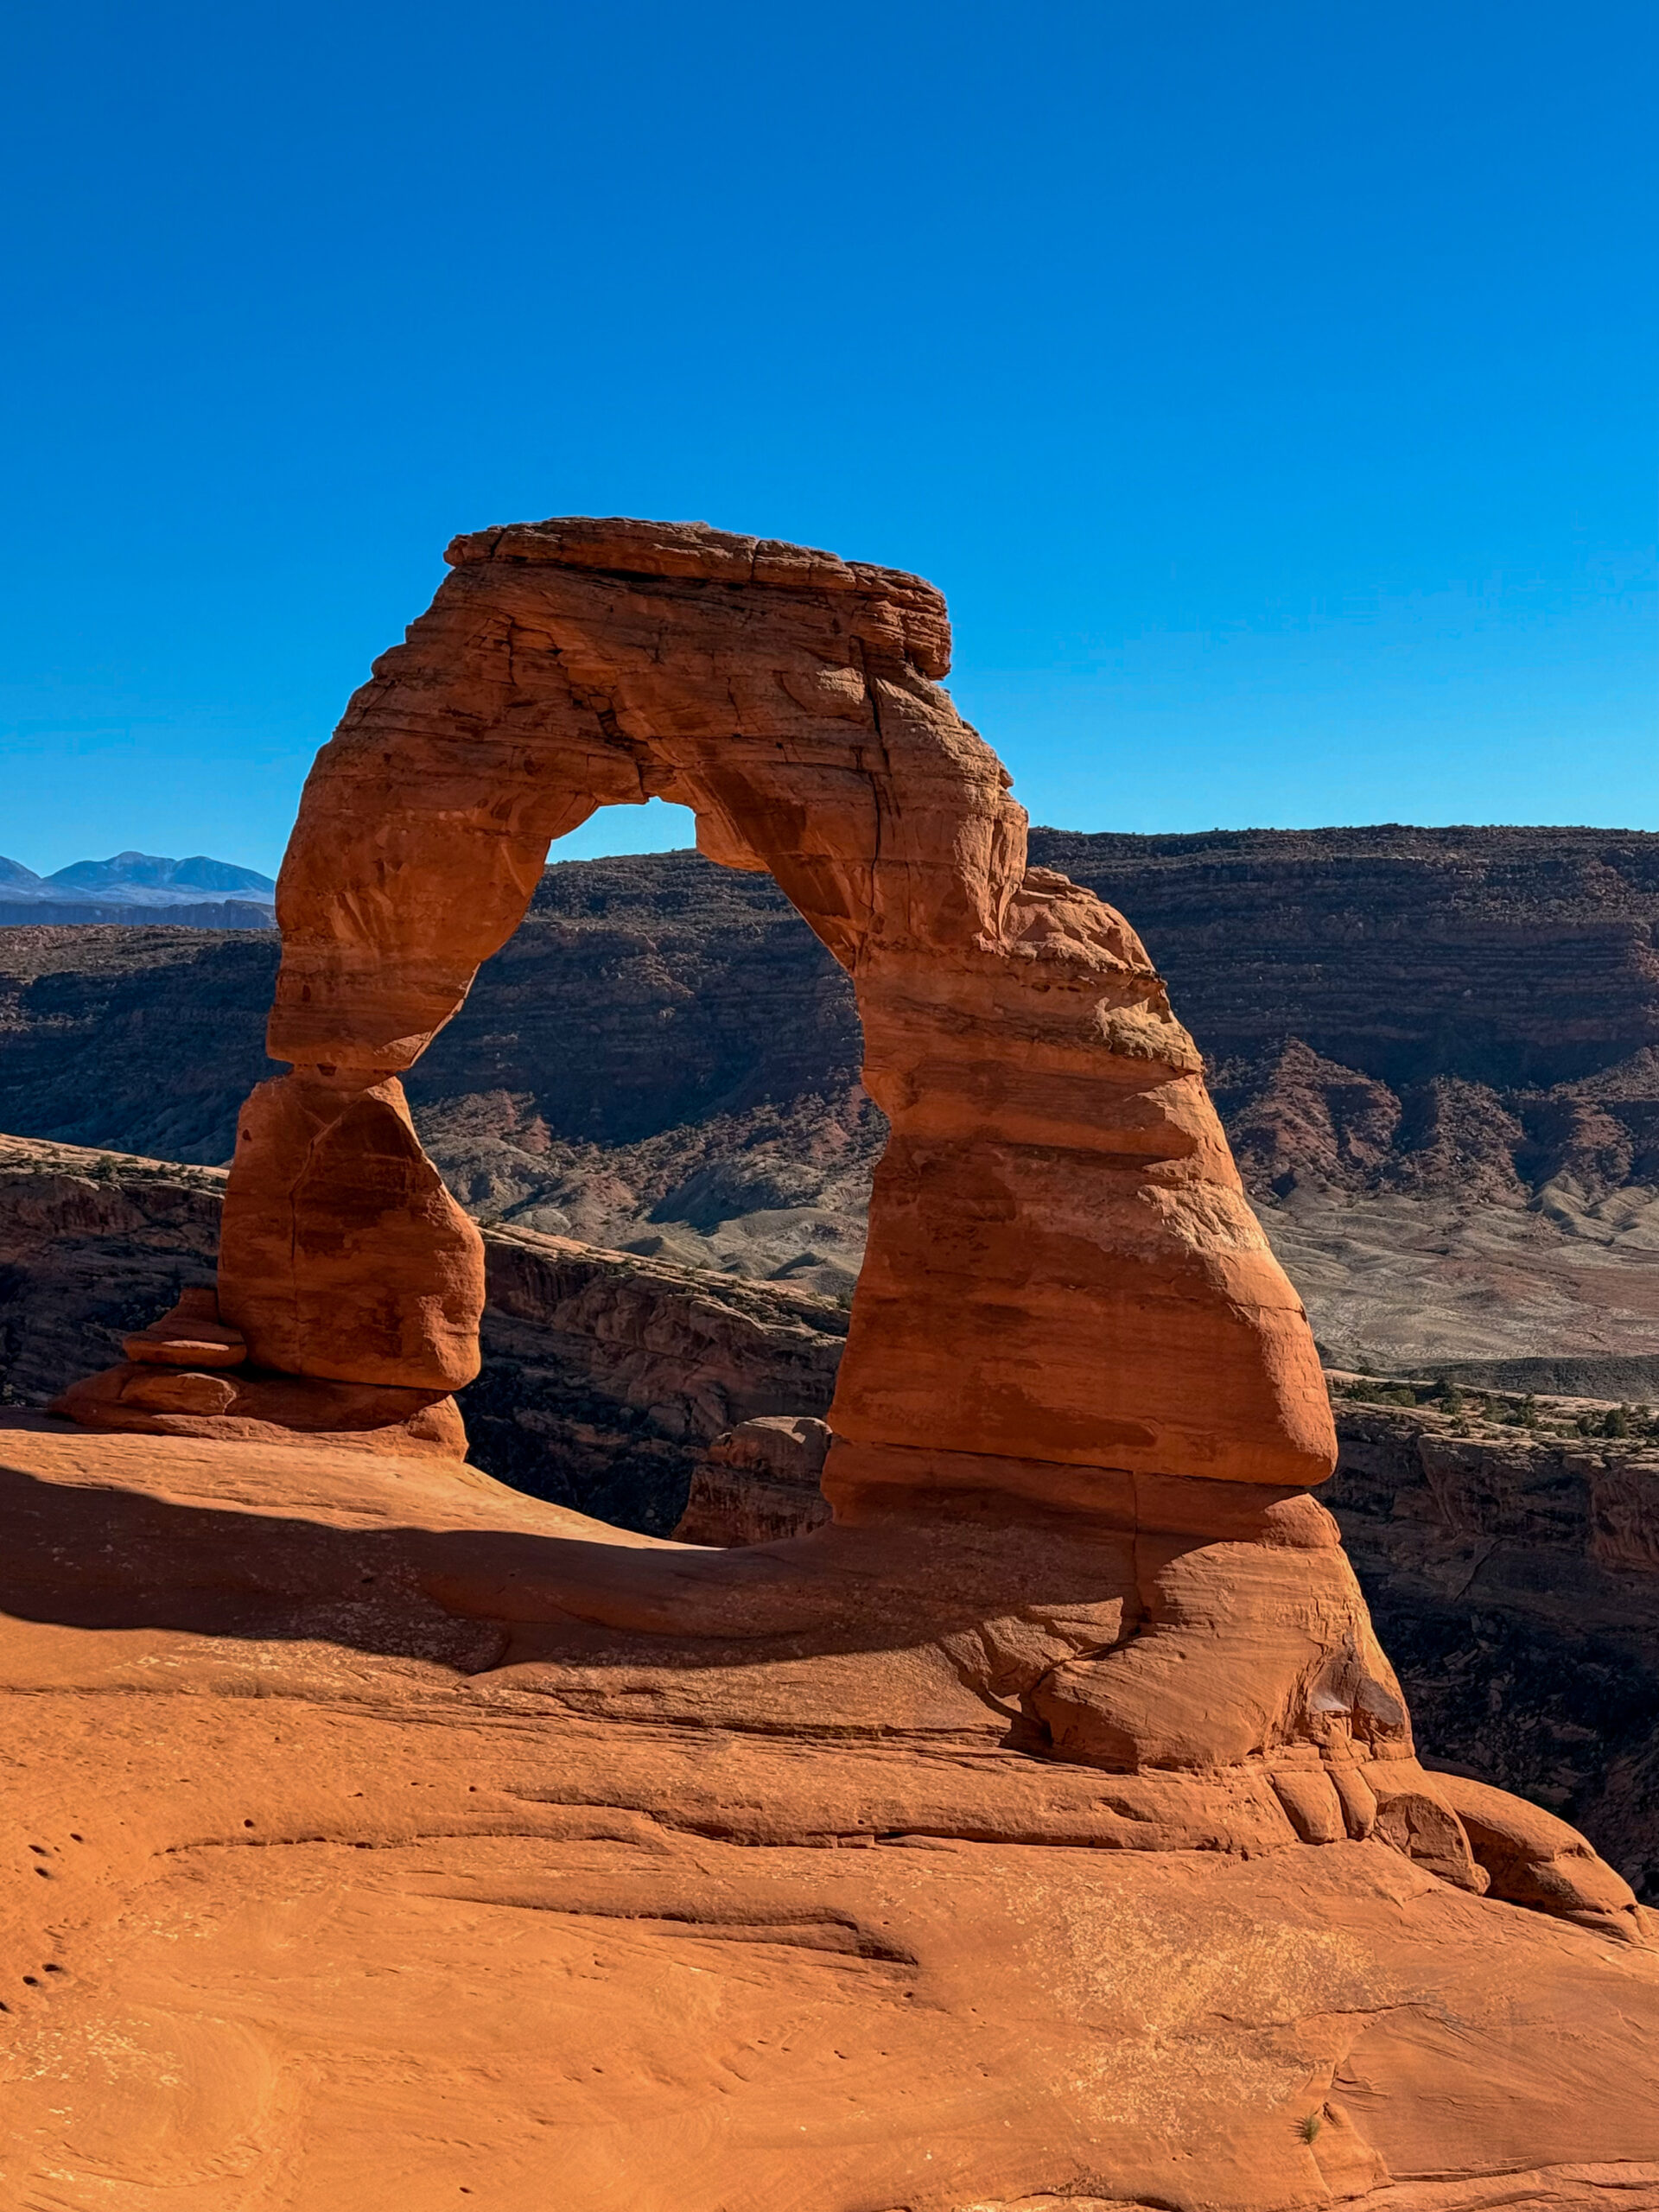
After finishing the hike, we headed to the most iconic landmark in the park—Delicate Arch. We briefly considered saving it for sunset, since that’s when the most famous photographs are usually taken, but in the end we planned the day around logistics instead. Honestly, I think Delicate Arch is stunning at any time of day. You just need to be prepared for one thing—you’ll almost certainly never have it to yourself. It’s the most famous arch in Utah and the symbol of the entire state, even appearing on Utah’s licence plates. Unsurprisingly, crowds gather not only at the arch itself but along most of the trail as well.
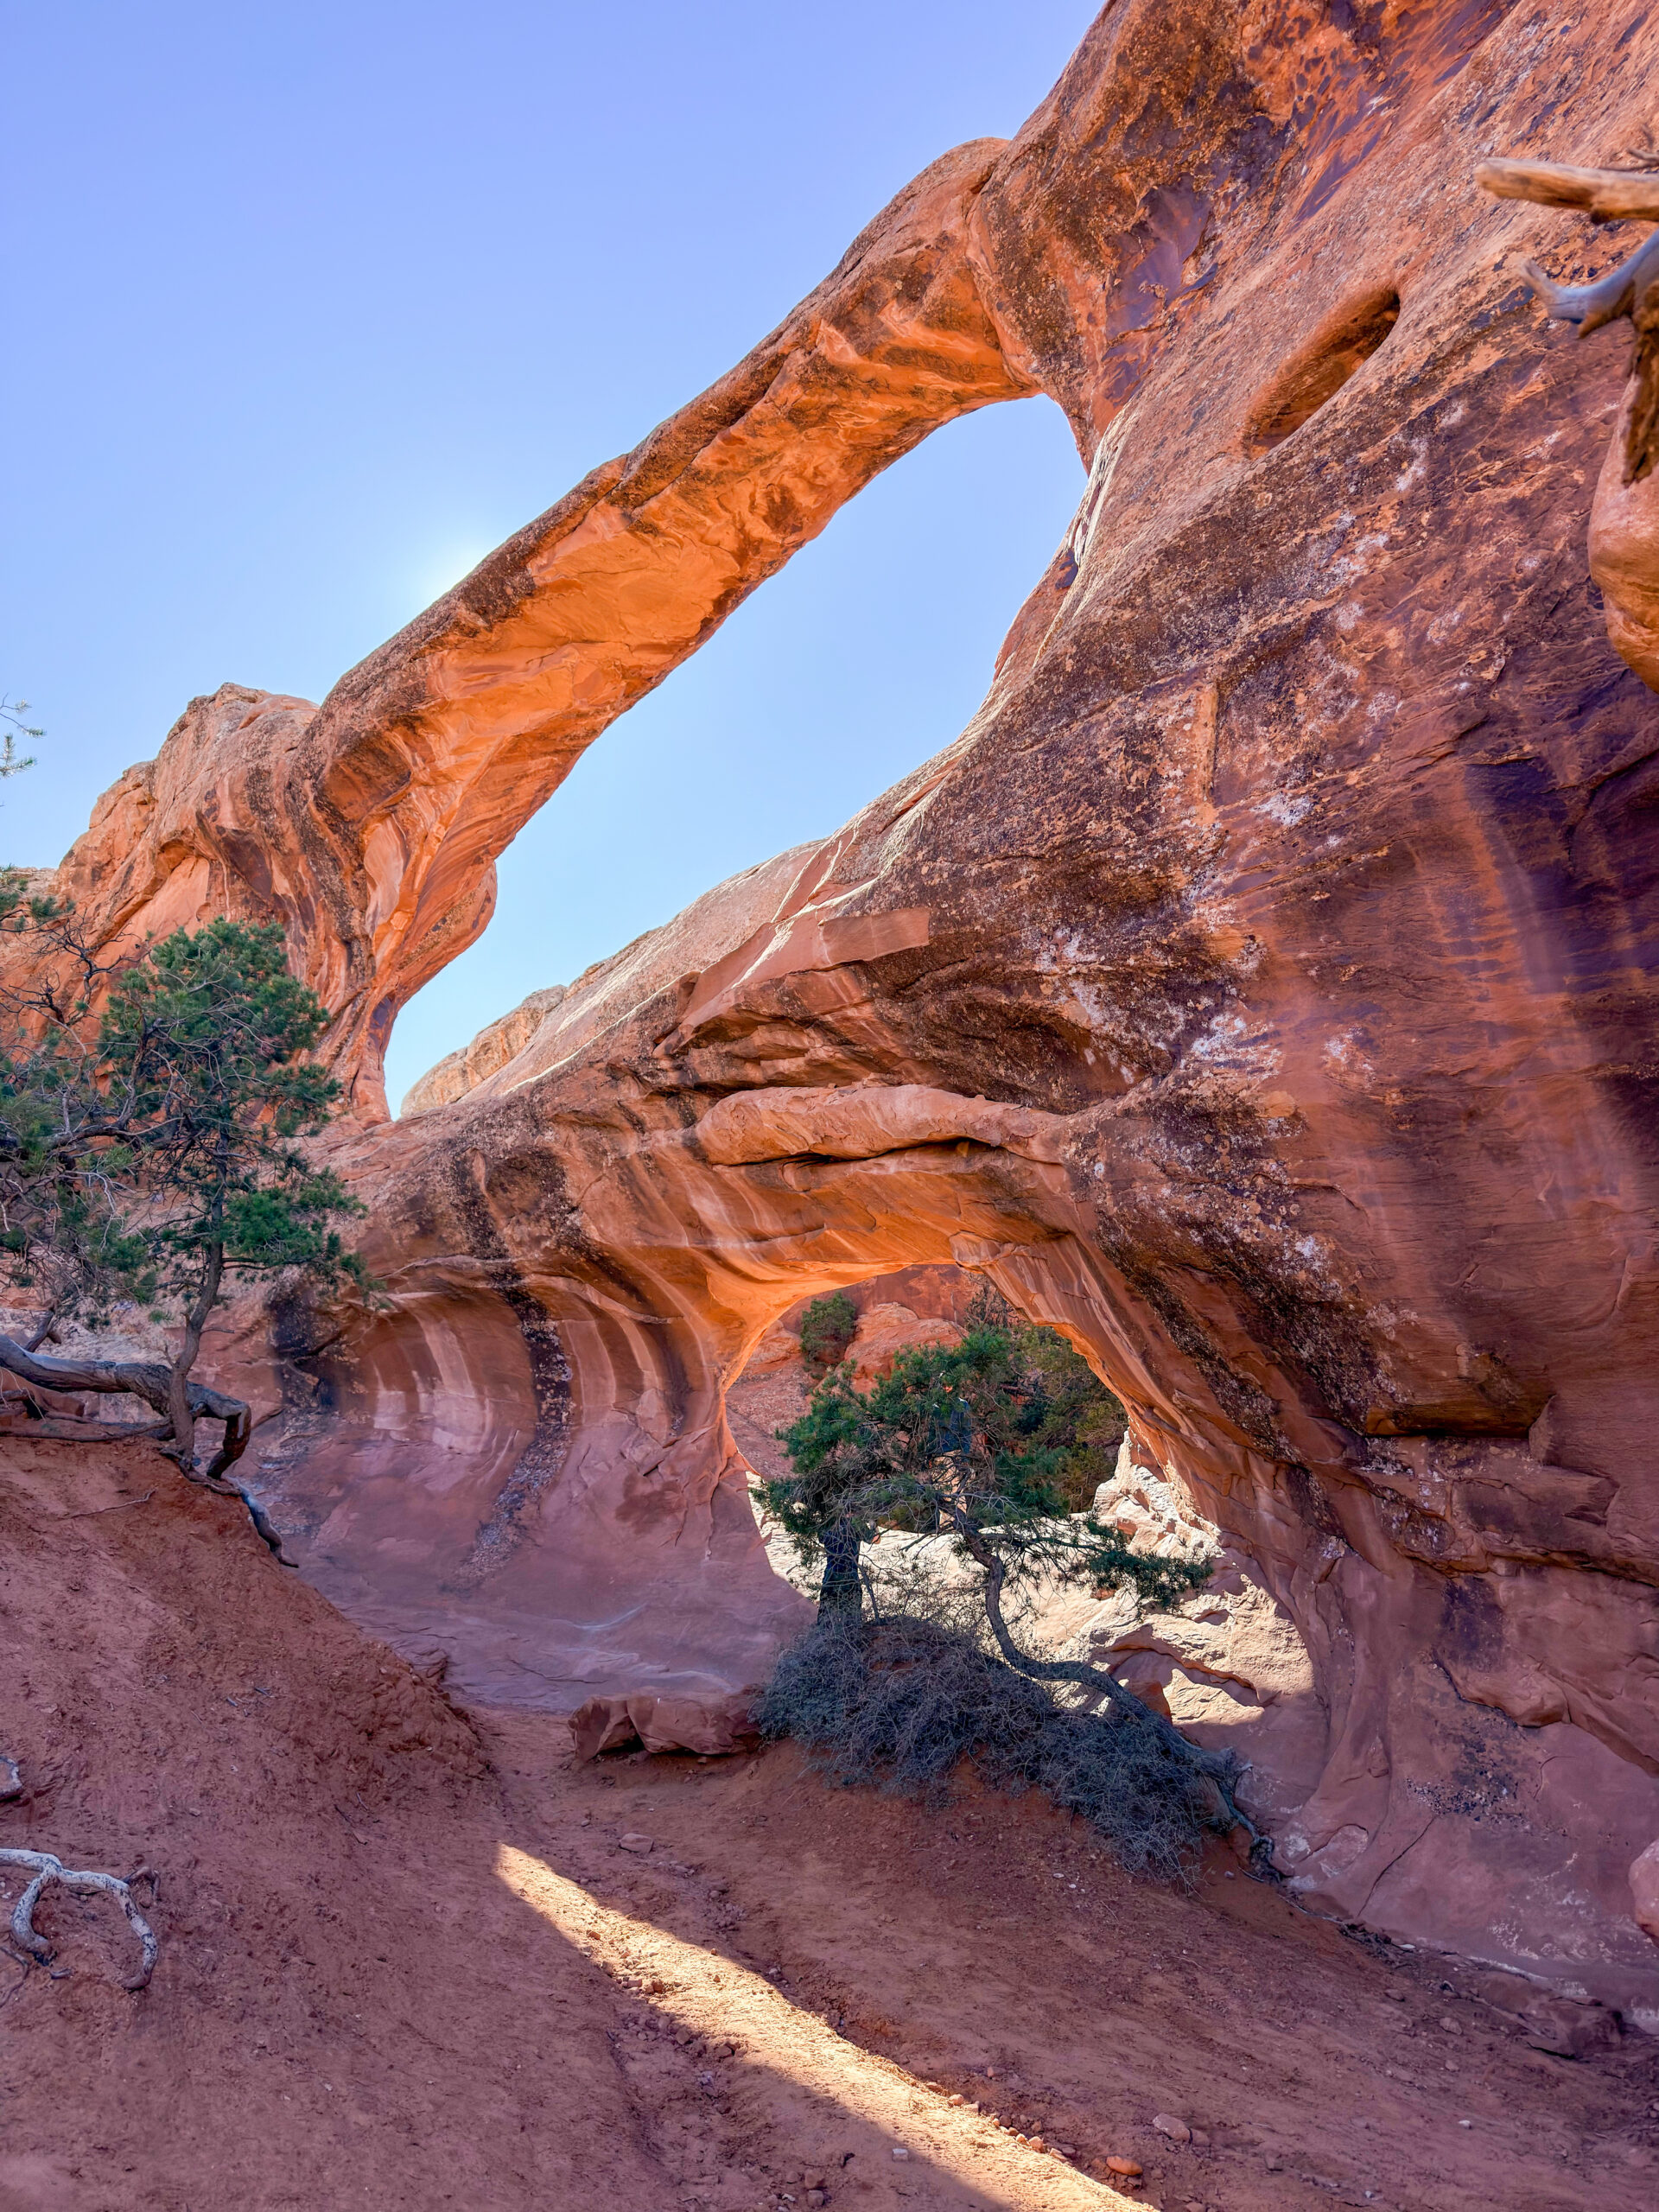
Our next stop was the short walk to The Windows and Double Arch. By this point, it was already around 5 p.m., and the park was absolutely packed. Even so, we really enjoyed this short walk. The entire loop is only about two kilometres long on well-maintained paths, making it accessible to almost every visitor.
To finish the day, we saved one of the biggest surprises for last—Corona Arch. Unlike the arches inside the national park, Corona Arch lies outside the park boundary, meaning there’s no entrance fee or reservation required. Even so, only a fraction of Arches visitors make the trip here. We started the hike at around 6 p.m., roughly forty minutes before sunset, and during the entire walk we probably met no more than ten other people.
Right at the beginning of the trail, you cross a railway line used by incredibly long freight trains. Watching one pass by is an experience in itself. Just before reaching the arch, there’s also a short adventurous section with chains and a metal ladder. It’s not particularly difficult, but it adds a fun little challenge to the hike. From the arch itself, the views across the surrounding canyons are spectacular, and in some ways they reminded me of a smaller version of the Grand Canyon, again.
After sunset, we continued driving towards Green River. Just outside town, we found a fantastic free campsite next to Crystal Geyser using iOverlander. Unlike traditional geysers, Crystal Geyser isn’t powered by volcanic activity. Instead, carbon dioxide gas forces the water to the surface. Its eruptions are unpredictable—sometimes they happen every few hours, while at other times you might wait an entire day without seeing any activity. We were lucky enough to spend the night just a few metres away from this unusual natural phenomenon.
You’ll also find every place we camped during our road trip marked on the map.
Day 6 (October 17, 2025)
Little Wild Horse Canyon [2.95 km | ↑ 26 m | ↓ 26 m]
Hickman Bridge [4.05 km | ↑ 159 m | ↓ 159 m]
We enjoyed a peaceful morning, cooking breakfast while listening to the hissing and splashing of Crystal Geyser. It was a pretty unusual soundtrack for breakfast and definitely one of the most memorable places we camped during our road trip. After breakfast, we headed to a viewpoint that looked promising on the map. Unfortunately, the reality was quite different. After driving a fairly long dusty road, we discovered that the view wasn’t even worth taking a photo. Oh well… you can’t hit the jackpot every time. I won’t even bother adding this spot to the map.
Our next destination was Goblin Valley State Park. Even the drive there is beautiful, with red rock formations alternating with wide-open desert landscapes. It honestly feels like driving through the set of a science fiction movie. But we got a surprise before we even entered the park. A long line of cars was waiting at the entrance gate. When it was finally our turn, the ranger explained that it was a long weekend because of the school holidays, and the park was also hosting a movie night. They were screening films that had been at least partially filmed in Goblin Valley, such as The Covered Wagon, Galaxy Quest, and the TV series Westworld. It was no wonder the park was packed with visitors.
The main parking lot was already completely full, so the ranger gave us a few options: wait for a parking space, leave the car near the visitor centre and walk, or head to Little Wild Horse Canyon instead. He also told us that many locals actually consider Little Wild Horse Canyon to be an even better experience than Goblin Valley itself. Our friend Jess, who knows Utah incredibly well, had told us exactly the same thing.
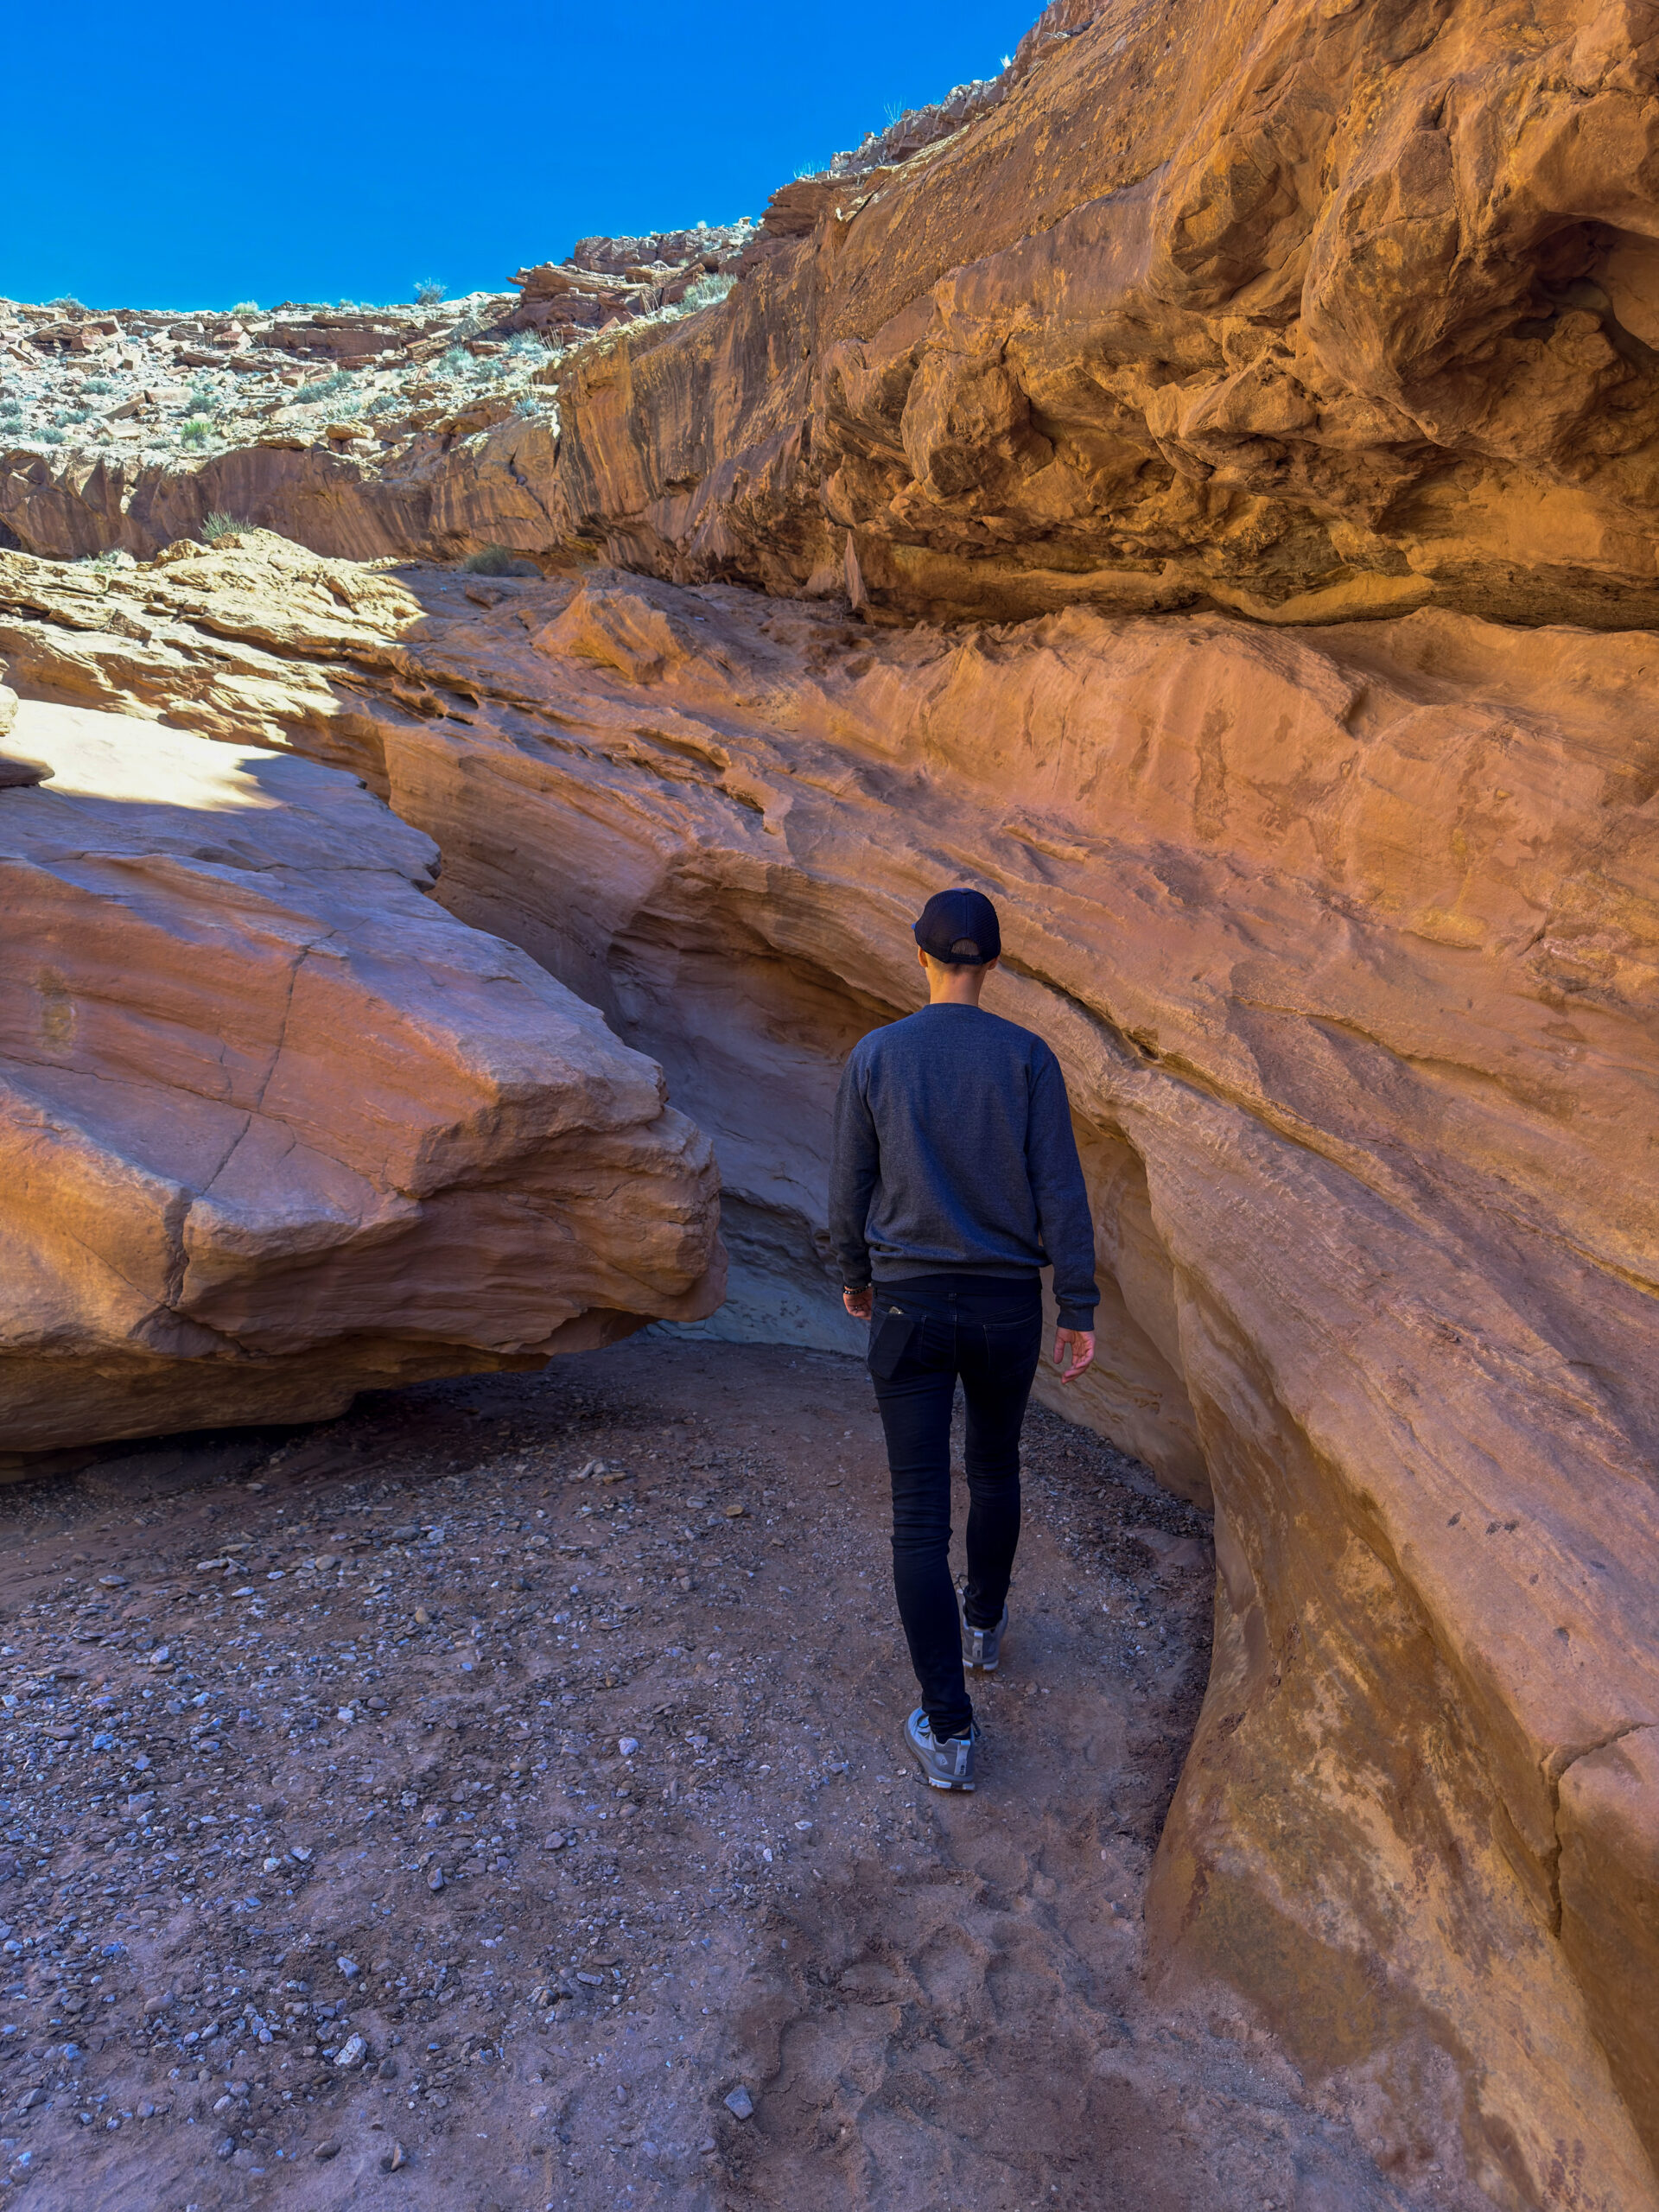
In the end, we followed their advice—and we definitely didn’t regret it. While entry to Goblin Valley costs $20 USD per vehicle, Little Wild Horse Canyon is completely free. The trail follows a beautiful slot canyon, isn’t particularly long or difficult, and you can simply turn around whenever you’ve had enough. Even if you only hike part of the canyon, it’s absolutely worth the visit.
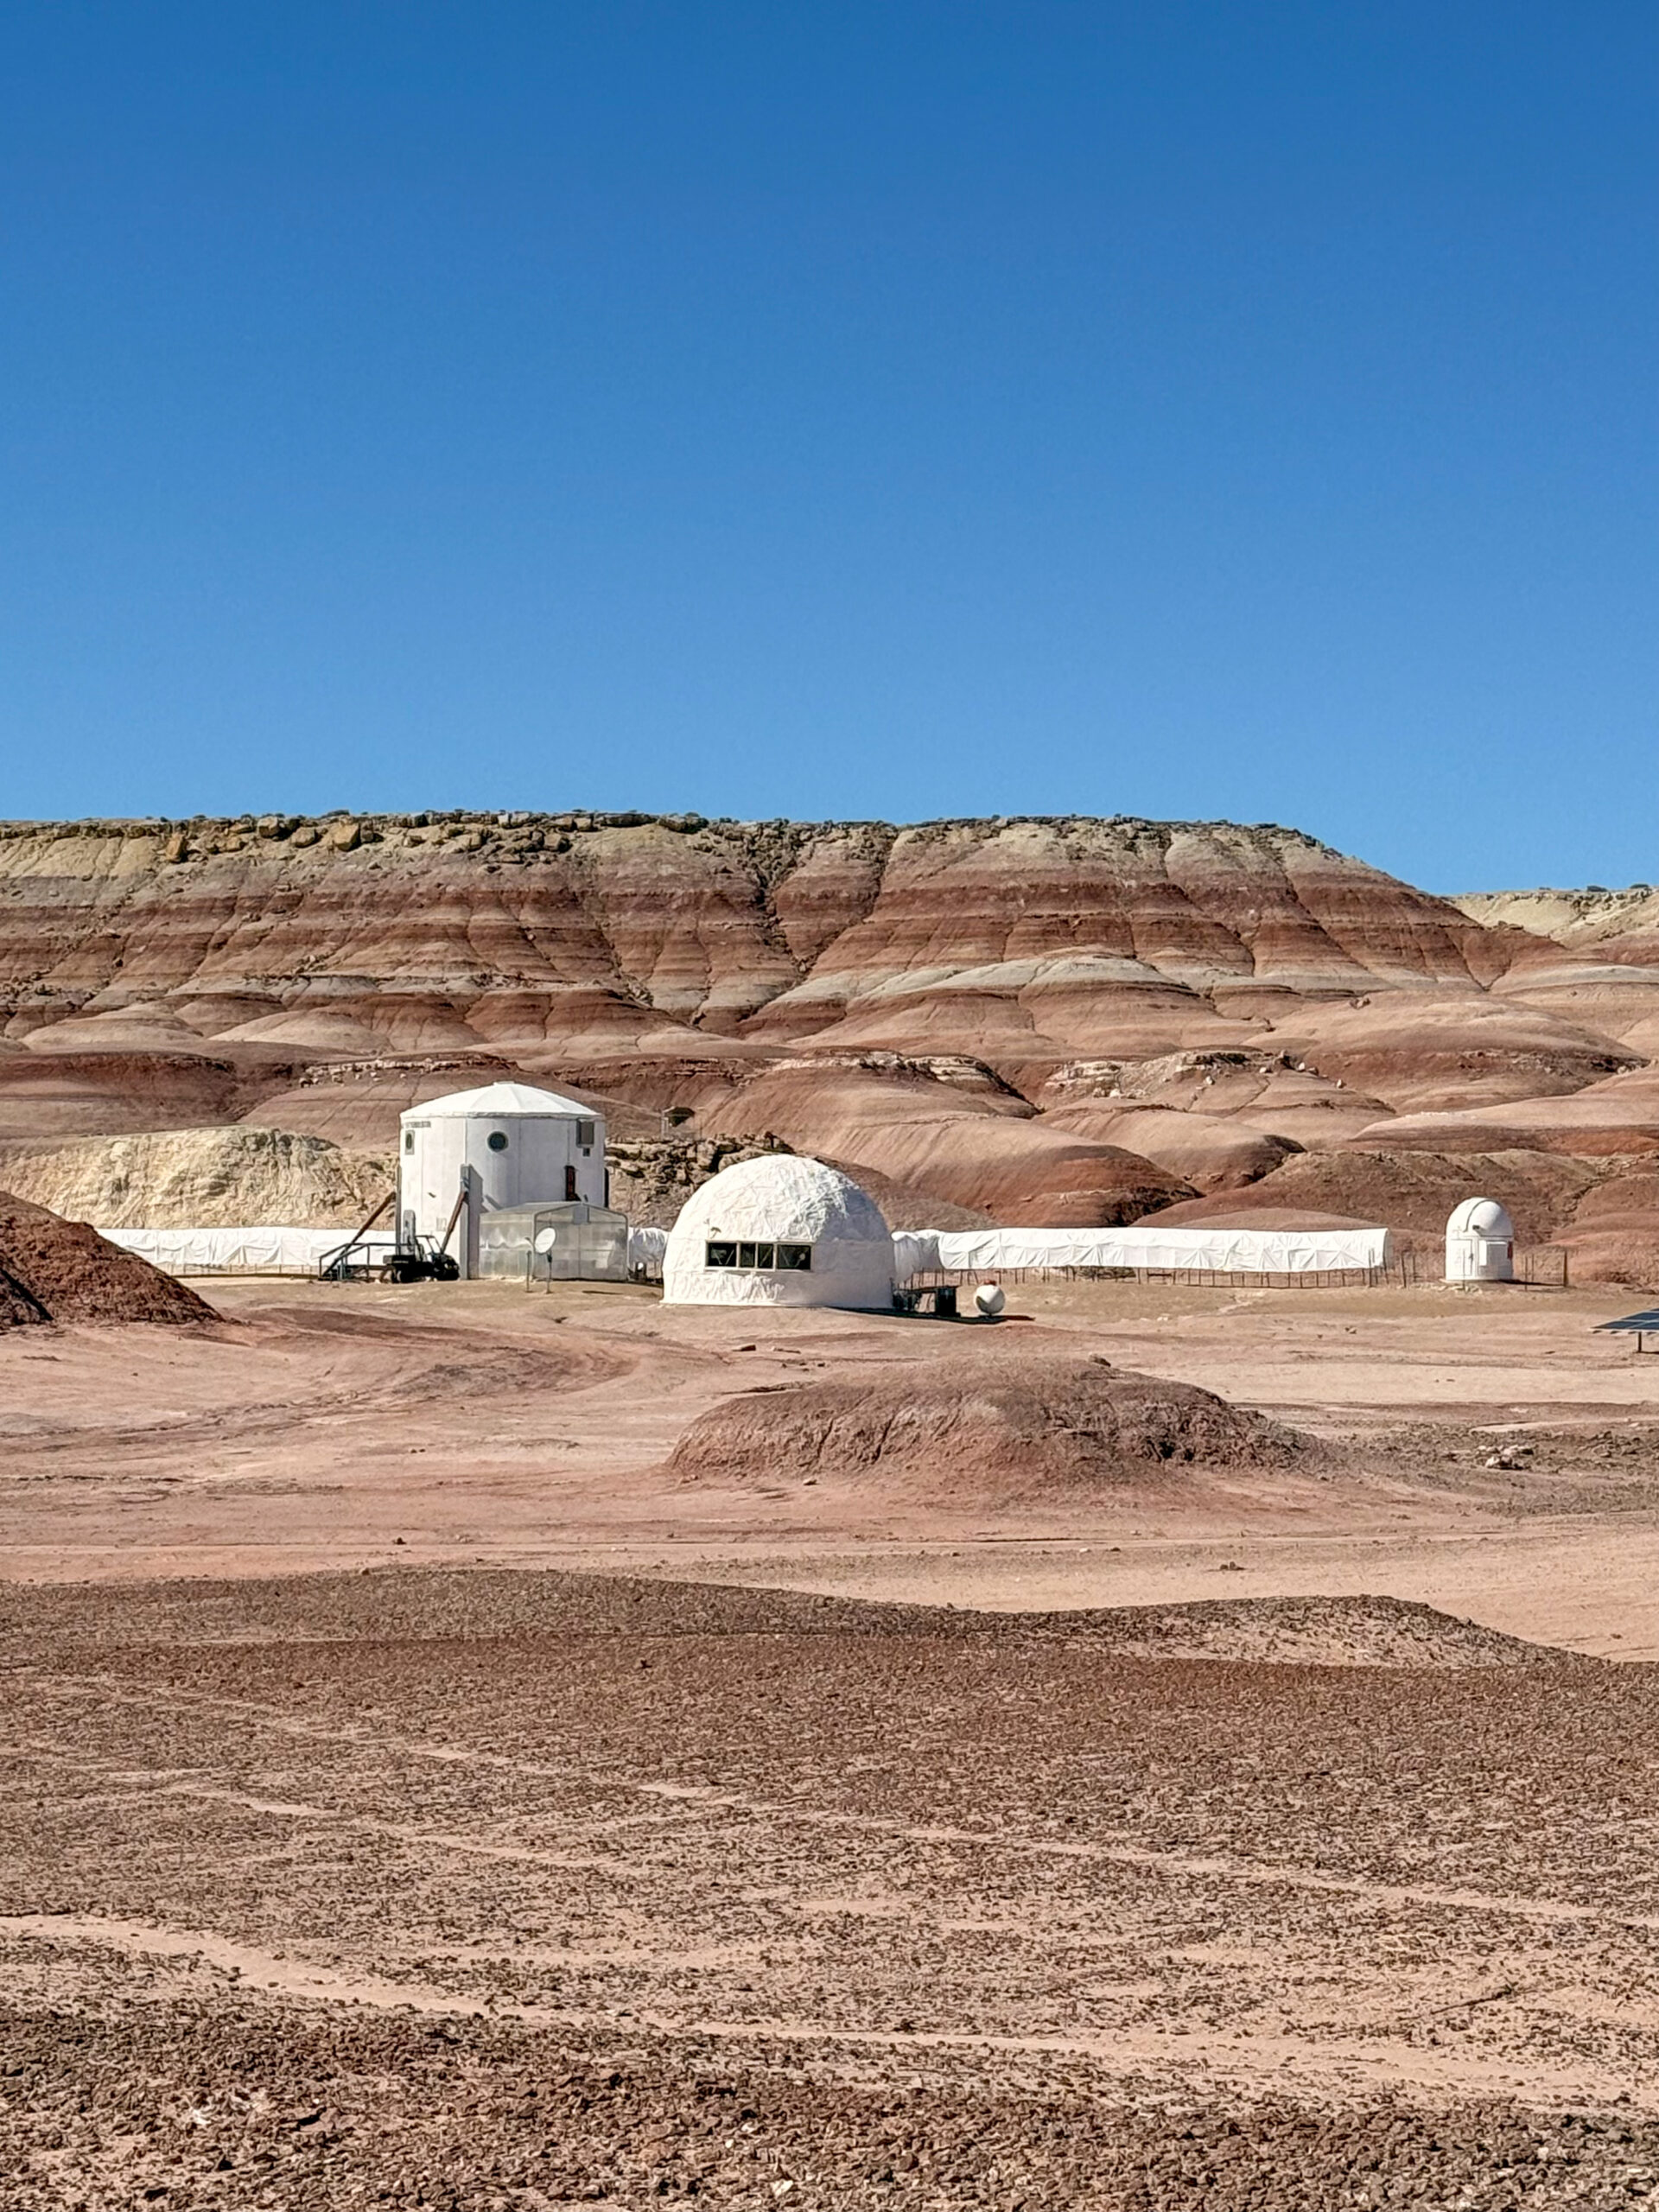
Not far from here is the Mars Desert Research Station. As we drove through the area, it wasn’t difficult to understand why this location was chosen for a simulated Mars habitat. The surrounding landscape looks so much like photographs from the Red Planet that scientists use it to test new technologies, conduct research, and train future astronauts. Crews spend several weeks living in isolation, wearing space suits whenever they leave the habitat and operating as if they were actually on Mars. The station itself isn’t open to the public, but you can easily drive to the informational sign. Beyond that point, access is restricted.
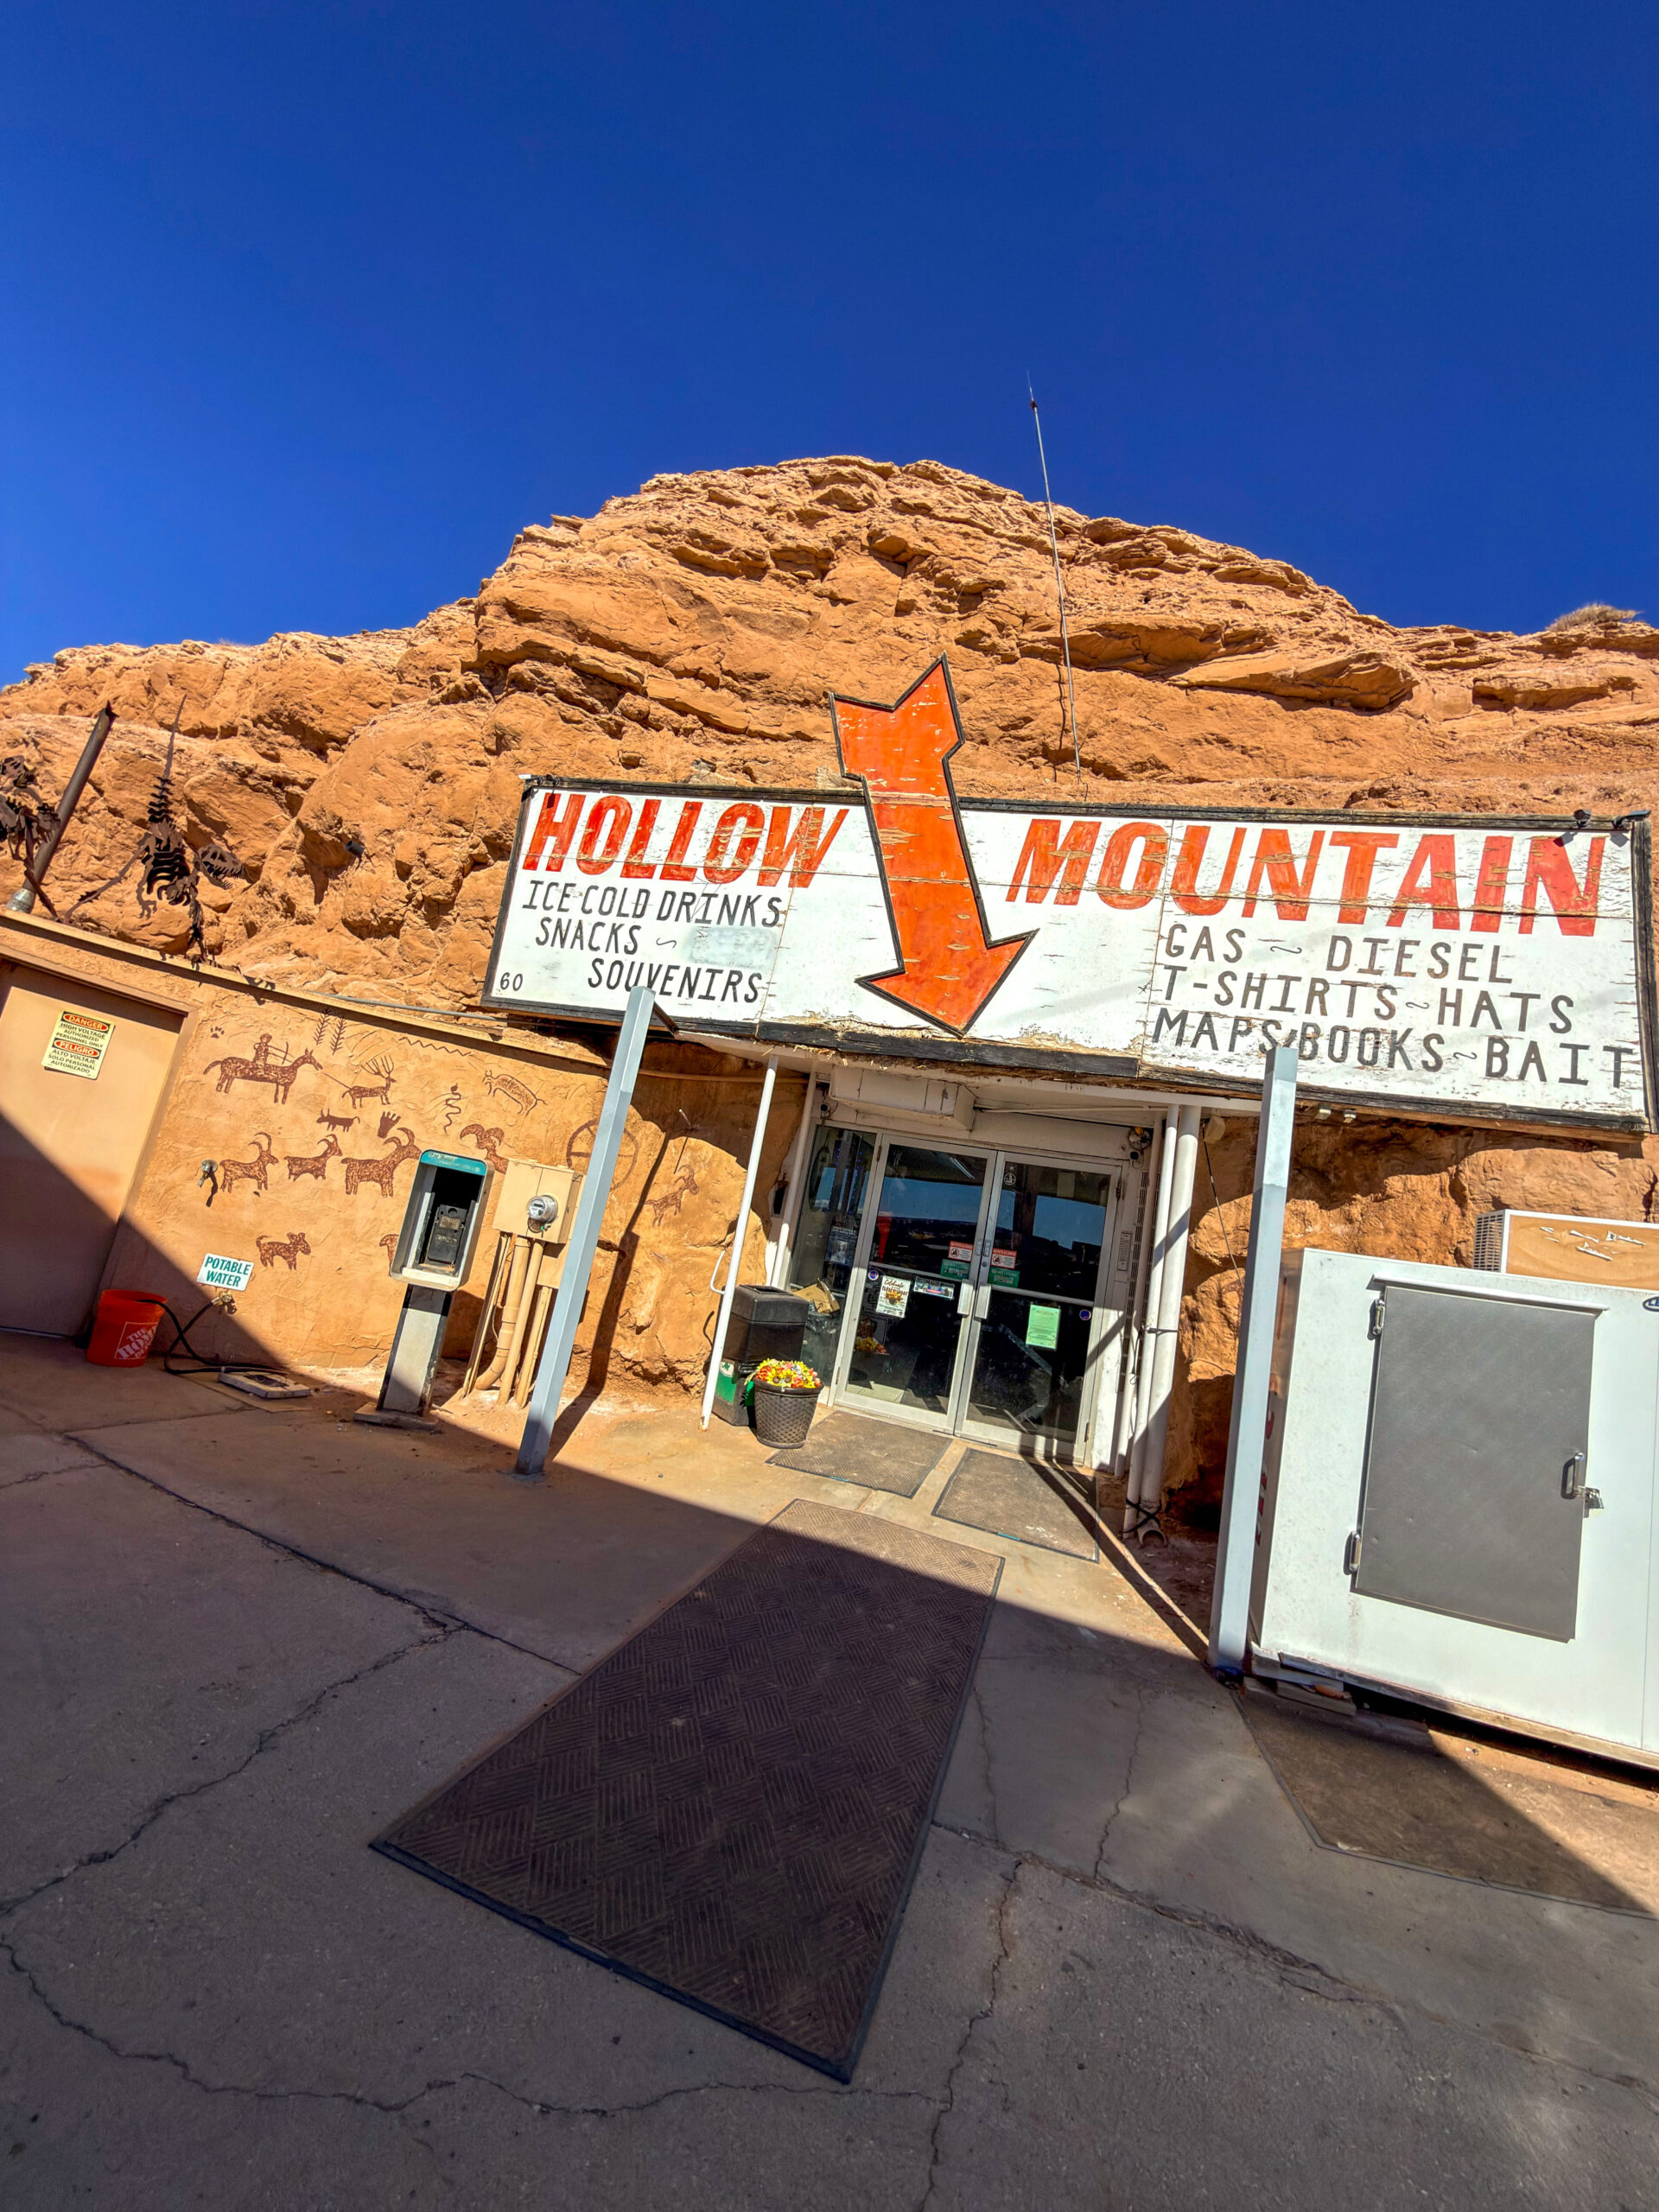
Just before reaching the town of Hanksville, we came across one of the most unusual gas stations we’ve ever seen. The small convenience store is literally built into the rock. From the outside, it looks fairly ordinary, but once you step inside, you’ll be surprised by how much space is hidden within the cliff.
We then continued to Factory Butte, the iconic mesa that’s become a favourite destination for photographers and drone pilots alike.
Just a few kilometres farther are the Bentonite Hills, colourful clay formations that look like something straight out of the movie Avatar. They are best visited in dry conditions. Some areas are located on private property and aren’t accessible, while others can be reached by car, although you’ll need at least a high-clearance vehicle—and ideally a 4WD—since one section requires crossing a shallow river.
Along the way, we also enjoyed driving the legendary Burr Trail, one of the most scenic roads in Utah. The road winds its way through towering red cliffs before eventually reaching the boundary of Capitol Reef National Park. That was our next destination.
Besides exploring the incredible rock formations, we also wanted to visit the Fruita Historic District, famous for its historic orchards. During the harvest season, visitors can pick their own apples, peaches, apricots, pears, and cherries. Unfortunately, we arrived right at the end of the season, so there wasn’t a single piece of fruit left.
You can find more information about the orchards on the National Park Service website. That wasn’t the end of our disappointment. I also had one more goal—to try the famous pies from Gifford Homestead. Unfortunately, by the time we arrived in the late afternoon, everything had already sold out. At least we managed to try their homemade ice cream, and it was absolutely delicious.
I was also given a useful tip: if you want one of the famous pies during the busy season, arrive before opening time. They often sell out within the first couple of hours. It was clear we’d have to set our alarms a little earlier the next morning.
To finish the day, we hiked to Hickman Bridge. We started the trail at around 5 p.m., which gave us beautiful light before sunset. We hardly met anyone along the way—only a few people heading back to the parking lot. As a result, we enjoyed the four-kilometre walk almost entirely to ourselves. The views of Capitol Reef’s towering red cliffs were spectacular, and the hike ended beneath yet another of Utah’s iconic natural arches.
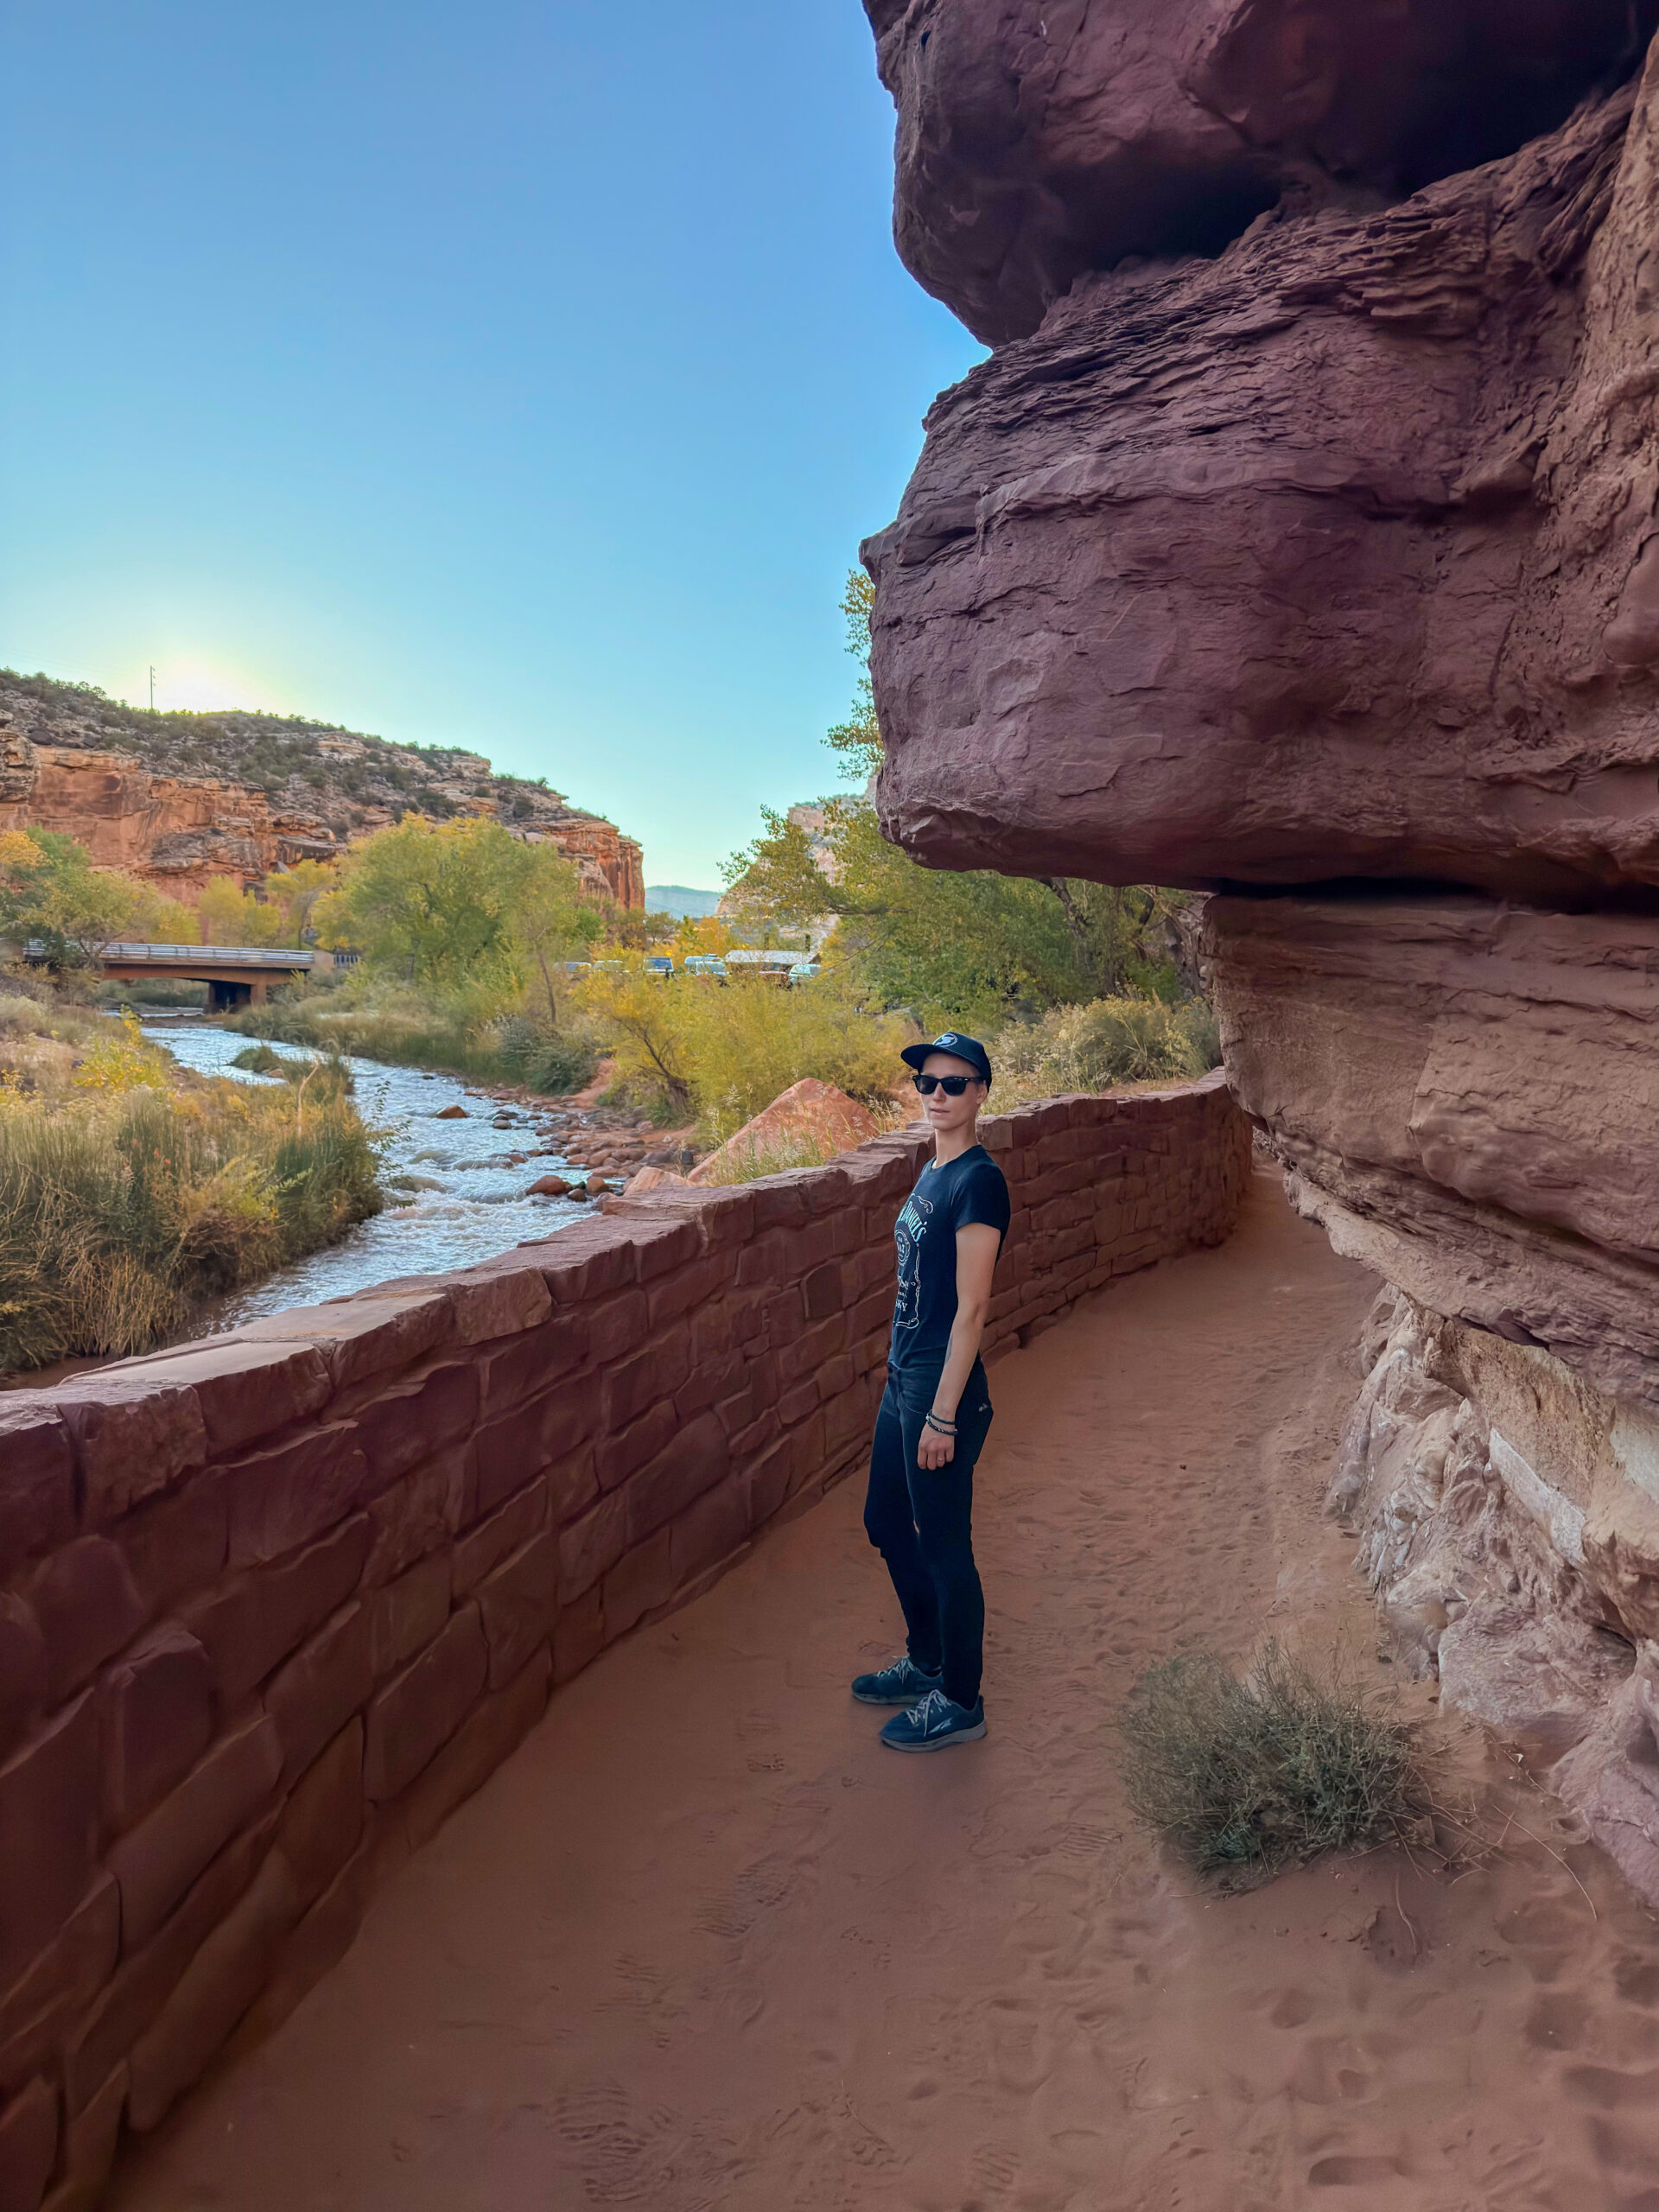
For the night, we headed to Torrey, a small town that has everything a road trip traveller could need: restaurants, grocery stores, accommodation, and even paid showers. You’ll find them behind the local General Store, and if you’re travelling by car like we were, they’re definitely worth knowing about.
Just a few kilometres closer to the national park, you’ll also find several excellent free BLM camping areas. That’s where we spent the night, and like all of our other campsites, you’ll find them marked on the map as well.
Day 7 (October 18, 2025)
Cassidy Arch [5.72 km | ↑ 258 m | ↓ 258 m]
Escalante Natural Bridge [6.64 km | ↑ 81 m | ↓ 81 m]
Peek-a-Boo & Spooky Slot Canyons [10.97 km | ↑ 143 m | ↓ 143 m]
We got up early because we wanted to hike Cassidy Arch before heading to Gifford Homestead, ideally just before or shortly after it opened at 9 a.m. It turned out to be one of the best decisions we made. When we arrived at the small parking lot for the Cassidy Arch trail, there were only about five cars. Less than two hours later, when we returned, not a single parking space remained, and cars were parked anywhere they could fit.
On the way up, we only passed a few groups of hikers, all of whom we eventually overtook. I have to admit that this time, it wasn’t just the views motivating me—it was also the thought of finally getting one of the legendary pies from Gifford Homestead. Thanks to our pace, we reached the arch before anyone else and had several peaceful minutes to enjoy it completely on our own.
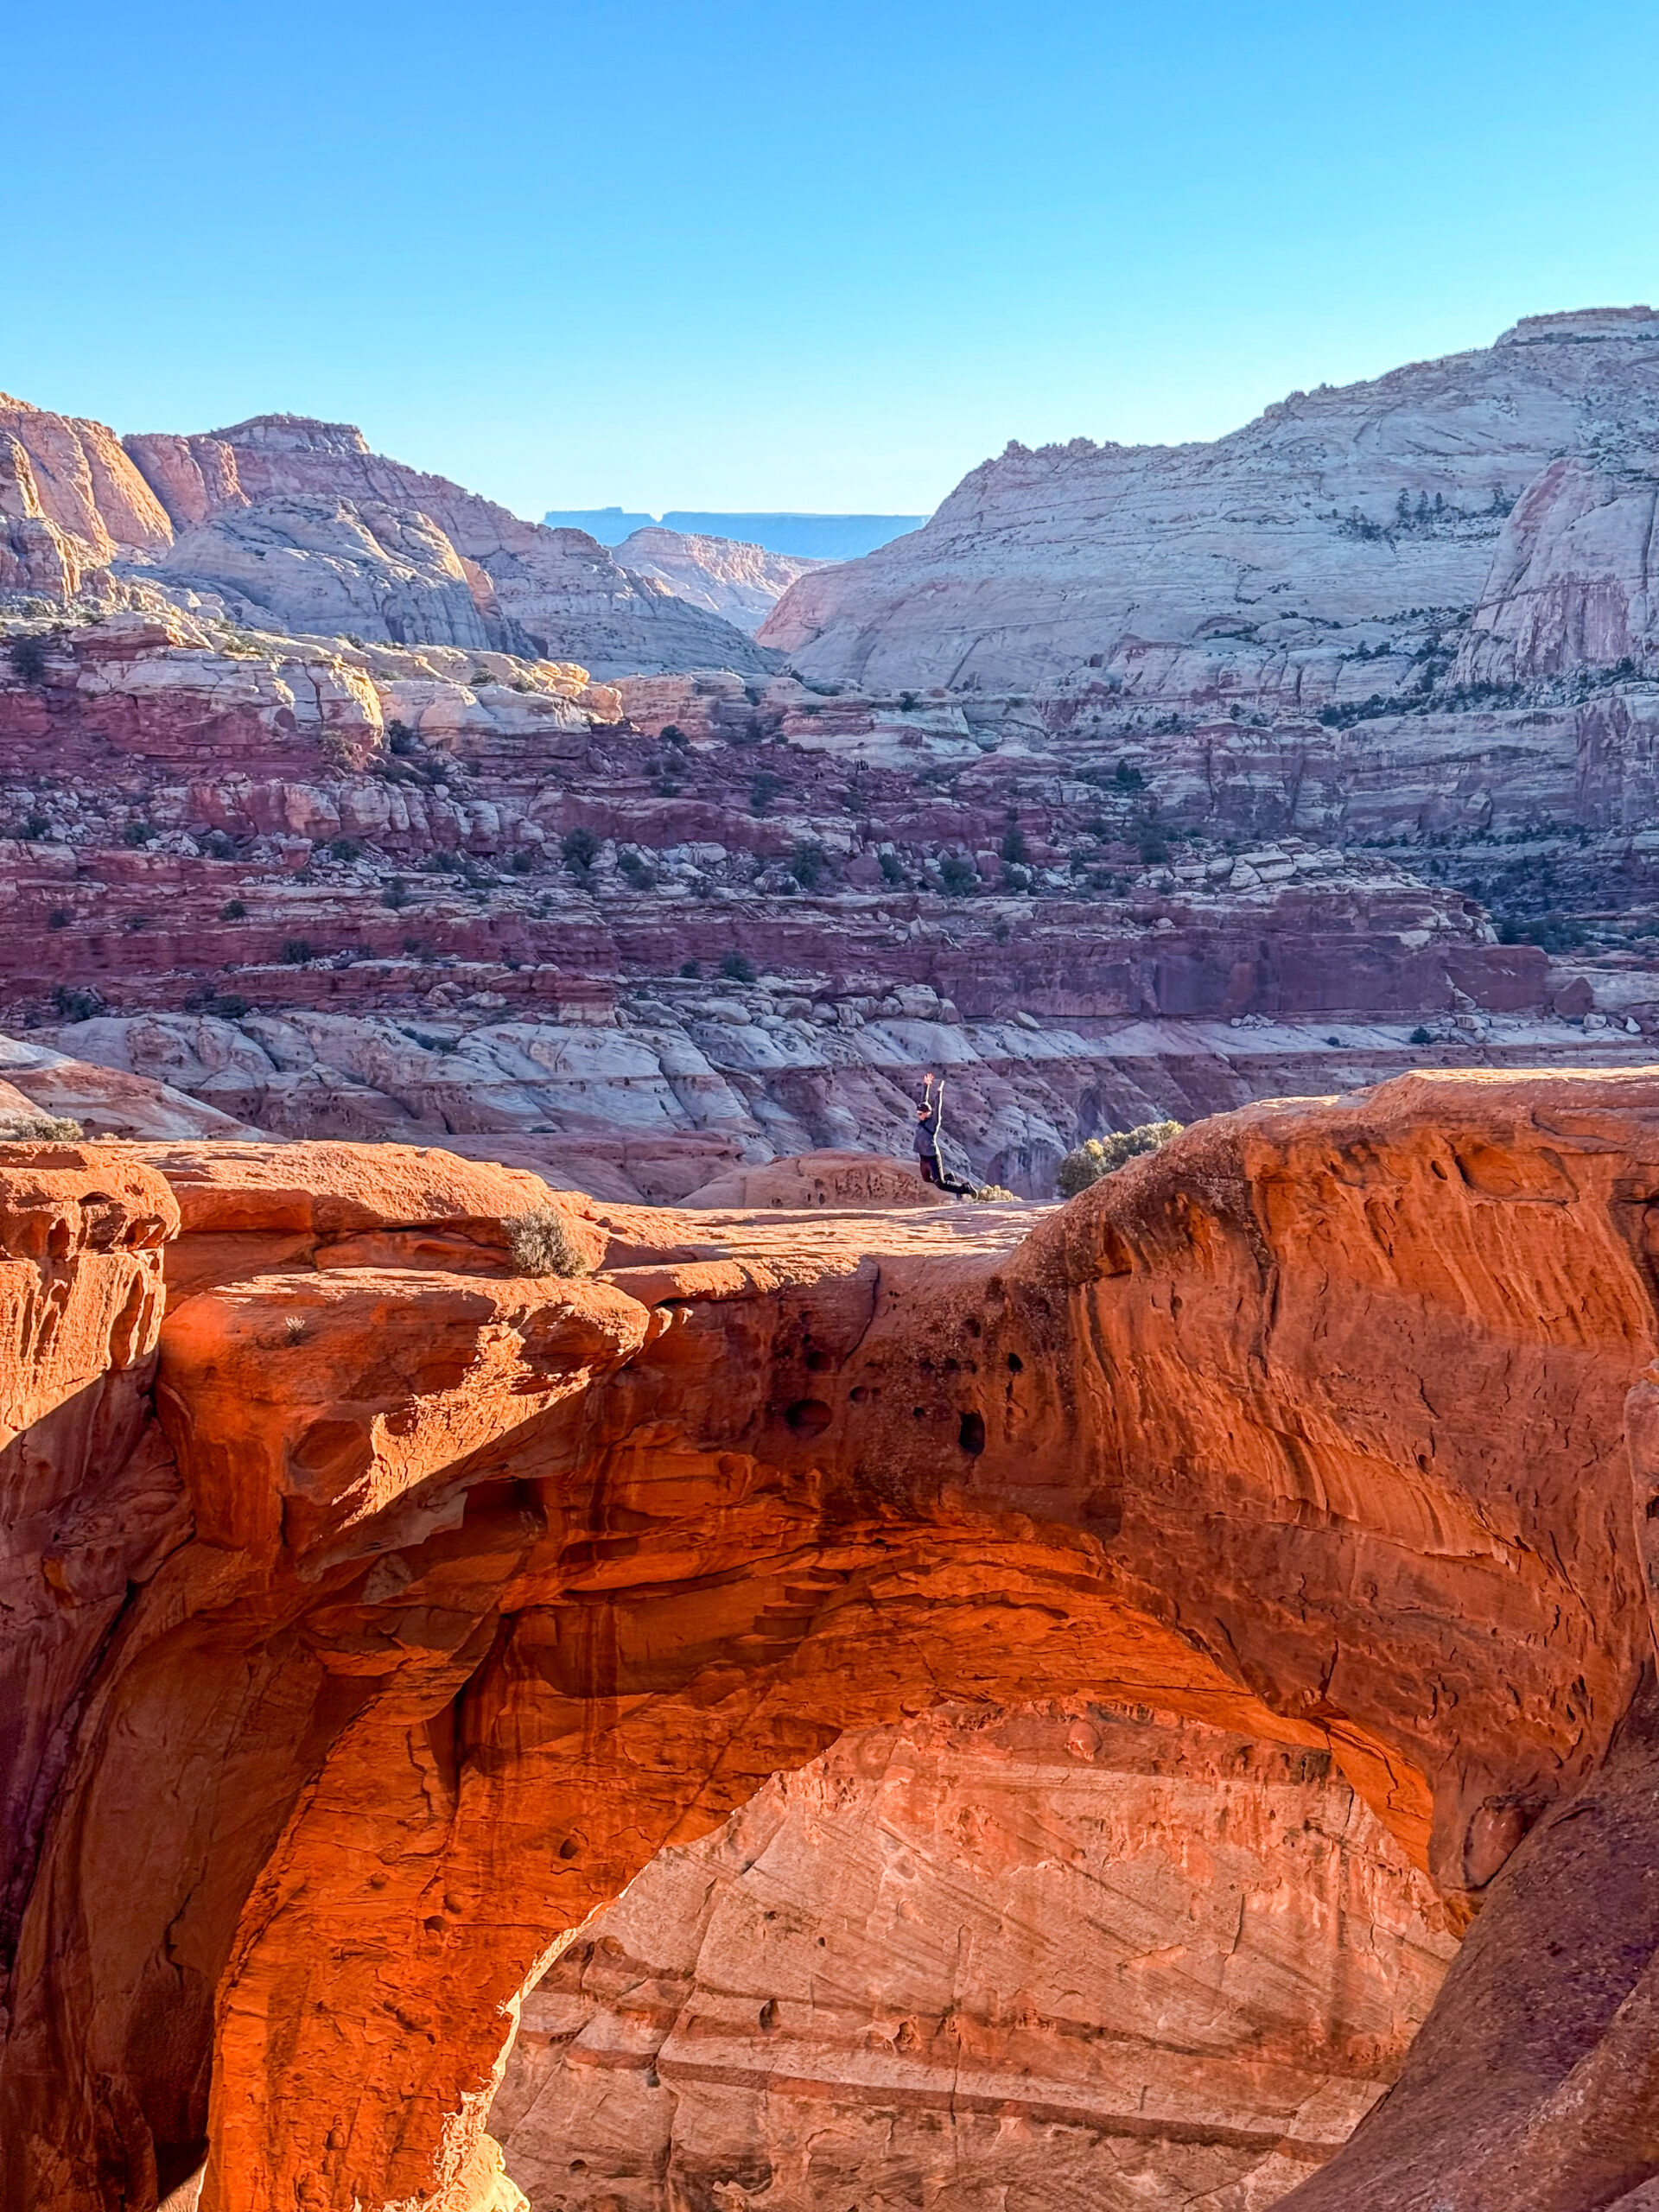
Even though we’d already seen dozens of natural arches during our road trip, we never got tired of them. Cassidy Arch is particularly special because you can carefully walk across the top of it. If you’re looking for even more adventure, you can even book a guided rappel from the arch. As we were leaving, a group carrying climbing gear was just arriving to do exactly that.
If you would be interest in abseiling, I’m adding a link for company who provides that.
On the way back, we met an older couple whom we had passed earlier on the climb. They were surprised to see us already heading down. When we explained that we were rushing to Gifford Homestead before the pies sold out, they burst out laughing. We offered to buy them a pie while we were there, but with a smile they said they’d leave it to fate and see whether there would be any left by the time they arrived.
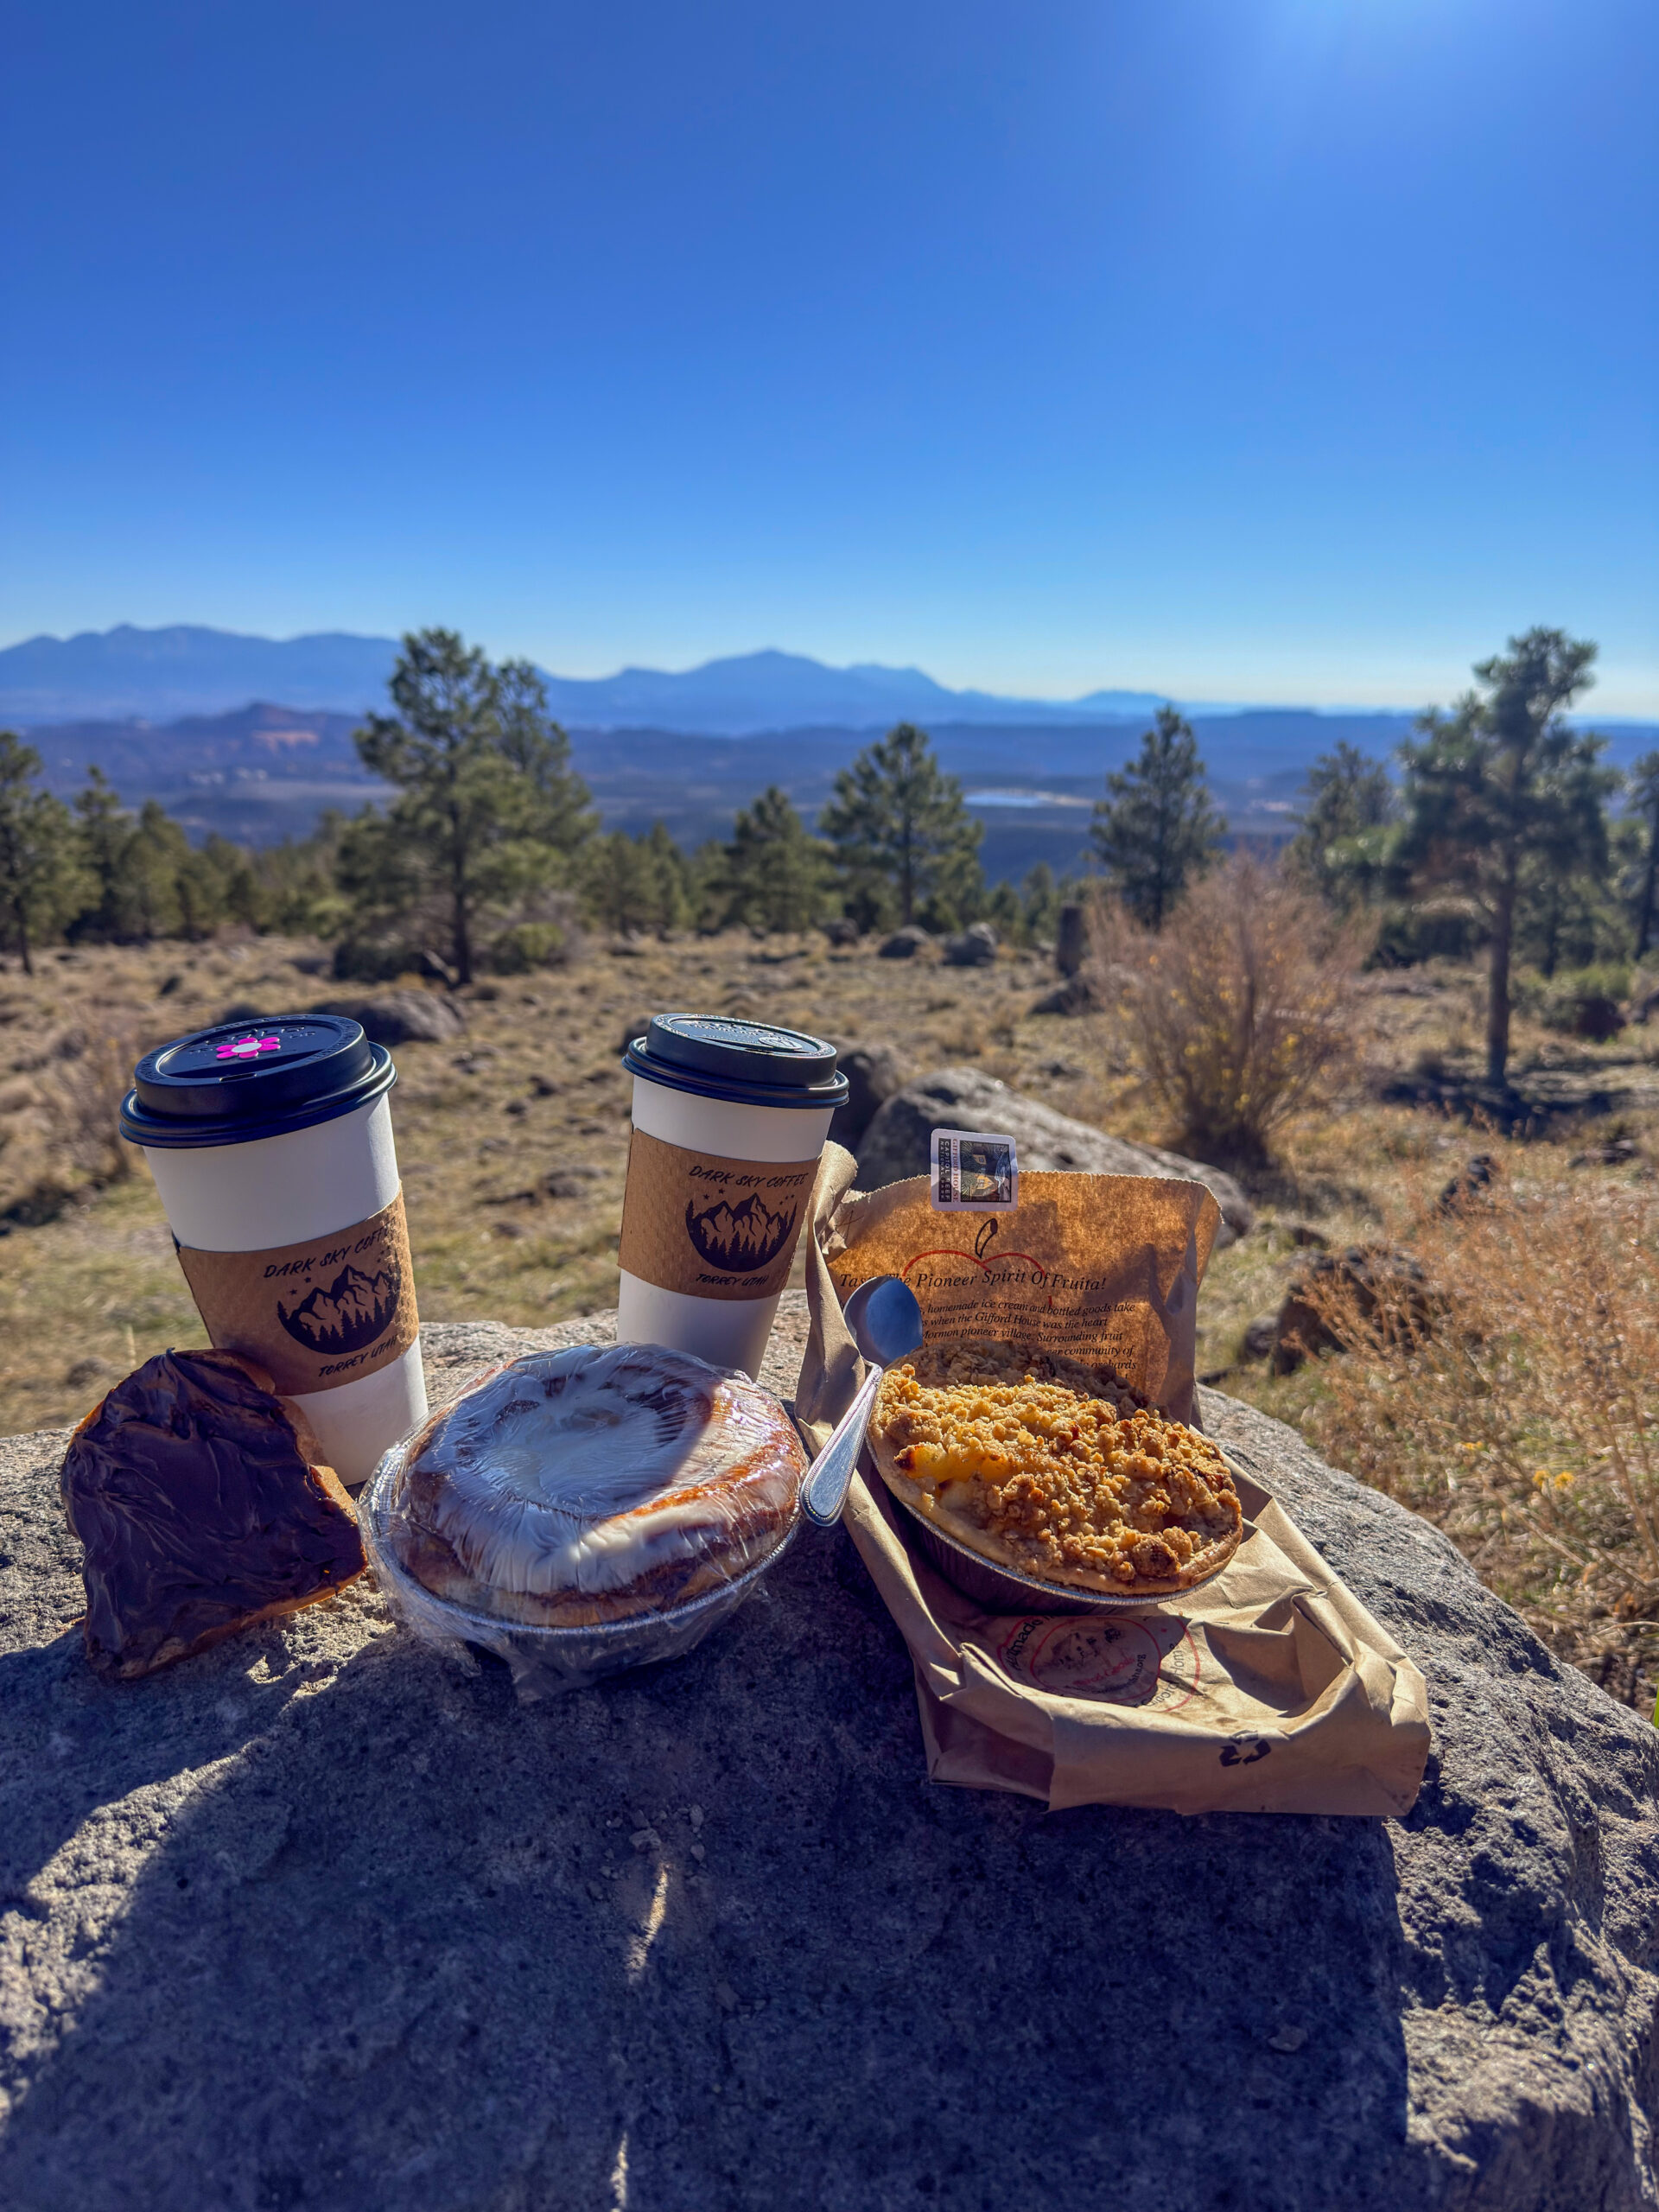
It was around 9:20 a.m., about twenty minutes after opening, and there was still a line outside Gifford Homestead that looked as if they hadn’t even opened yet. In the end, I walked away with an apple pie and a cinnamon roll that looked far too tempting to leave behind.
By then, Capitol Reef was already filling up with visitors, so we decided to continue our journey. We still had a fairly long drive towards Escalante, and we didn’t want to spend the day sitting in crowds. Before leaving Torrey, we made one more stop at Dark Sky Coffee, where we bought an excellent coffee and an equally delicious hot chocolate. If you’re ever passing through Torrey, I definitely recommend stopping by.
Since our next planned activity wasn’t until we reached Escalante, we took a short break just outside the town of Boulder, where I finally enjoyed my long-awaited apple pie and cinnamon roll from Gifford Homestead while taking in the beautiful views. And I have to admit… The hype around those pies is completely justified.
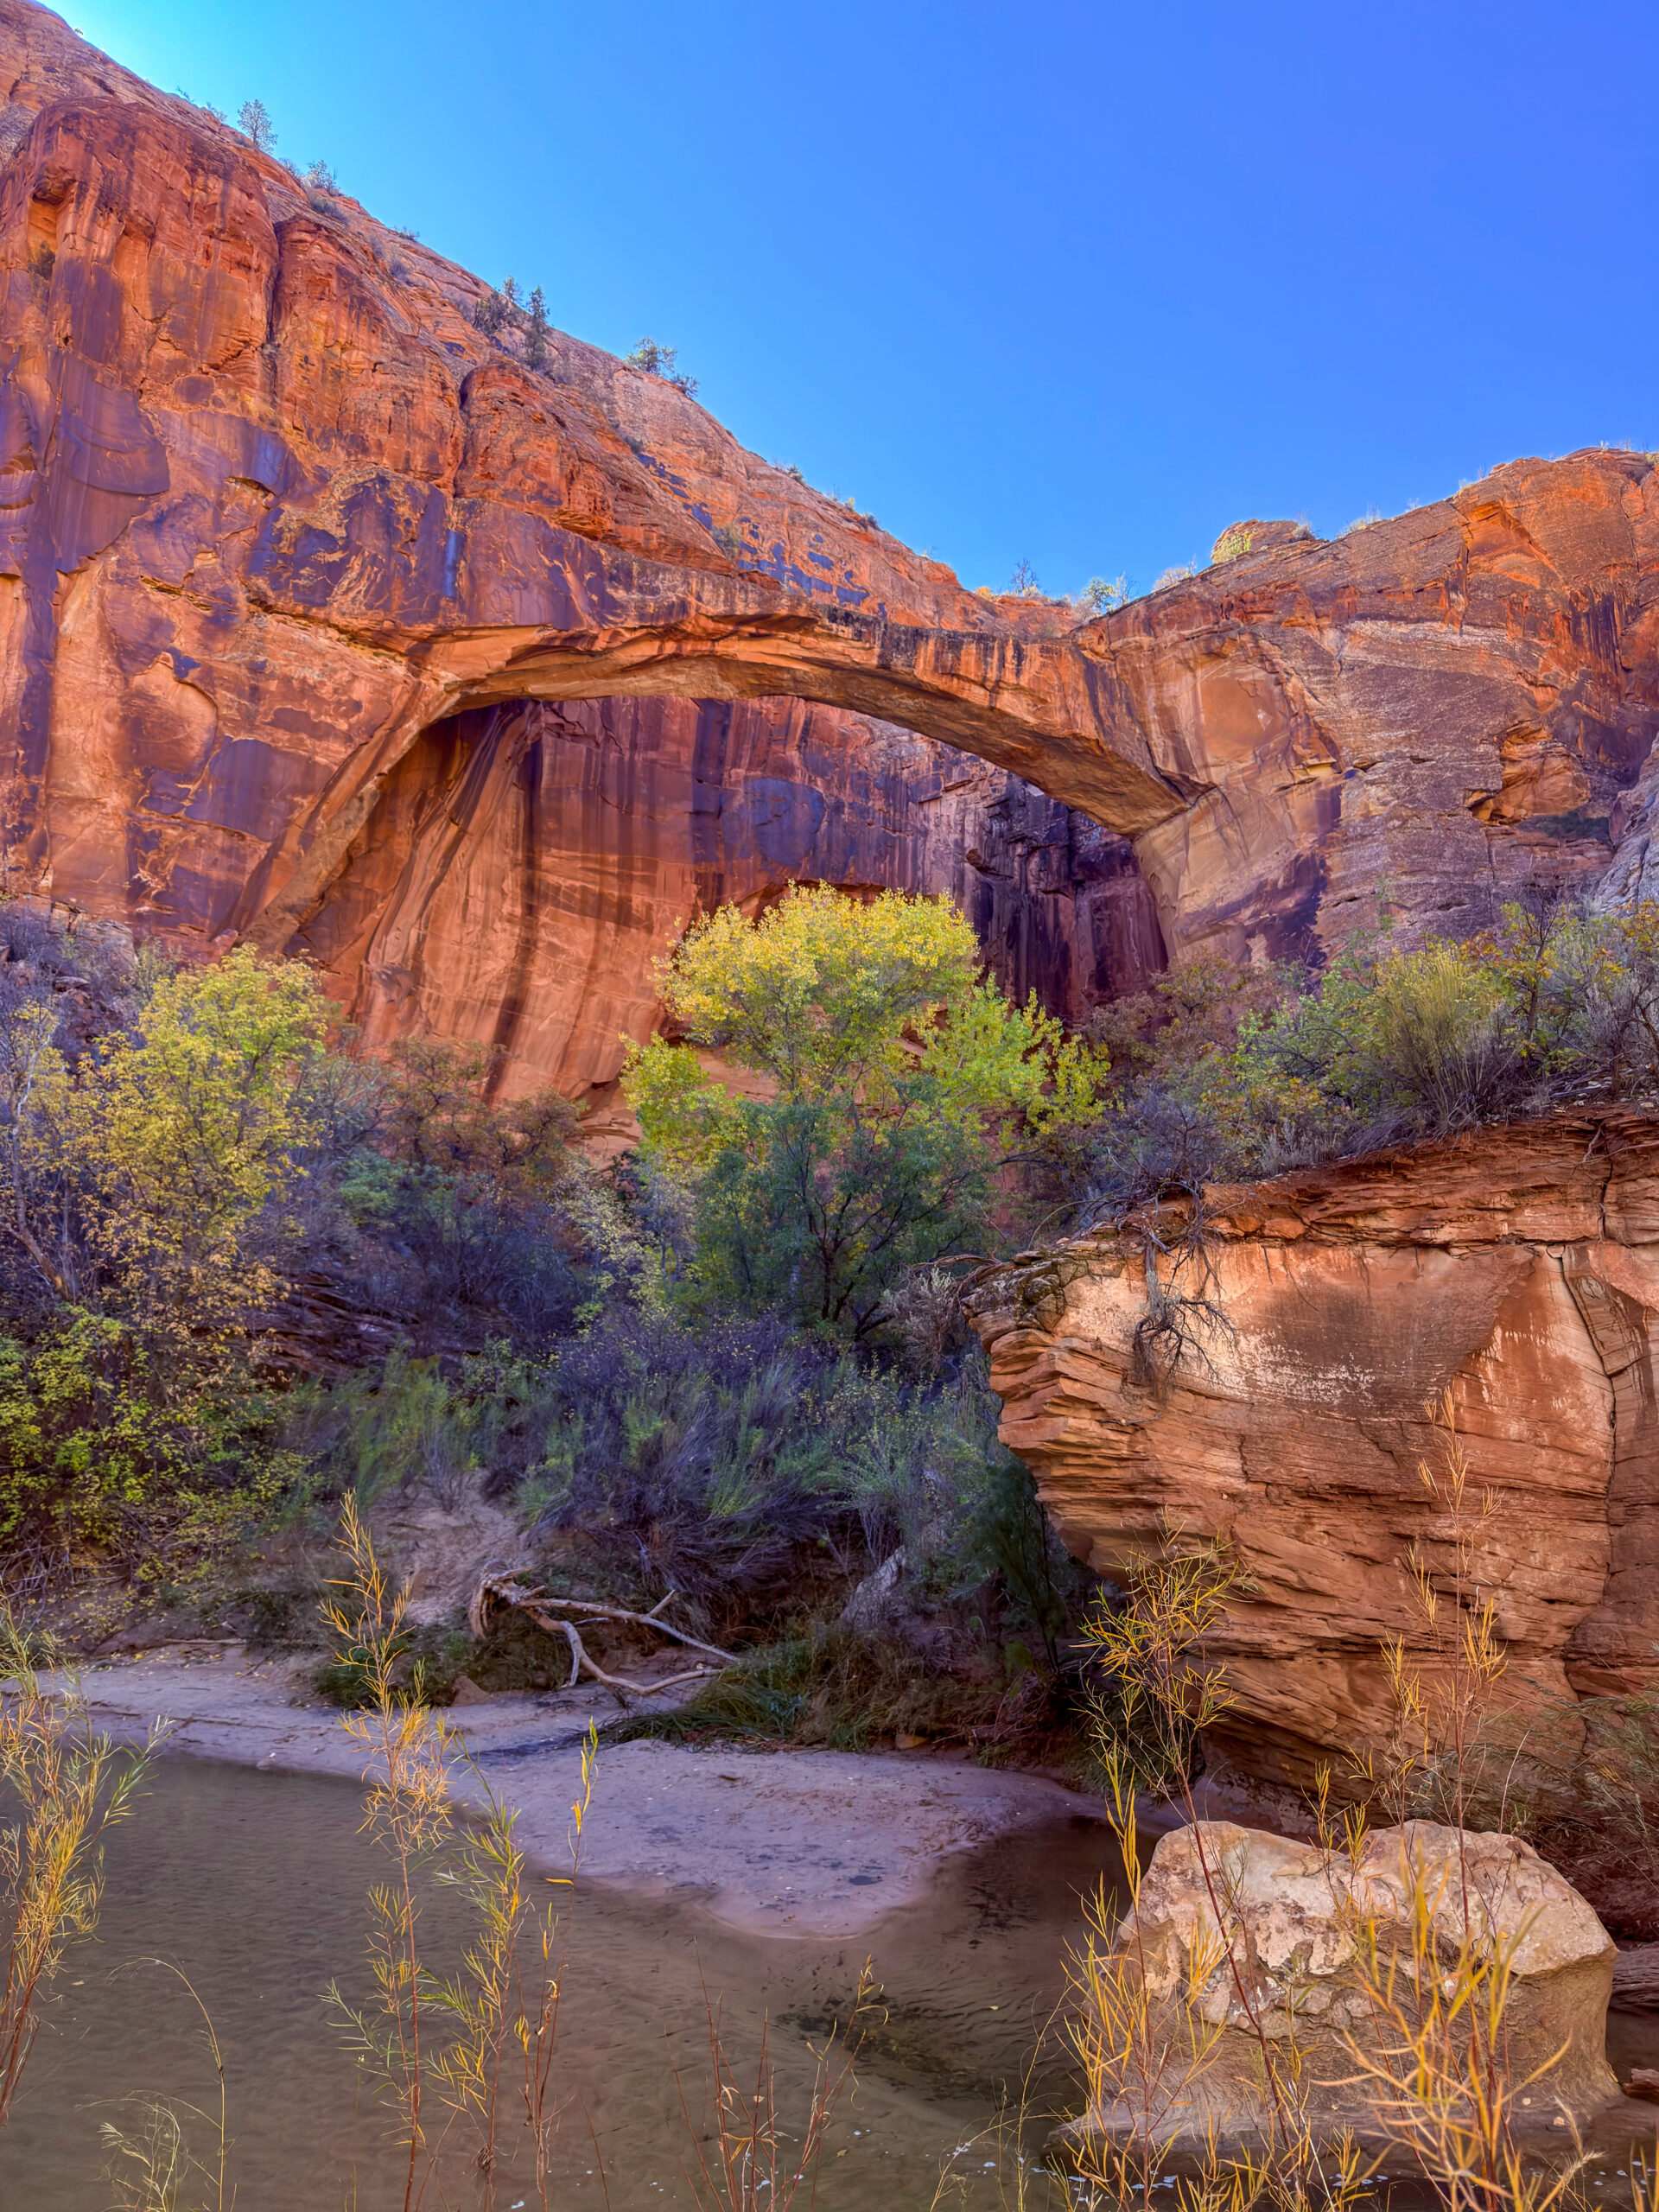
Our second-to-last natural arch in Utah was Escalante Natural Bridge. This is one of those places where the journey is just as memorable as the destination. That’s not to say the arch itself isn’t impressive—it absolutely is. But getting there is such a fun experience that you might remember the hike even more than the bridge itself. For almost the entire hike, we walked barefoot because the trail follows soft sand and requires crossing the river roughly every 500 metres. Rather than constantly taking our hiking boots on and off, we simply carried them in our hands. For this hike, I’d definitely recommend hiking sandals instead of boots or trail shoes. When we finally reached the bridge, it was obvious that the short adventure had been well worth it.
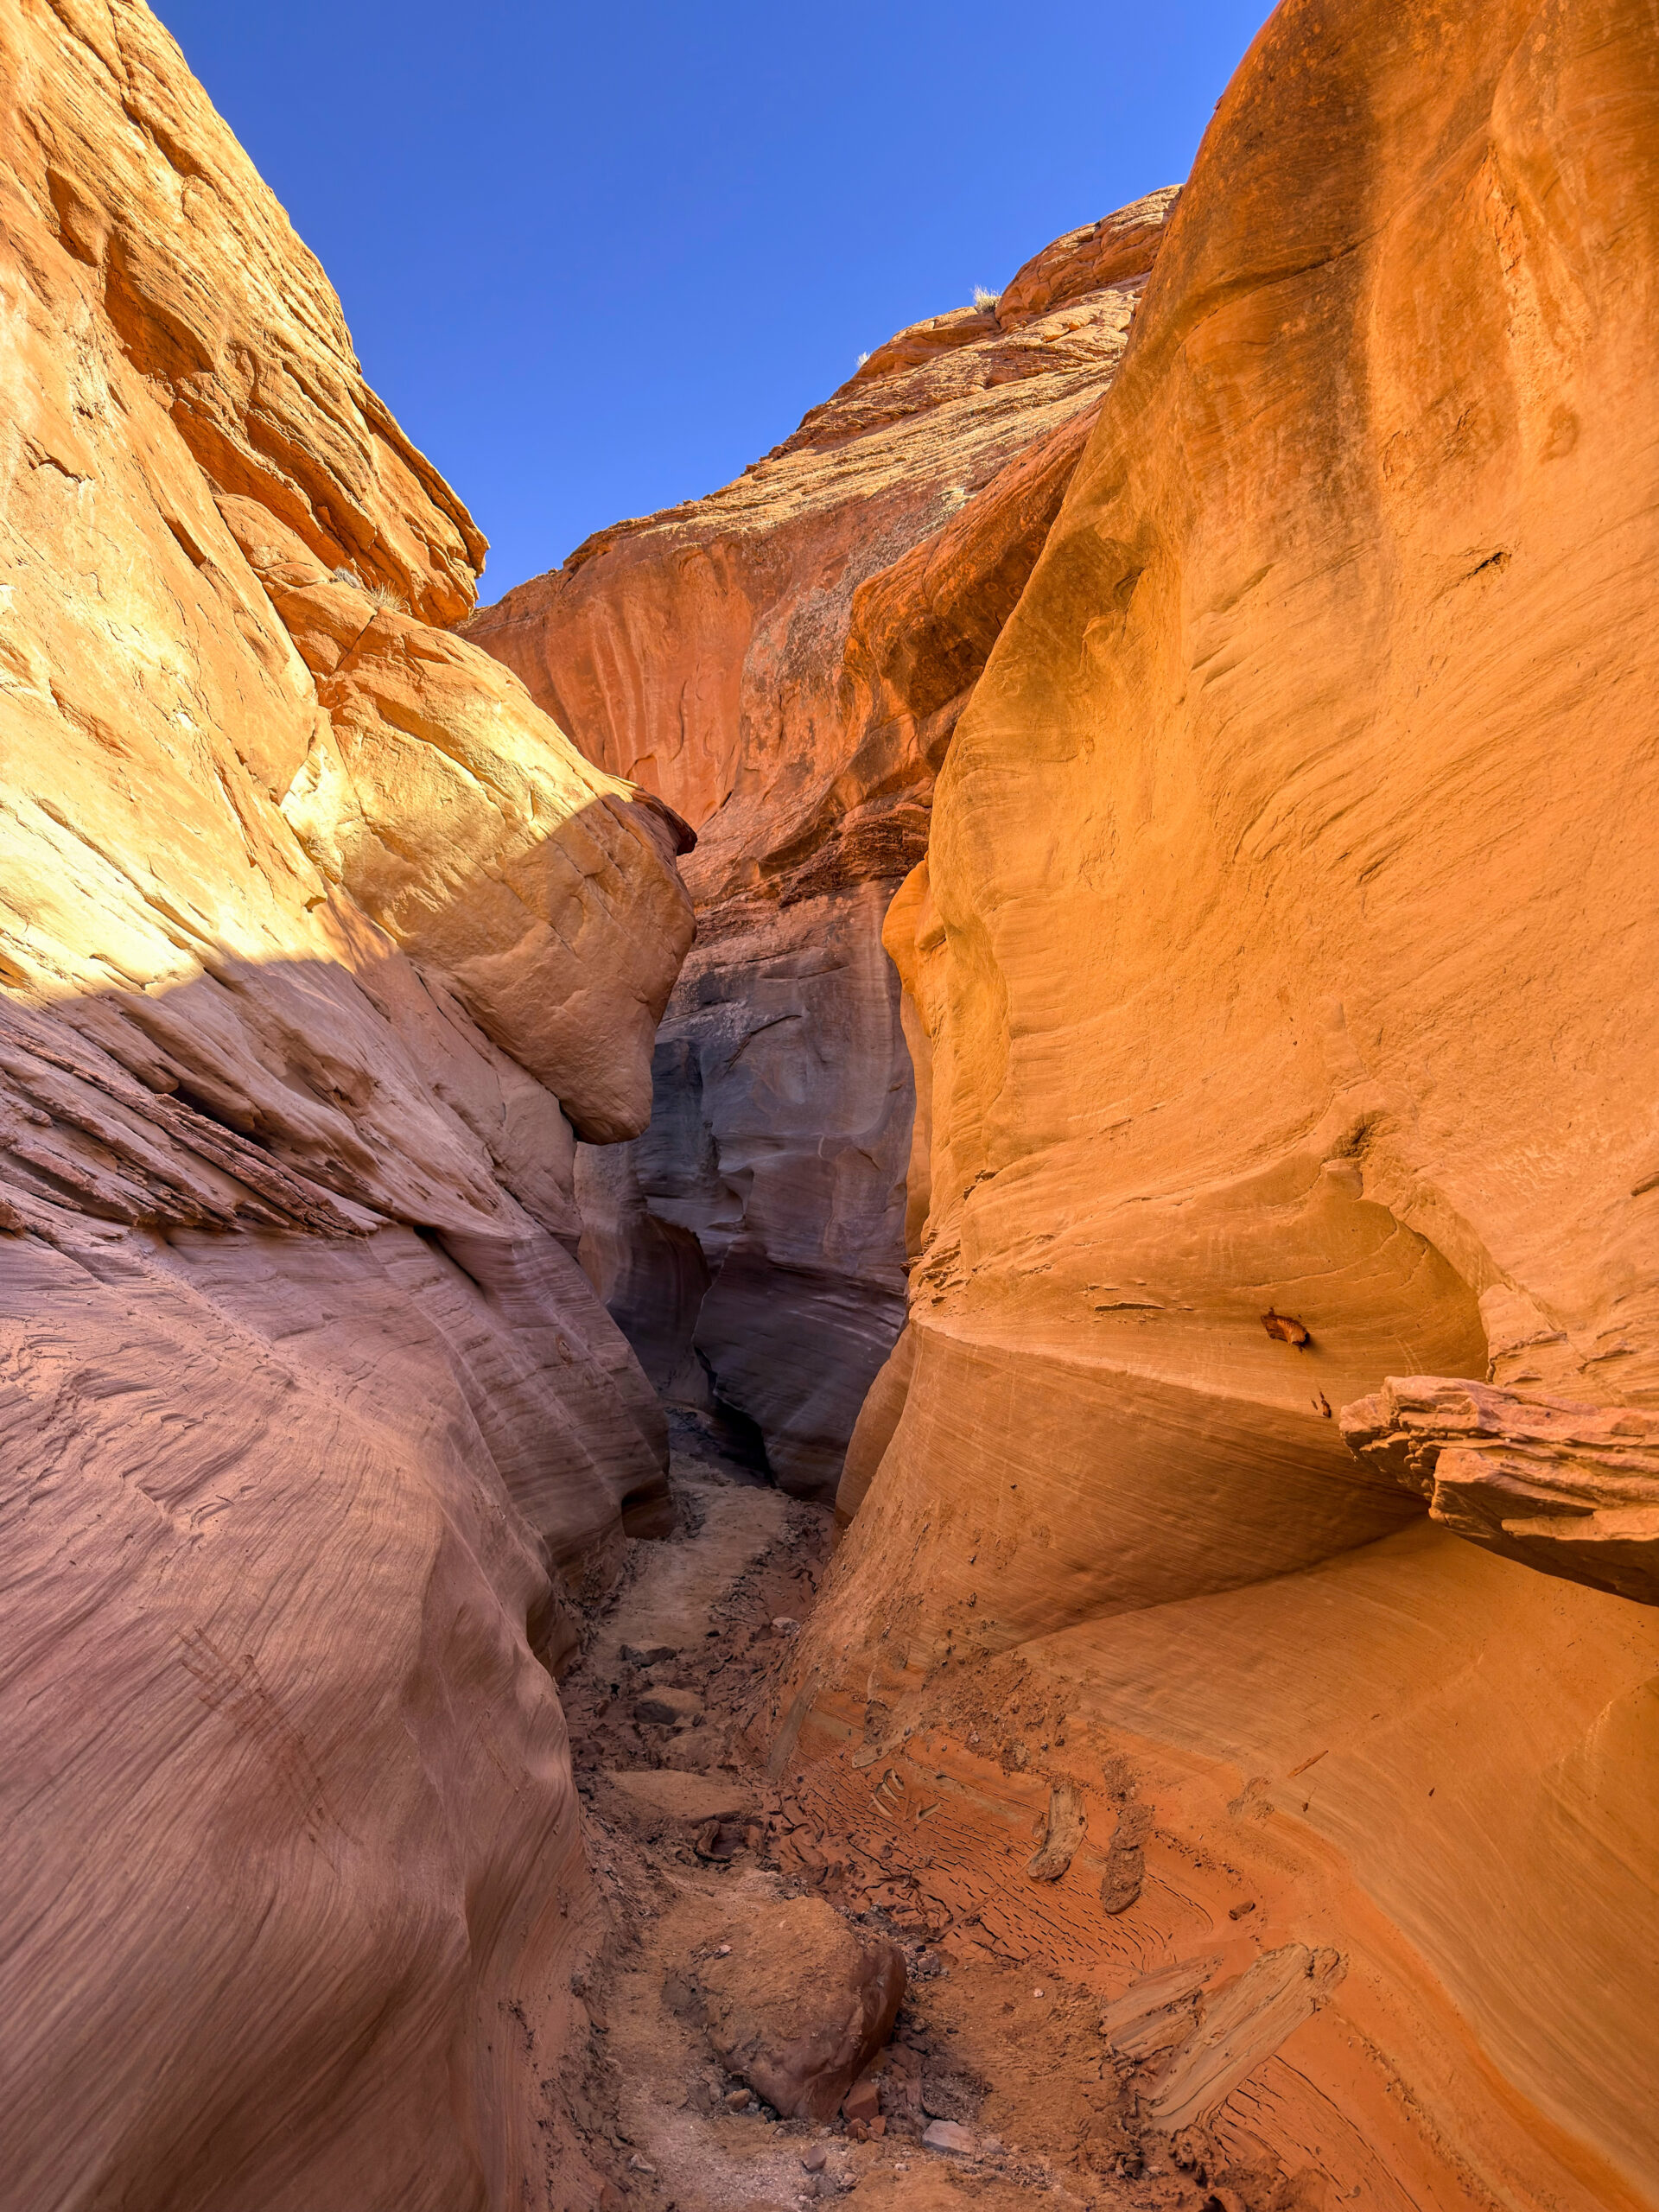
But the highlight of the day was still waiting for us—Peek-a-Boo and Spooky Slot Canyons. I’ll admit, I was a little nervous. Claustrophobia isn’t exactly the perfect combination for exploring slot canyons, and I also have a healthy respect for spiders and snakes. At the same time, I knew that was exactly why it would become such a memorable experience.
Most visitors head for the famous Antelope Canyon, but you can only visit it with a guide. Tours typically start at around $85 USD per person, whereas Peek-a-Boo and Spooky are completely free. Yes, you’ll need to drive several dozen kilometres along a dusty dirt road, but as long as it’s dry, an ordinary passenger car can usually make it without any problems. I definitely wouldn’t attempt it after heavy rain—not only because of the road conditions but also because slot canyons are extremely dangerous during flash floods.
Even in dry weather, we occasionally had to climb over or jump across muddy puddles, so we managed to avoid getting too dirty. We did, however, meet people who were covered in mud up to their waists. And just when we thought the adventure couldn’t get any better… We came face to face with a tarantula. Right in the middle of the canyon. Fortunately, it wasn’t in the narrowest section—but there was still no way around it. The only option was to jump over it. Naturally, I have a very entertaining video of the moment because I took a running start to make absolutely sure I didn’t land on it.
That evening, we drove closer to Zion National Park and spent the night near Springdale. The next day, one of the most famous hikes in the entire United States was waiting for us—Angels Landing. And we couldn’t wait.
Day 8 (October 19, 2025)
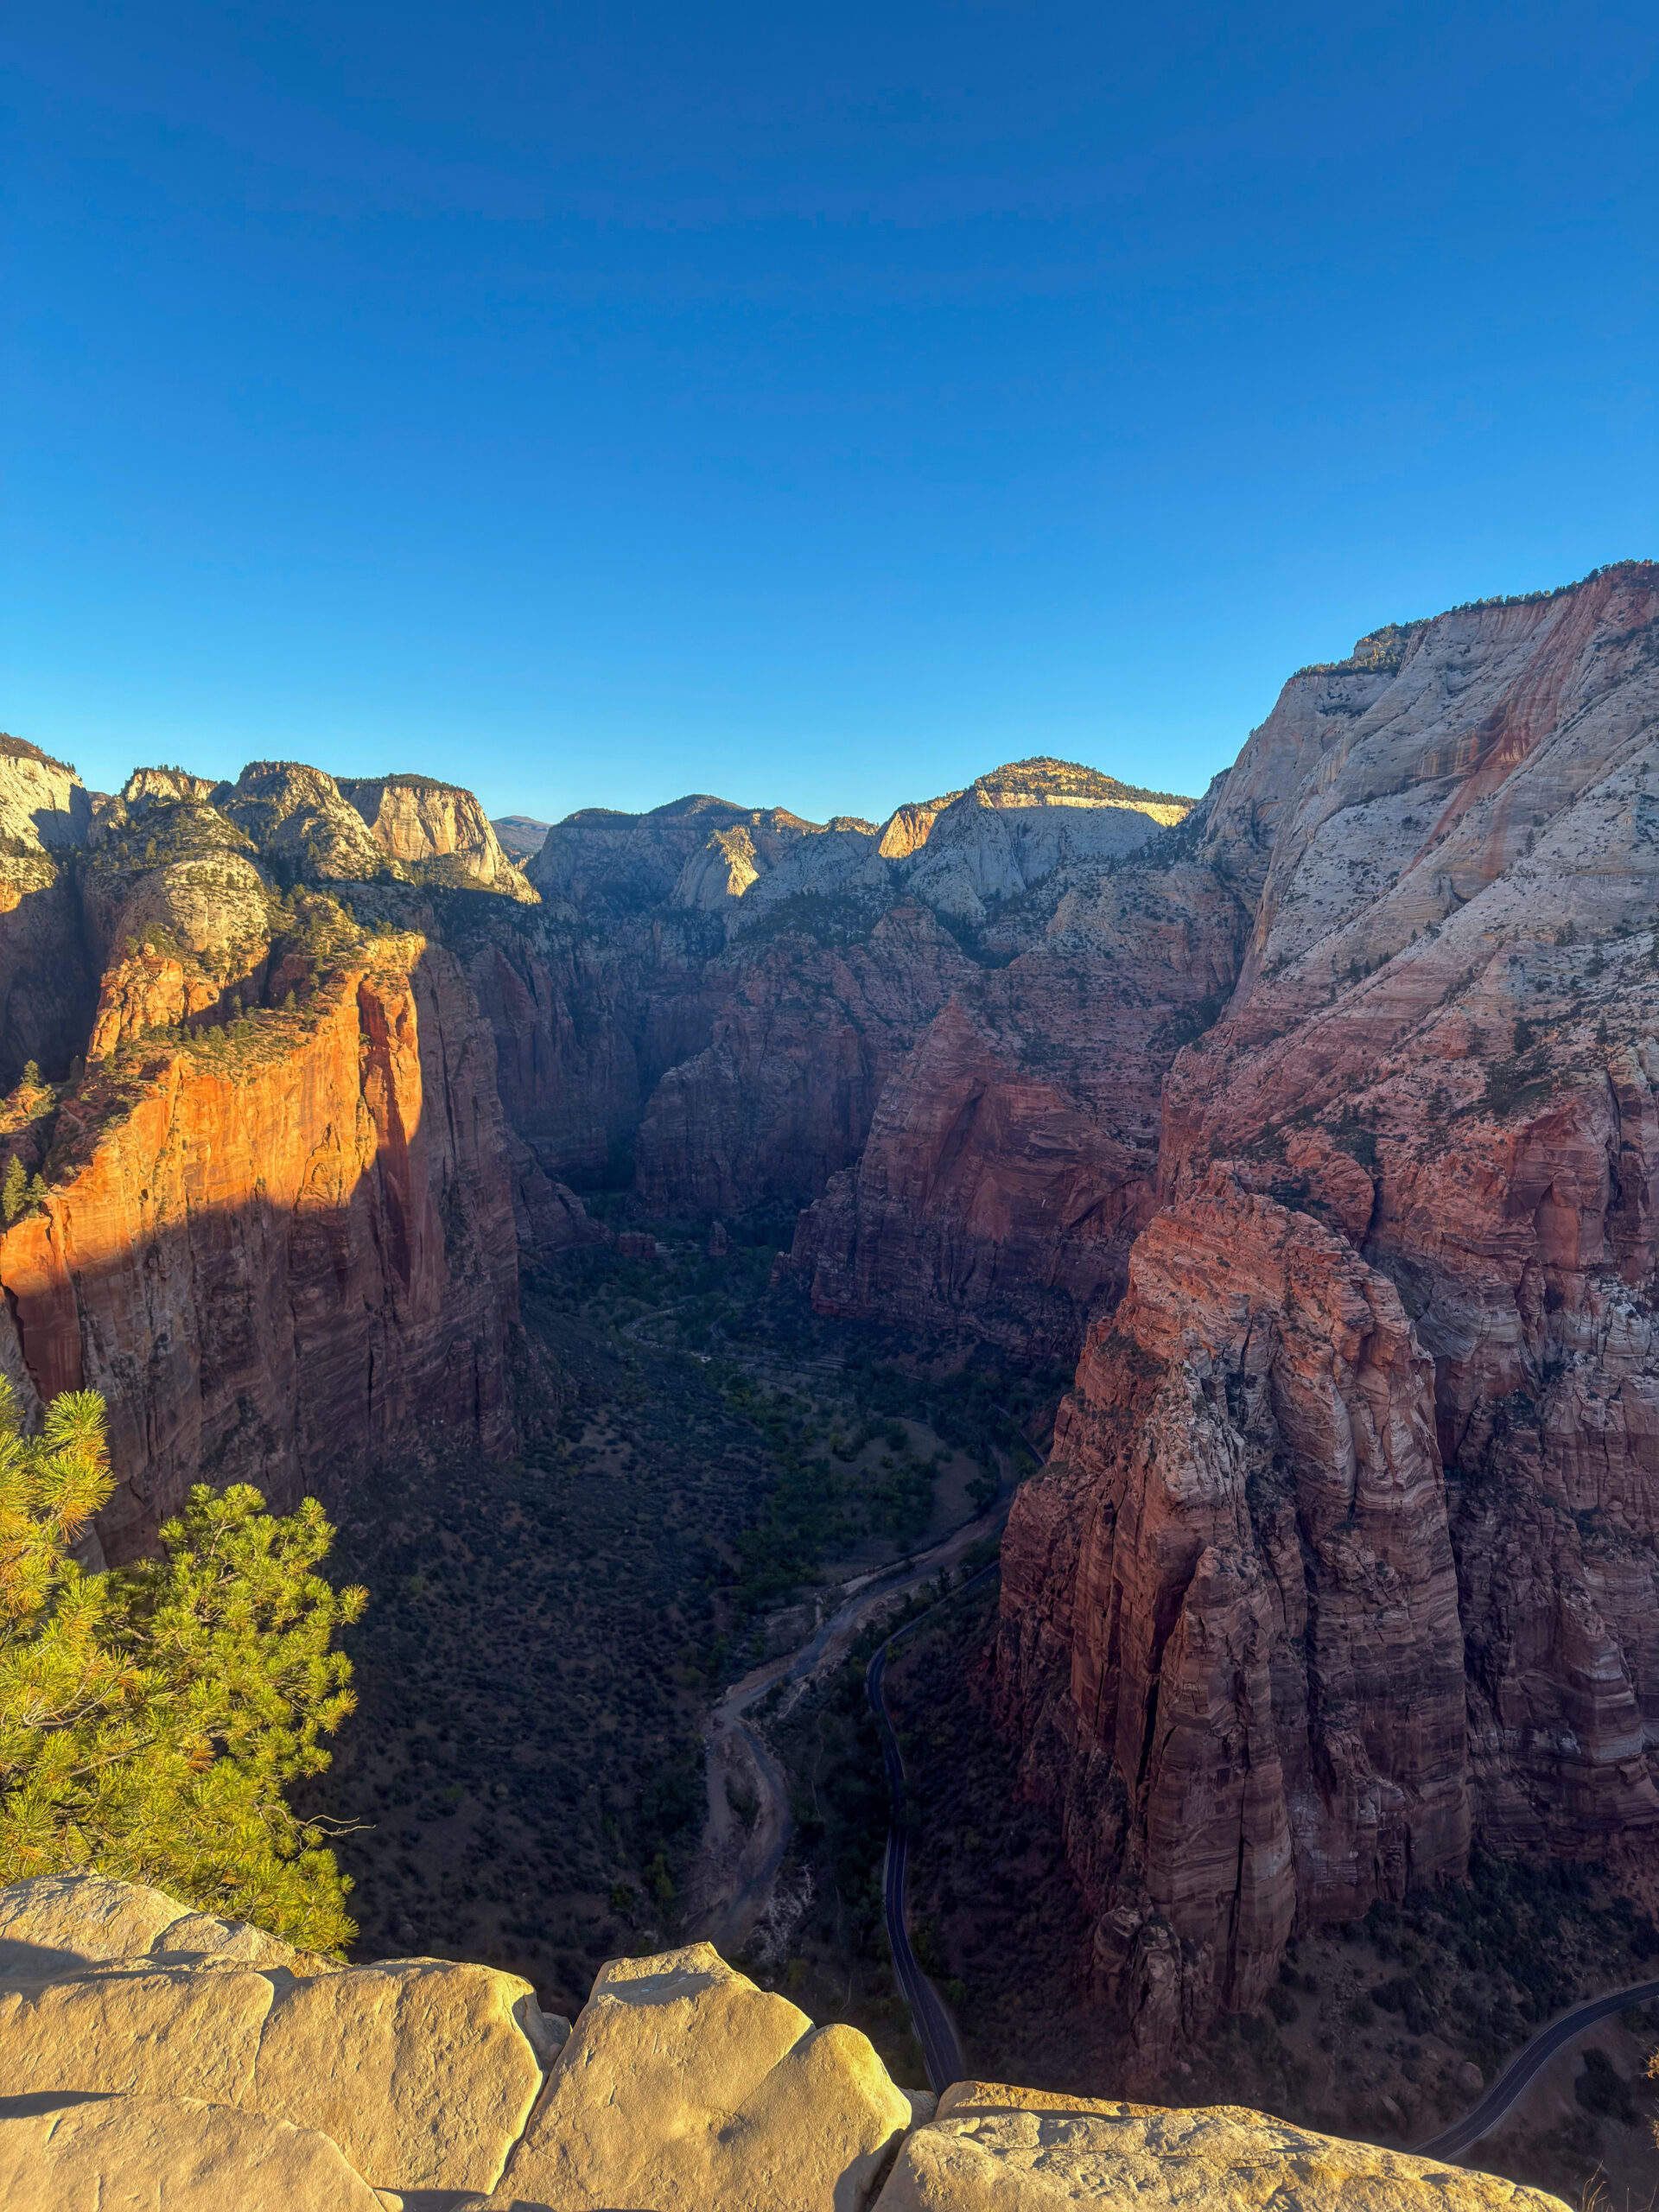
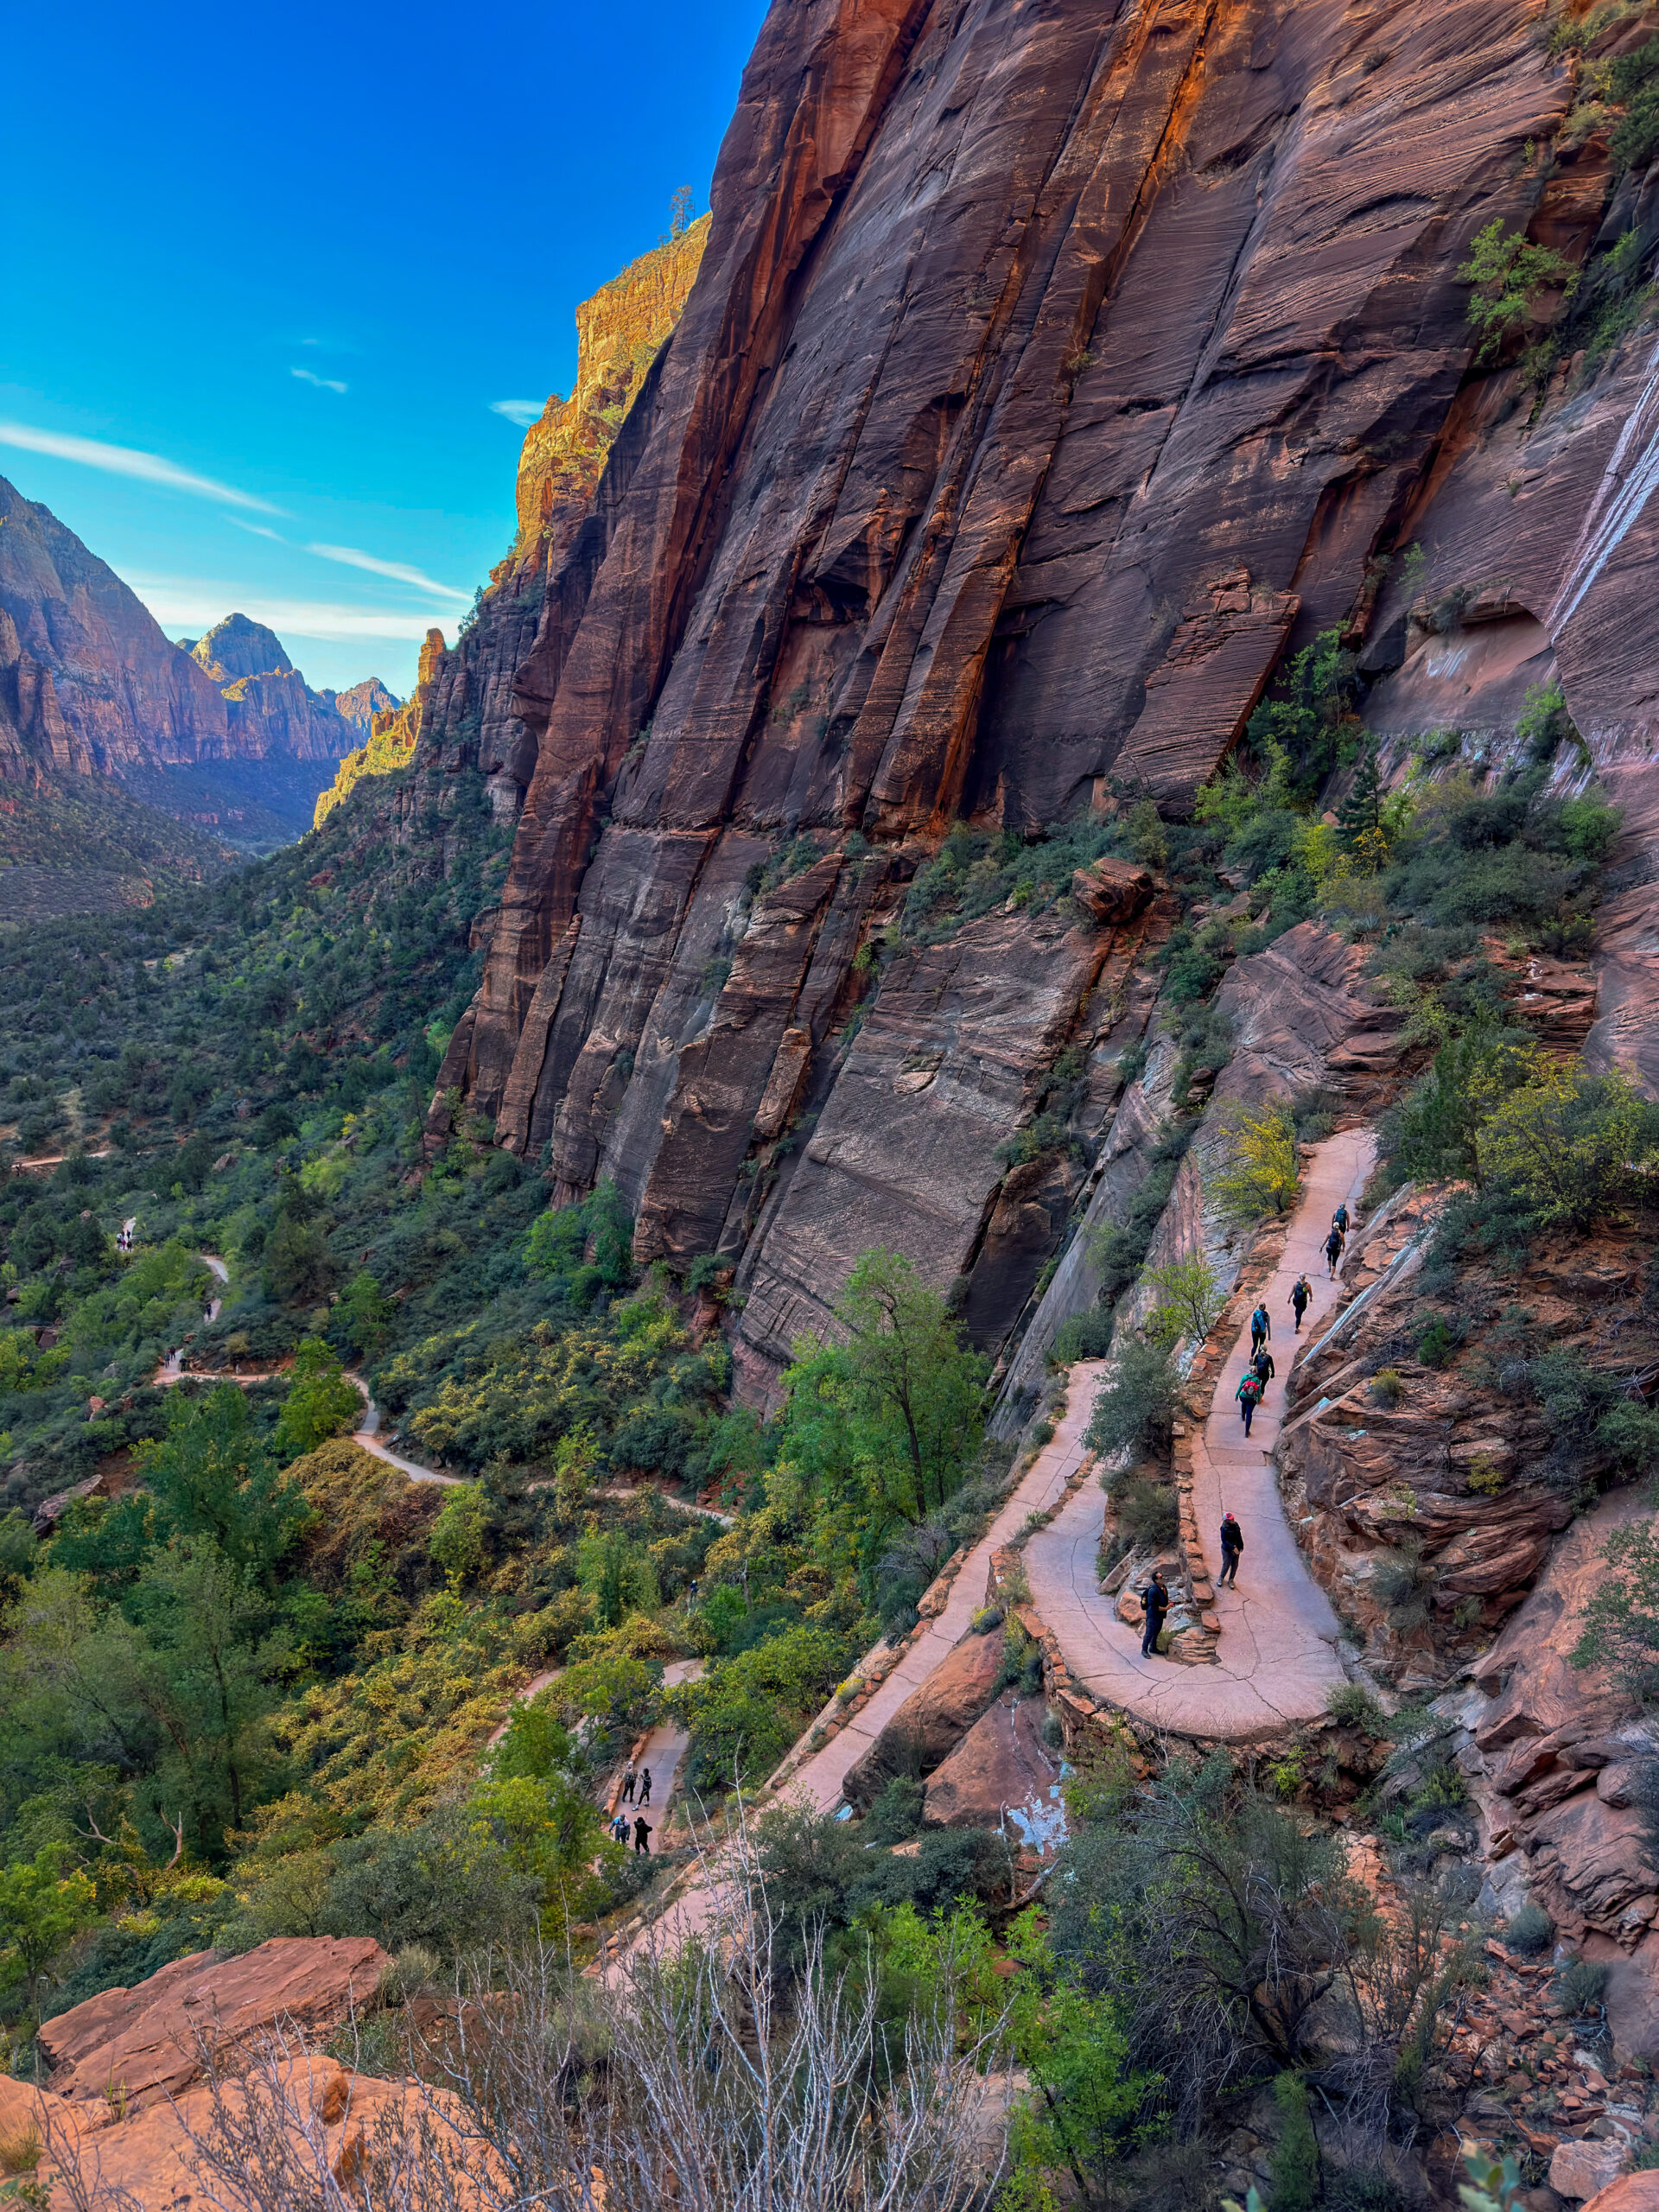
Angels Landing & Emerald Pools [11.82 km | ↑ 538 m | ↓ 538 m]
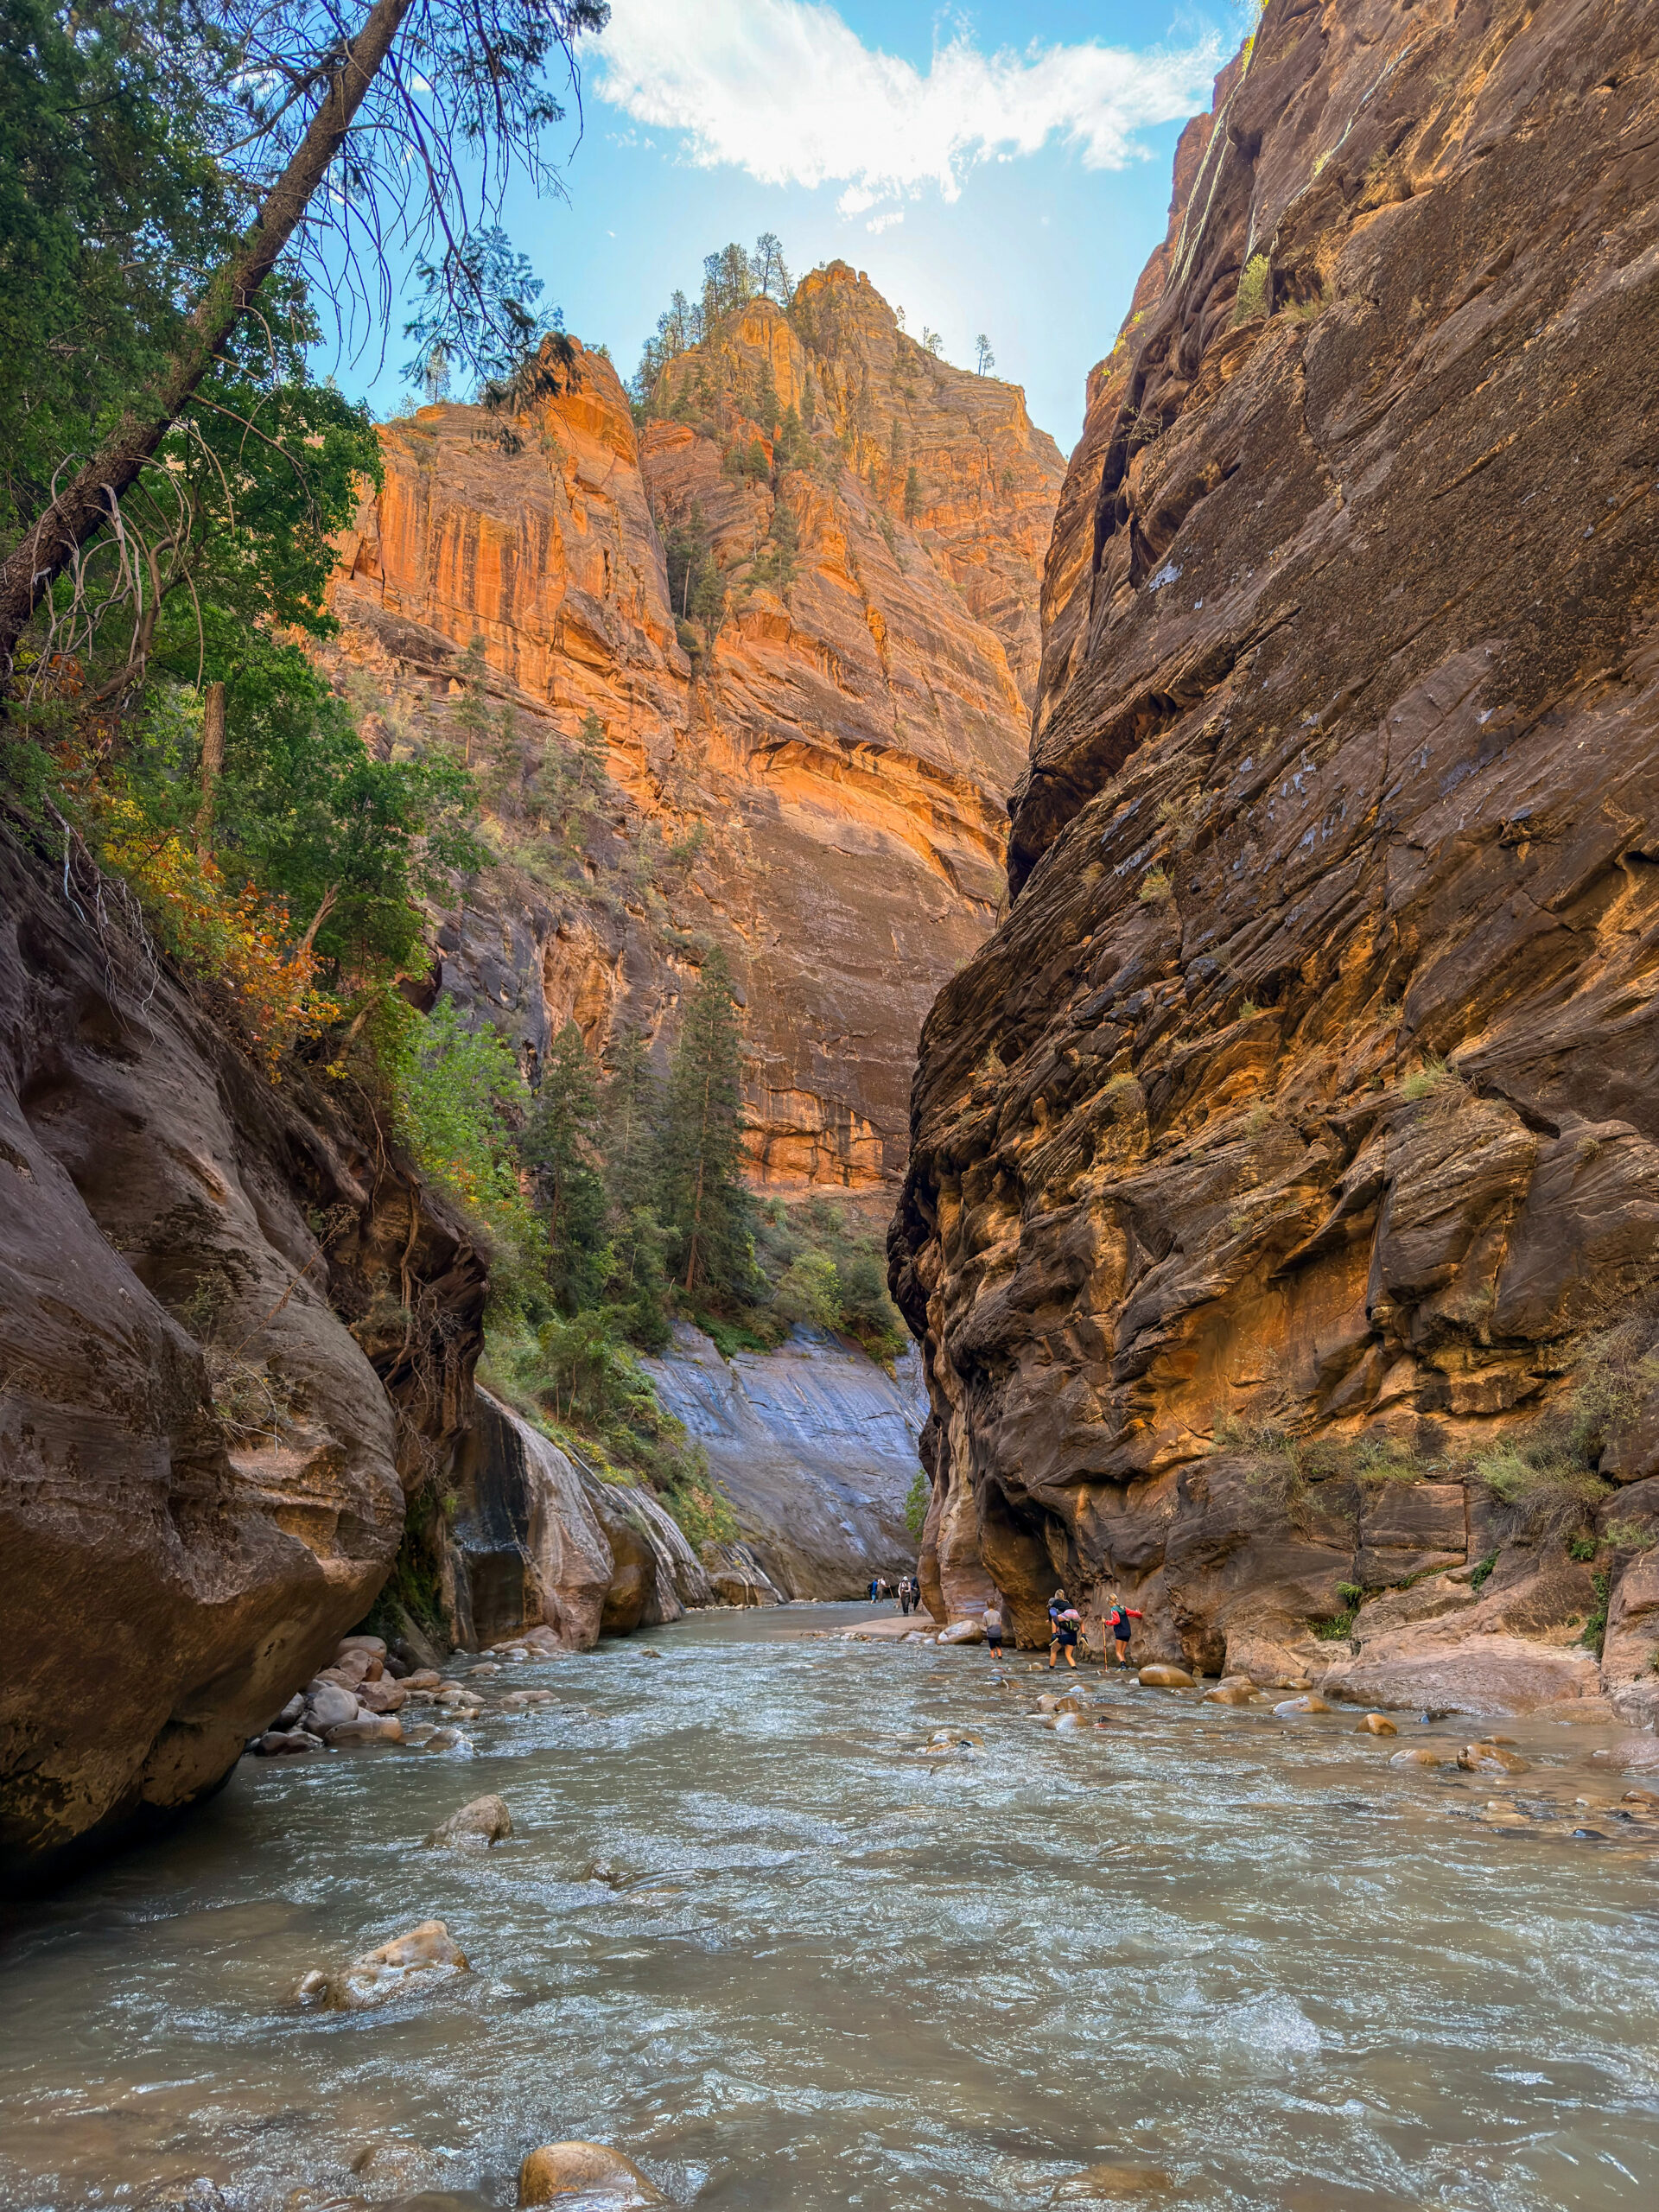
The Narrows [12.84 km | ↑ 86 m | ↓ 86 m] I think this distance is incorrect because of the GPS signal inside the canyon.
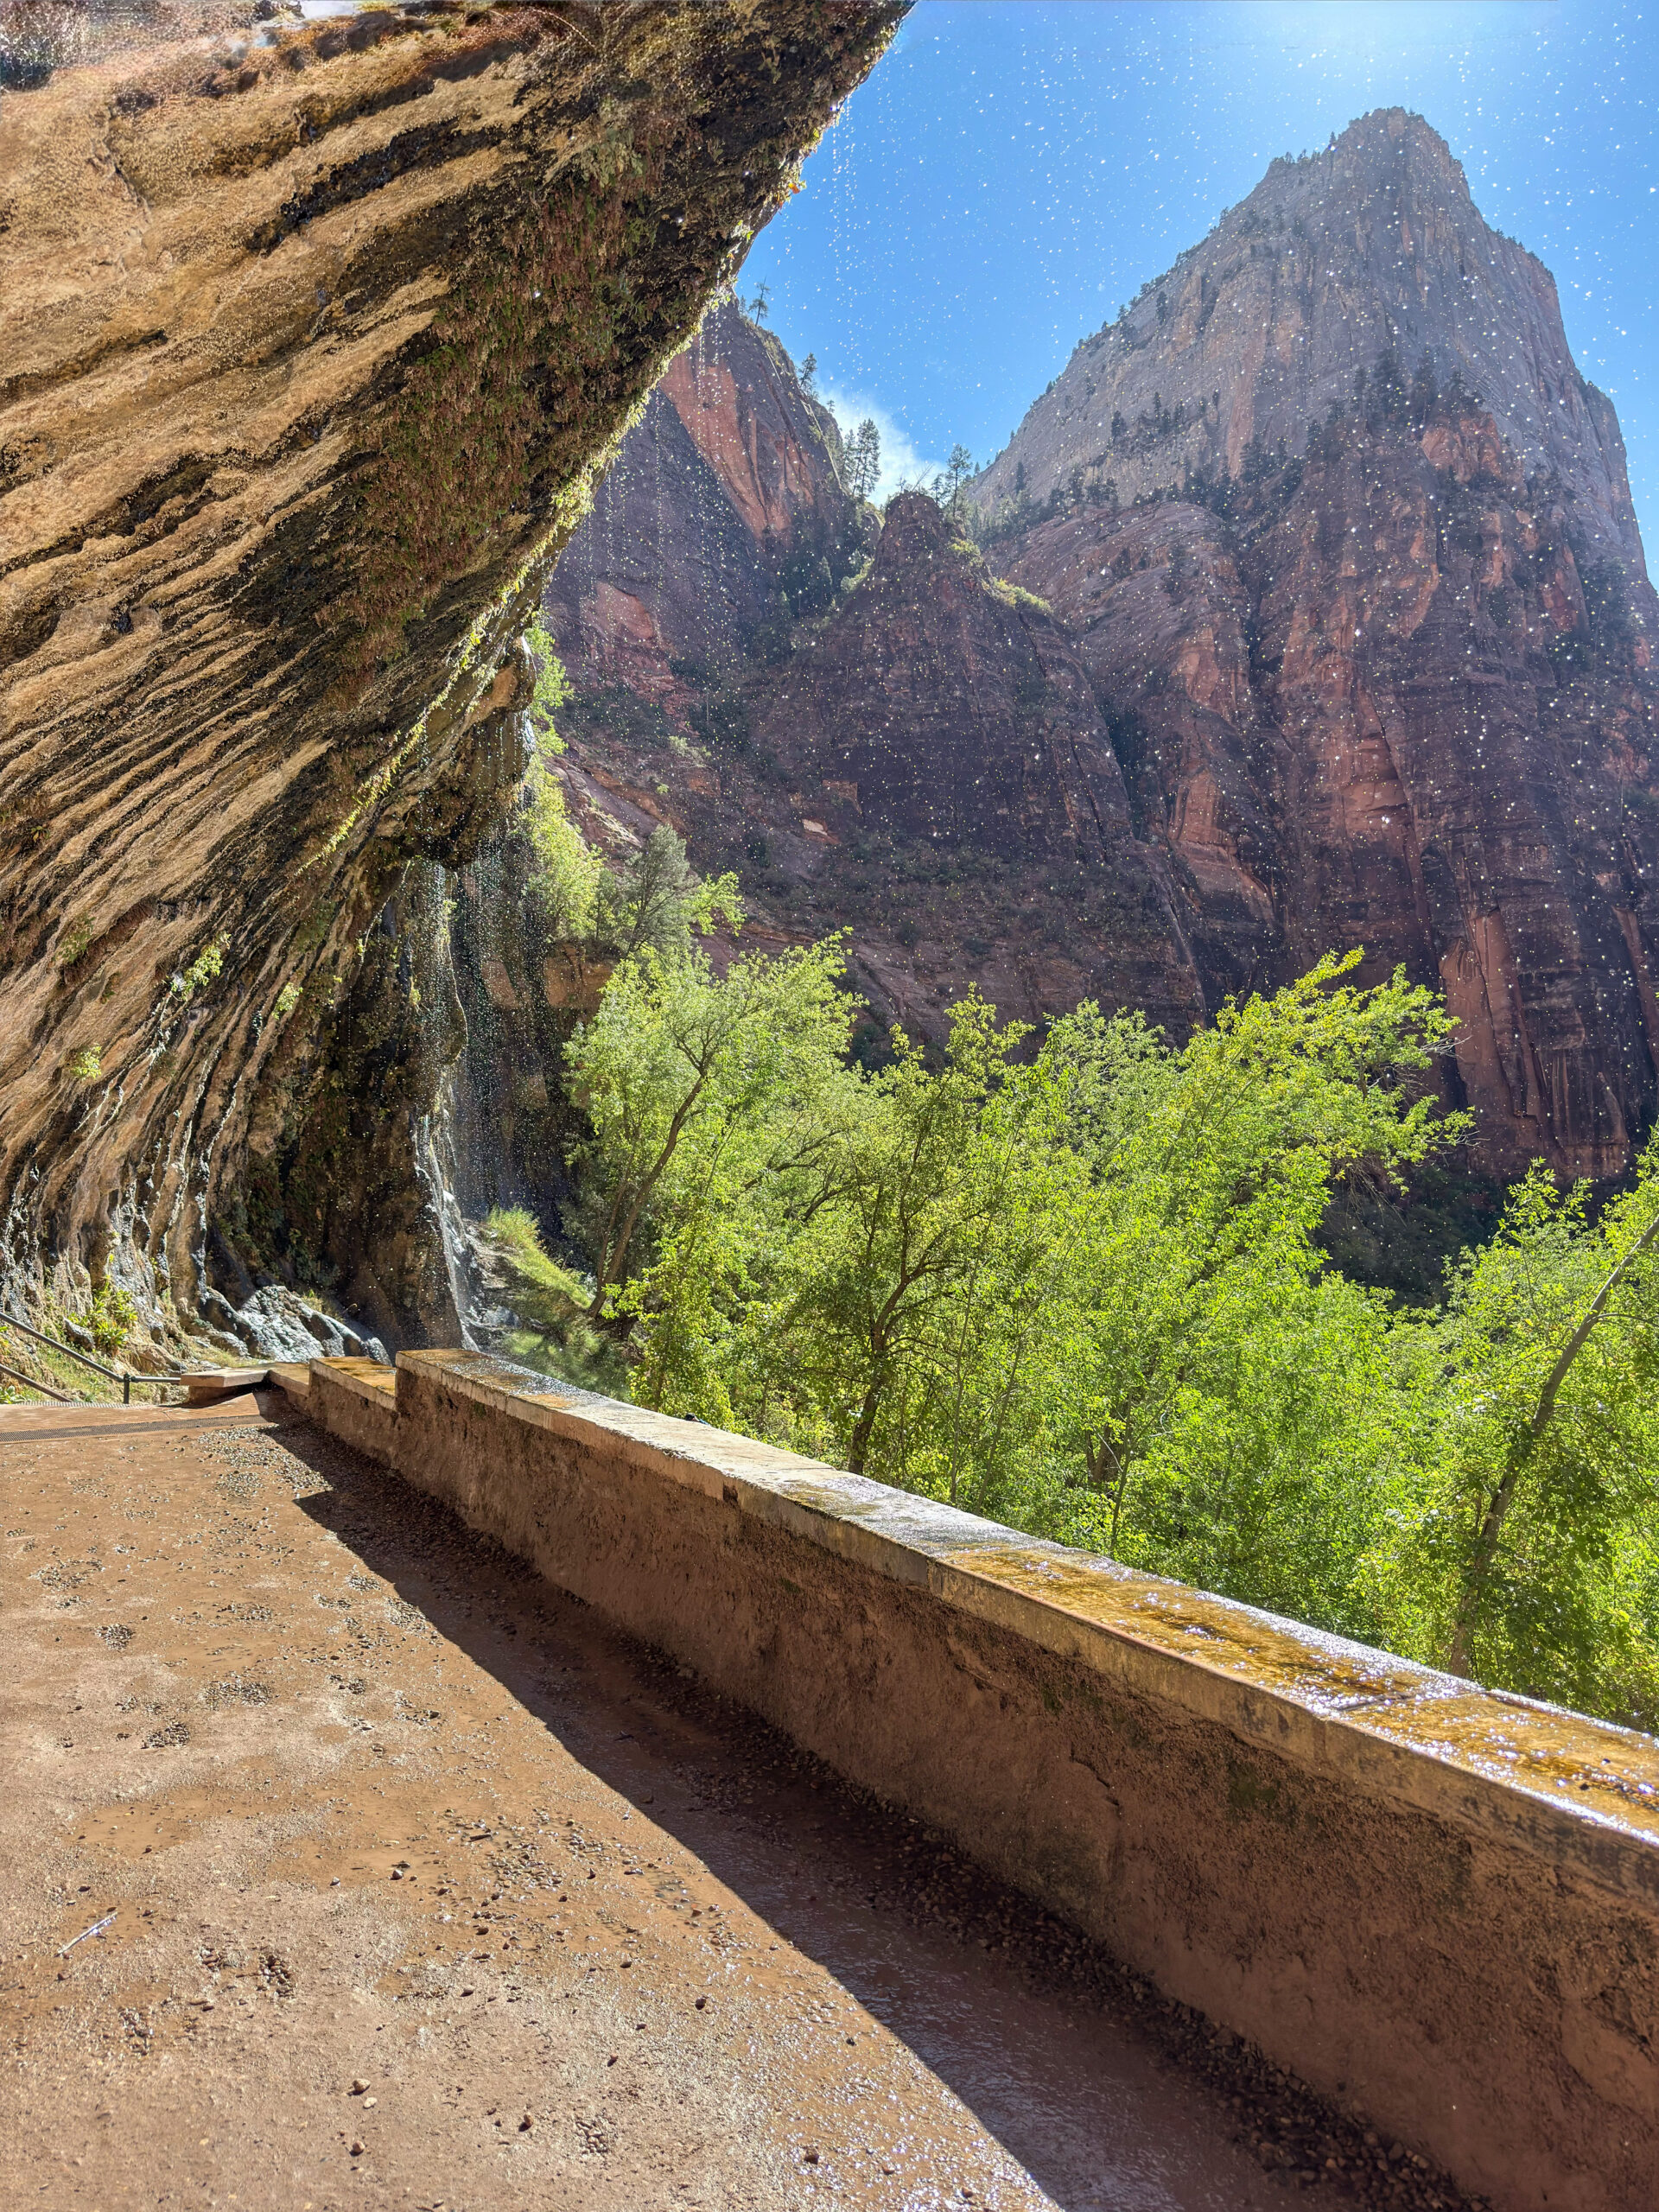
Weeping Rock [1.56 km | ↑ 34 m | ↓ 34 m]
Observation Point [11.45 km | ↑ 218 m | ↓ 218 m]
A permit is required to hike Angels Landing. We tried our luck in the day-before lottery—and luckily, we got one!
We wanted to start as early as possible because we knew the final section follows a narrow ridge with chains, where hikers constantly have to pass one another. If you manage to get one of the first morning permits, there’s a good chance you won’t encounter anyone on the way up, making the entire experience much more enjoyable. That’s why we got up very early to catch the first shuttle bus.
The shuttle buses are free and operate throughout Zion National Park, helping reduce traffic and overcrowded parking lots. For Angels Landing, the best stop is The Grotto.
There are two ways to obtain an Angels Landing permit:
- Seasonal Lottery – You apply several months in advance for a specific season. During the application process, you can choose up to seven preferred dates or time windows. The application fee is $6 USD per group (up to six people), and if you’re successful, you’ll pay an additional $3 USD per person.
- Day-before Lottery – If your trip is more spontaneous, you can try your luck the day before your planned hike. It works on the same lottery system and is often your last chance to secure a permit.
The good news is that even if you don’t get a permit, you definitely don’t have to skip the hike. The trail to Scout Lookout, including the famous Walter’s Wiggles switchbacks, doesn’t require a permit and is already one of the most beautiful hikes in Zion National Park. Only the final 800 metres along the narrow ridge with chains are restricted to permit holders.
We ended up being among the first five people to reach the summit. I’ll admit there was one section where I thought I won’t make it. From a distance, it looked far scarier than it actually was. The entire route is lined with chains that you can hold onto almost the whole way. Yes, there are sheer drops of hundreds of metres beside you in places, but if you take your time, move at your own pace, and don’t let other people rush you, it’s absolutely manageable—even if you’re afraid of heights.
The feeling at the top was impossible to describe. The views, the adrenaline, and most of all the satisfaction of pushing beyond my own limits made every step worthwhile. That said, if you don’t feel comfortable tackling the final ridge, don’t worry about it. The view from Scout Lookout is very similar, and the only thing you’ll really miss is the adrenaline.
On the way back down, we naturally met plenty of people making their way up. That’s when I finally understood why Angels Landing has earned a reputation as one of the most dangerous hikes in the world. Personally, though, I don’t think the trail itself is the greatest danger. I think that some people make it danger by how they act, irresponsible, incosiderately. Some hikers were literally running uphill, overtaking others in the narrowest sections, or trying to squeeze past people who were descending. A little patience and consideration would make the trail much safer for everyone. That’s why I’d personally recommend trying to get either the earliest morning permit or one of the last afternoon permits before sunset. You’ll avoid the biggest crowds, and the entire experience will be both safer and far more enjoyable.
Since Zion’s shuttle system meant we didn’t have to return to the same parking lot where we started, we decided to add a few extra kilometres and visit the Emerald Pools. The trail takes you directly beneath a waterfall, and although it’s only a short detour, it’s definitely worth the visit.
Because we wanted to make the most of our time in Zion National Park, we then caught the shuttle all the way to its final stop, where another famous hike begins—The Narrows. This hike is unlike almost any other. Never—really, never—start this hike during rain, after rain, or if rain is forecast. The reason is simple: you’re hiking through a narrow canyon, and conditions can change extremely quickly. If the water becomes too deep, the current too strong, or a flash flood occurs, the situation can become incredibly dangerous.
At the trailhead, you’ll find an information board showing the current flash flood risk. If the danger level is extreme, nobody should begin the hike. That said, no warning level ever means the canyon is 100% safe. There’s always a small possibility that heavy rain elsewhere in the drainage basin could send a flash flood downstream without warning.
Some hikers rent waterproof dry suits, special canyon boots, and walking sticks for this hike. We decided not to rent anything. We’ve crossed plenty of rivers before, and we’re fairly comfortable in cold water. At the same time, we knew we didn’t want to push ourselves too far. The canyon stays cool throughout the day because very little sunlight reaches the bottom, and the water was absolutely freezing. We also knew we’d have to walk the exact same distance back through that icy water.
I’d definitely recommend bringing some snacks or quick sources of sugar as well. Your body burns through energy much faster when you’re cold. We chose the Bottom-Up route, which doesn’t require a permit. The full out-and-back hike is 14.3 km with around 212 metres of elevation gain, and it starts from the Temple of Sinawava shuttle stop.
The other option is the Top-Down route, which does require a permit. It’s 26 km long with approximately 633 metres of elevation gain. There are designated campsites along the route, and you’ll need plenty of warm clothing for the cold nights inside the canyon, enough water for the entire hike, or a water filter. Personally, though, I think the Bottom-Up route is more than enough. For us, the main goal was simply to experience walking through the canyon itself and wading up the river.
Since we’d started the day so early, we still had time to visit Weeping Rock. The trail leads to a small rock alcove where water constantly drips from the cliff above. Standing beneath the overhang while looking out across Zion’s towering cliffs, with water cascading just in front of you, creates a really beautiful atmosphere.
Because we planned to continue to Bryce Canyon National Park the following day, we decided to finish the afternoon with Observation Point. We wanted to see Zion from a completely different perspective—and, of course, we had to look back at Angels Landing from afar. And I have to say… Wow, this place is breathtaking. Seeing the narrow ridge we’d climbed that morning from a completely different viewpoint was absolutely incredible.
Since it was my name day, Lu decided to take me out for dinner—a reward we had definitely earned after everything we’d hiked that day. We shared a plate of beef ribs that literally fell off the bone. And of course, ribs had to be accompanied by a beer. (Lu skipped the beer and drove, exceptionally, since she doesn’t like driving at dusk or after dark because of her eyesight.)
As a surprise, dessert was waiting for me too. Another apple pie. This one was topped with an incredible warm rum sauce. I’d honestly thought no apple pie could top the one from Gifford Homestead… I was wrong. It was absolutely fantastic. But this time it wasn’t just about the pie, but about the combination. So if you’re visiting Zion National Park, I highly recommend making the short drive to Mount Carmel and stopping at the Thunderbird Restaurant.
That evening, we drove closer to Bryce Canyon National Park, ready to catch sunrise the following morning over one of the most beautiful national parks in the American Southwest.
Day 9 (October 20, 2025)
Queen’s Garden Trail [4.69 km | ↑ 196 m | ↓ 196 m]
Mossy Cave Trail & Red Canyon Arches Trail [3.19 km | ↑ 139 m | ↓ 139 m]
It might seem a little strange that we visited Zion National Park before returning to Bryce Canyon National Park, but there was a good reason for it. We had entered the Angels Landing lottery and figured that if we didn’t get a permit on our first attempt, we’d already be nearby and could simply try again. We definitely didn’t expect to get lucky on the first try!
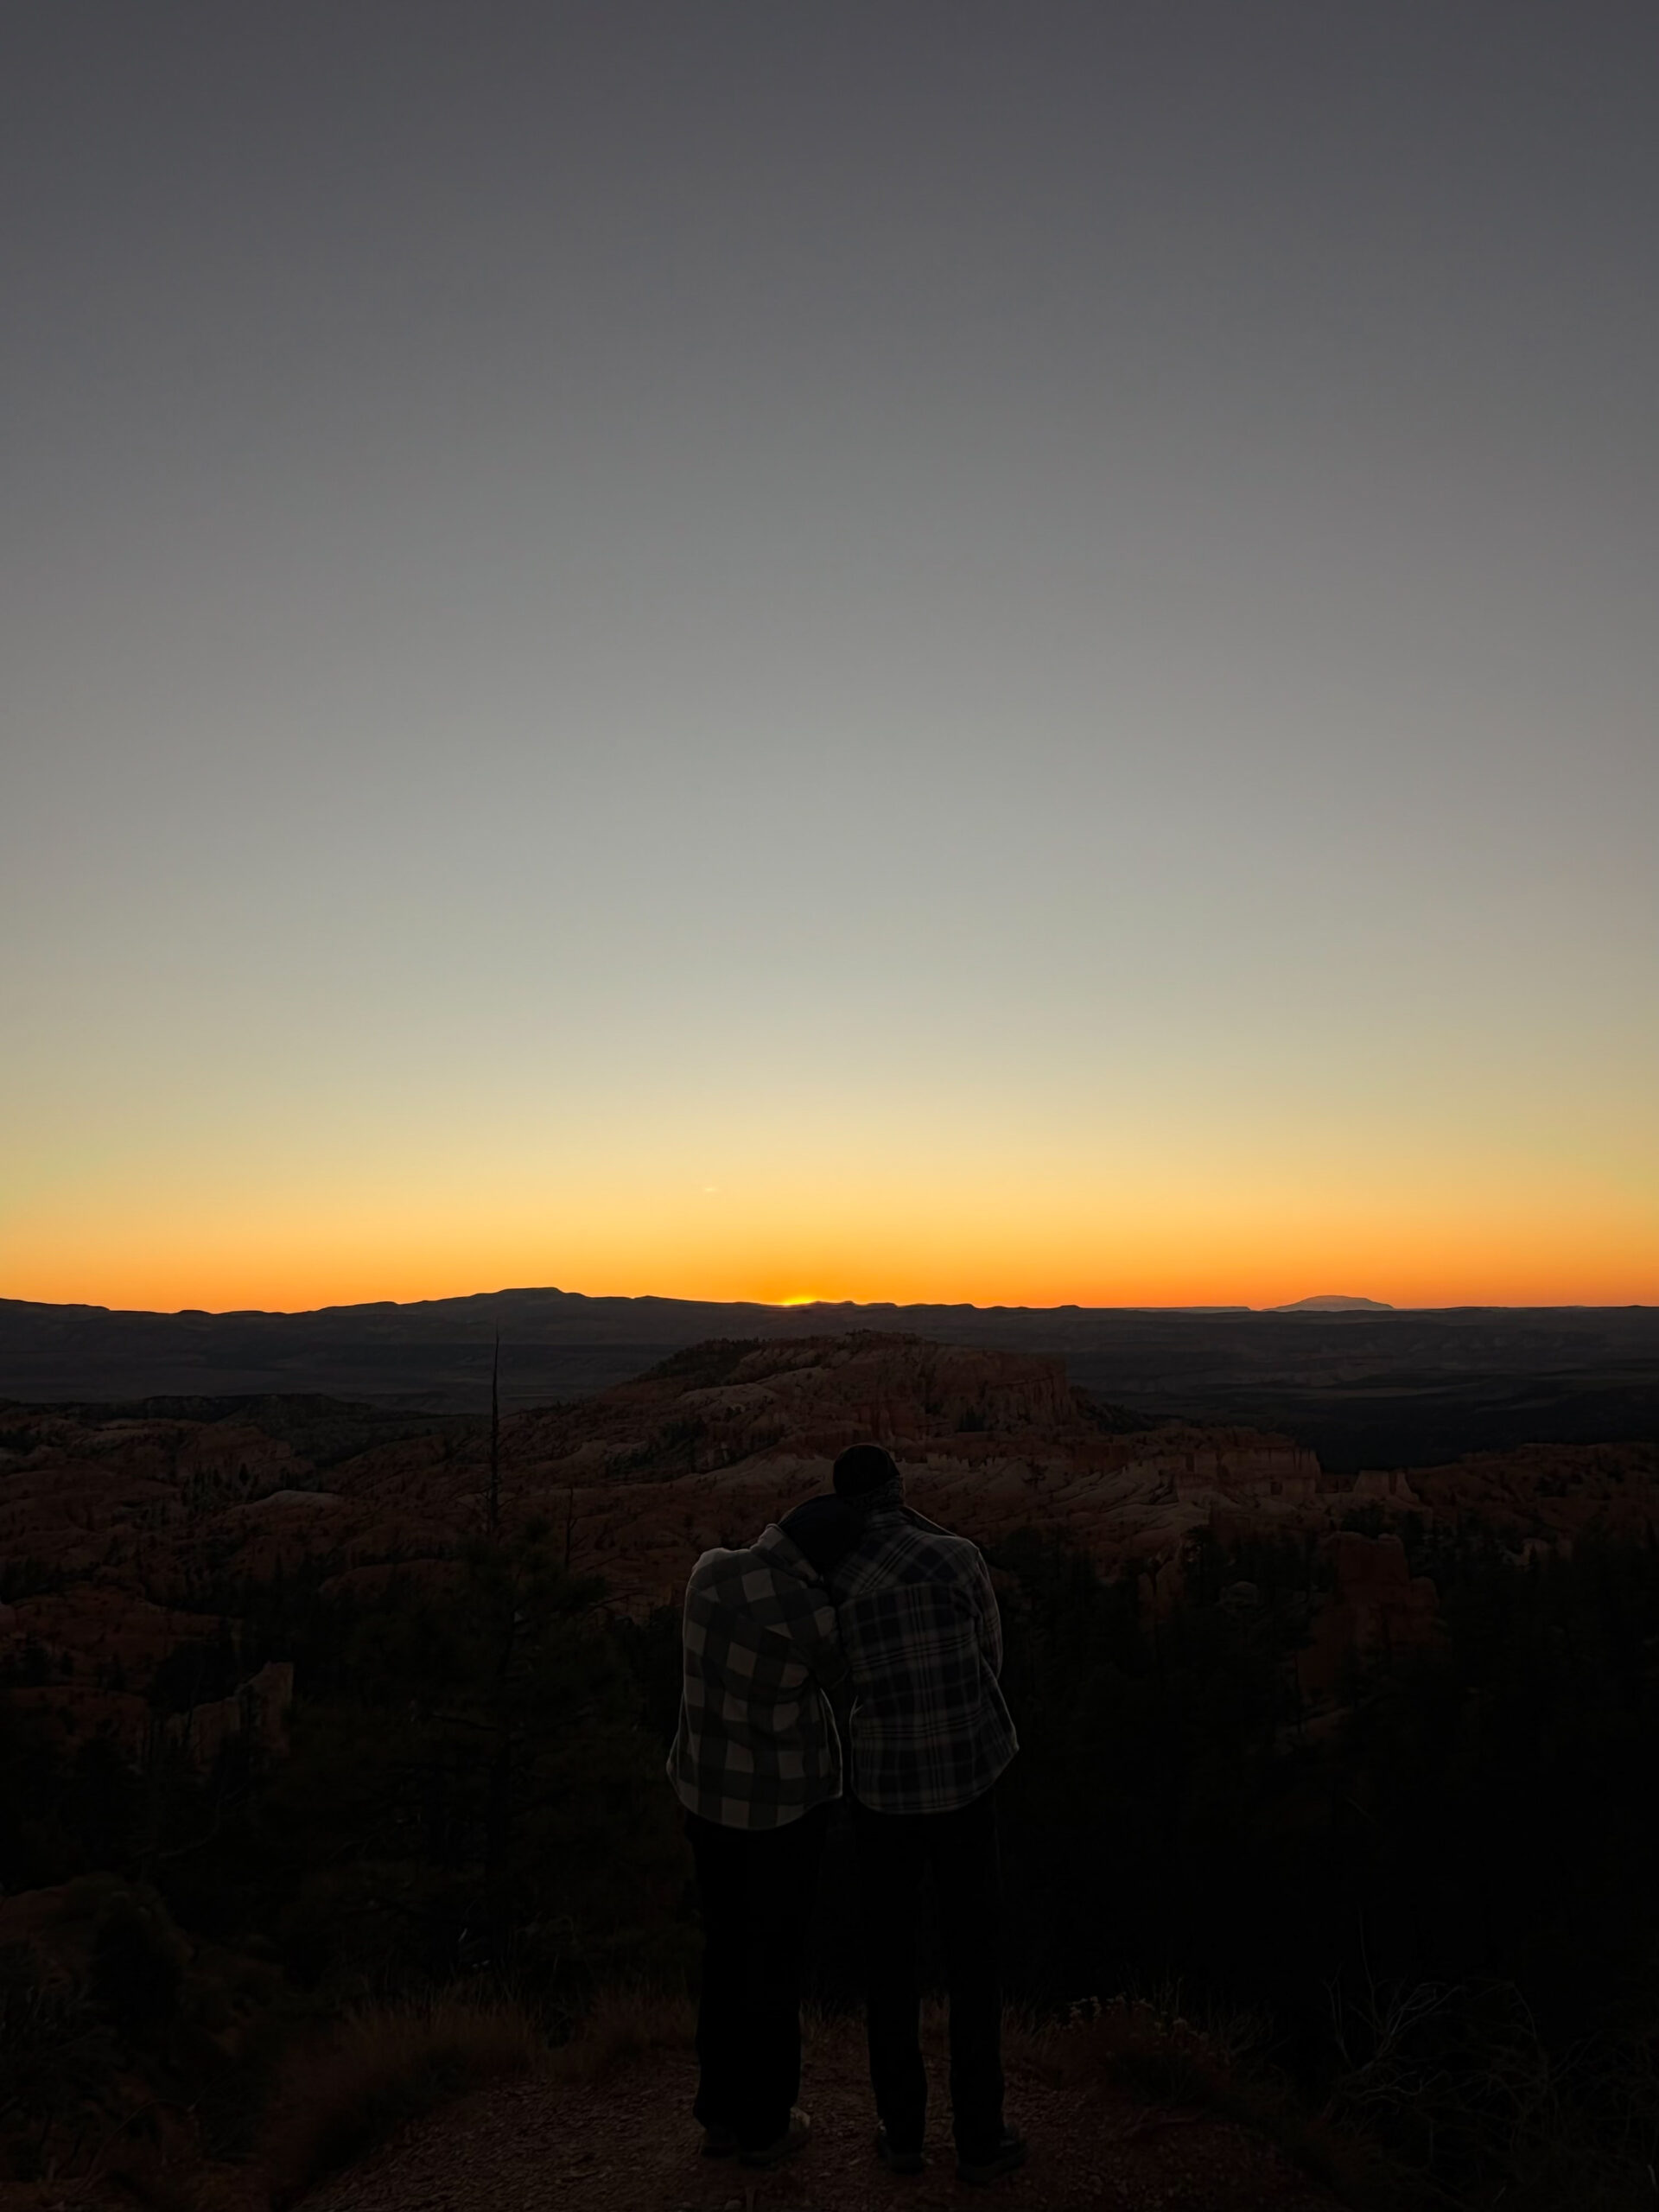
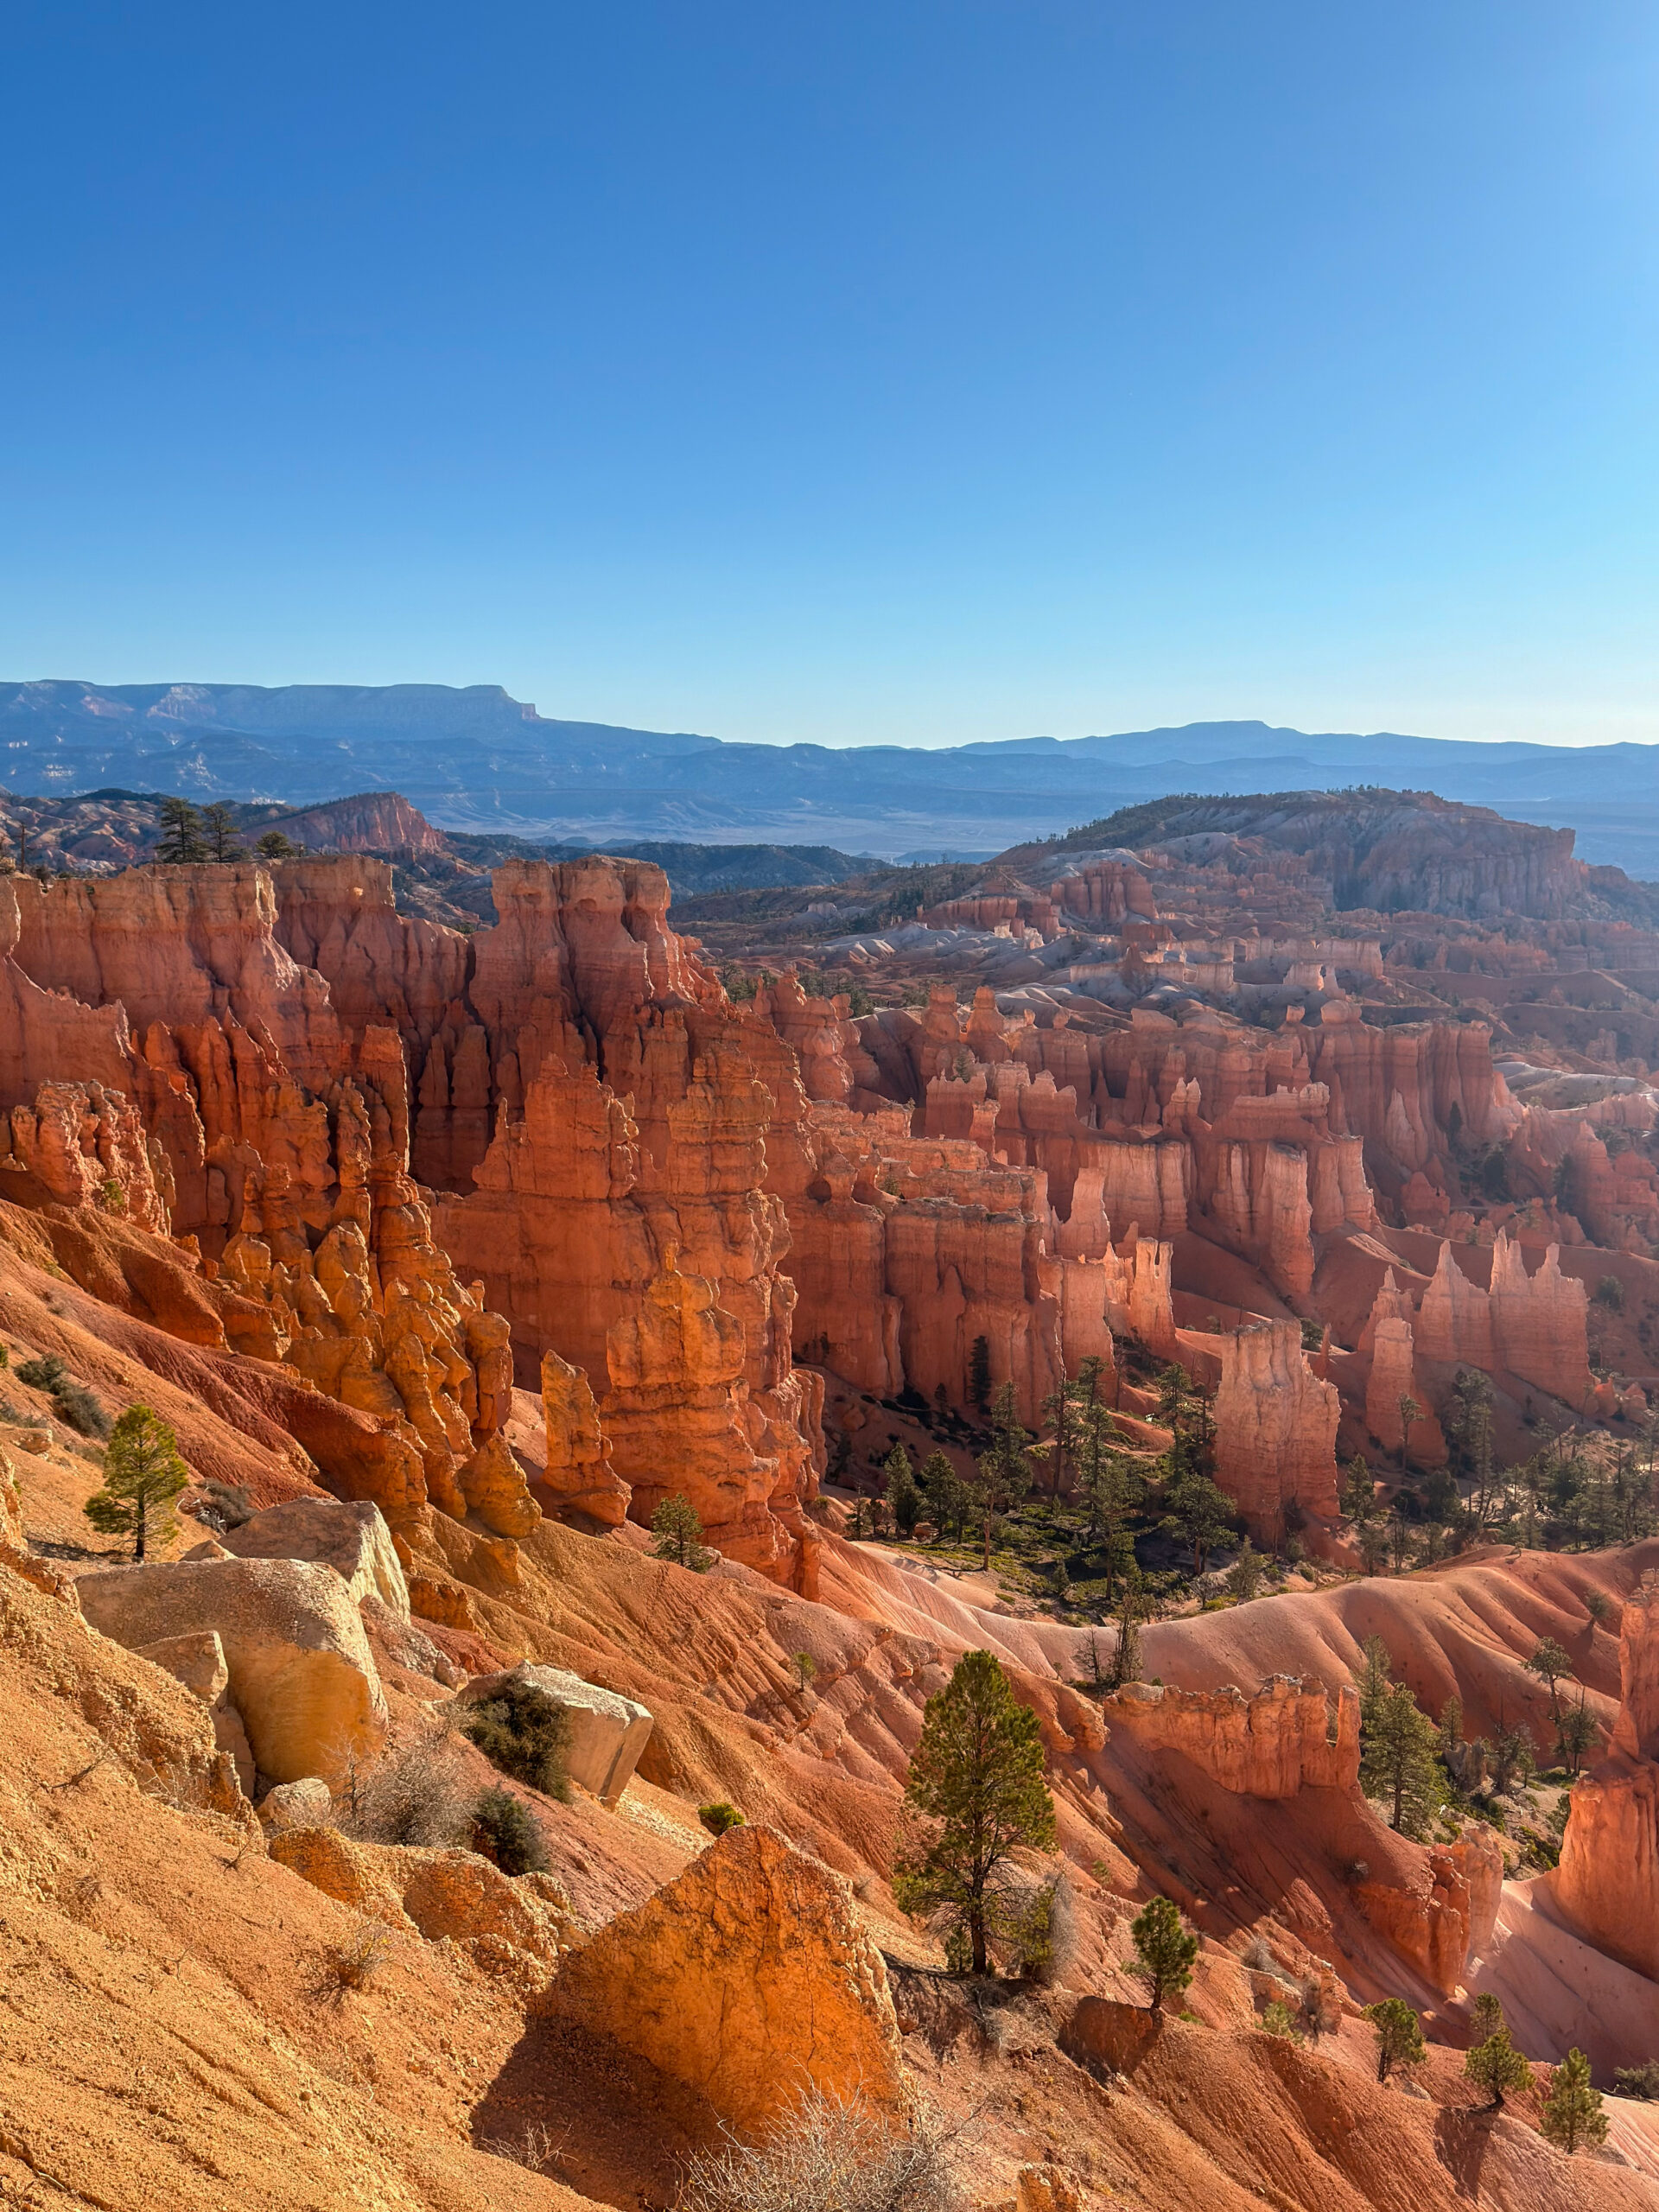
Bryce Canyon has two famous viewpoints called Sunrise Point and Sunset Point. That’s why we drove closer to the park the previous evening—we wanted to catch sunrise from Sunrise Point. Unfortunately, my phone couldn’t capture the scene the way it actually looked, but I really recommend getting up early. Watching the first rays of sunlight illuminate the red rock formations is an unforgettable experience. Since we wanted to make the most of the beautiful morning light, we didn’t return to the car for breakfast until afterwards.
And once again, something happened that became surprisingly common during our road trip. While we were making breakfast, other people stopped by our car to ask what we were cooking—or whether we were selling something. Whenever we offered them a cup of coffee, they always smiled, thanked us… and politely declined anyway.
Our main goal for the day was the Queen’s Garden Trail, widely considered one of the most beautiful hikes in Bryce Canyon. Bryce is actually quite unique because, despite its name, it isn’t a true canyon at all. Instead, it’s a giant natural amphitheatre carved by millions of years of erosion. Its most famous features are the hoodoos—tall sandstone spires of which there are well over a thousand throughout the park.
Along the trail, we passed beneath sandstone arches, walked through natural tunnels, and admired rock formations of every imaginable shape. Some resembled the walls of medieval castles, while others looked like giant stone statues or towering rock castles. Every few minutes, we found ourselves stopping once again, simply staring at the landscape in disbelief. We completed the loop via the Navajo Loop Trail, whose famous switchbacks are among the most photographed places in the entire park. From above, the winding trail looks like something straight out of an adventure movie.
Just a few minutes north of Bryce Canyon National Park lies Mossy Cave, another interesting stop that many visitors completely overlook. Despite its name, it isn’t really a traditional cave but rather a shallow rock overhang formed over thousands of years by slightly acidic groundwater. As the water slowly seeped through the harder limestone above, it gradually dissolved the softer rock layers beneath, creating the alcove you see today. The cool, damp environment provides the perfect conditions for mosses to thrive, which is how the site got its name. During winter, the dripping water freezes into impressive ice formations that can sometimes last well into summer. We visited Mossy Cave in the fall, so we only saw the dripping water, but the place still had its own charm. I can only imagine how beautiful it must be in winter.
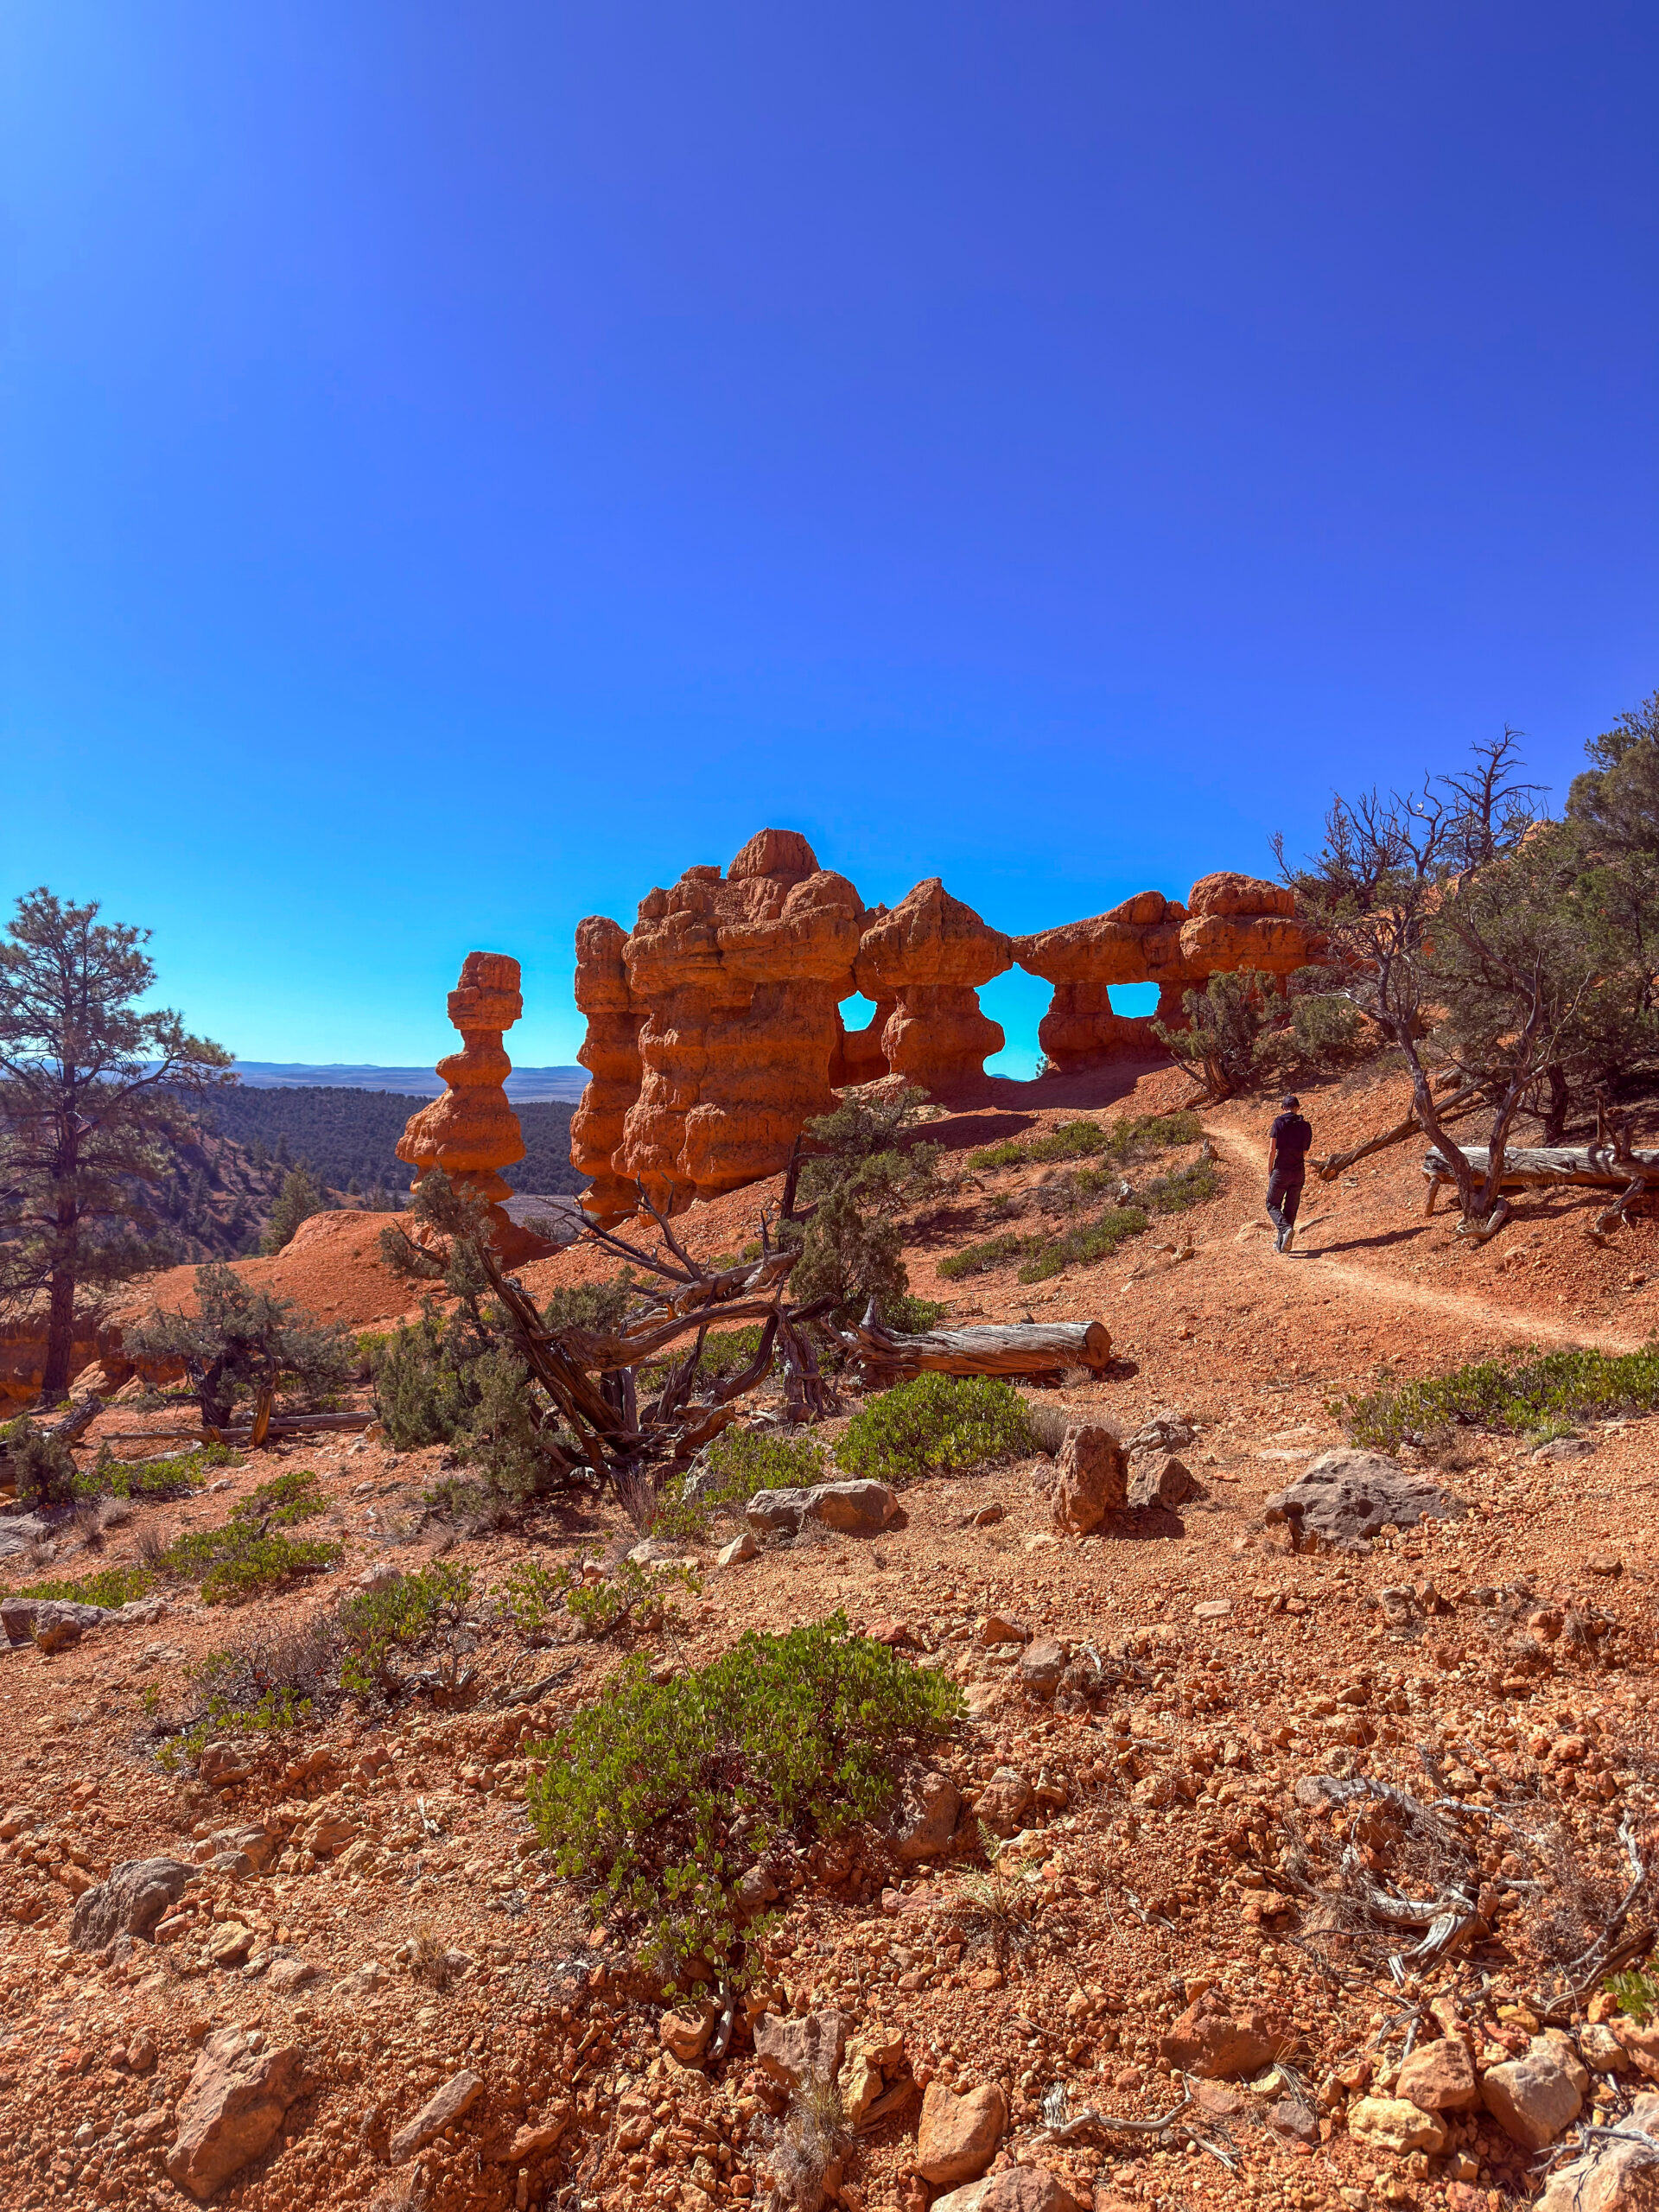
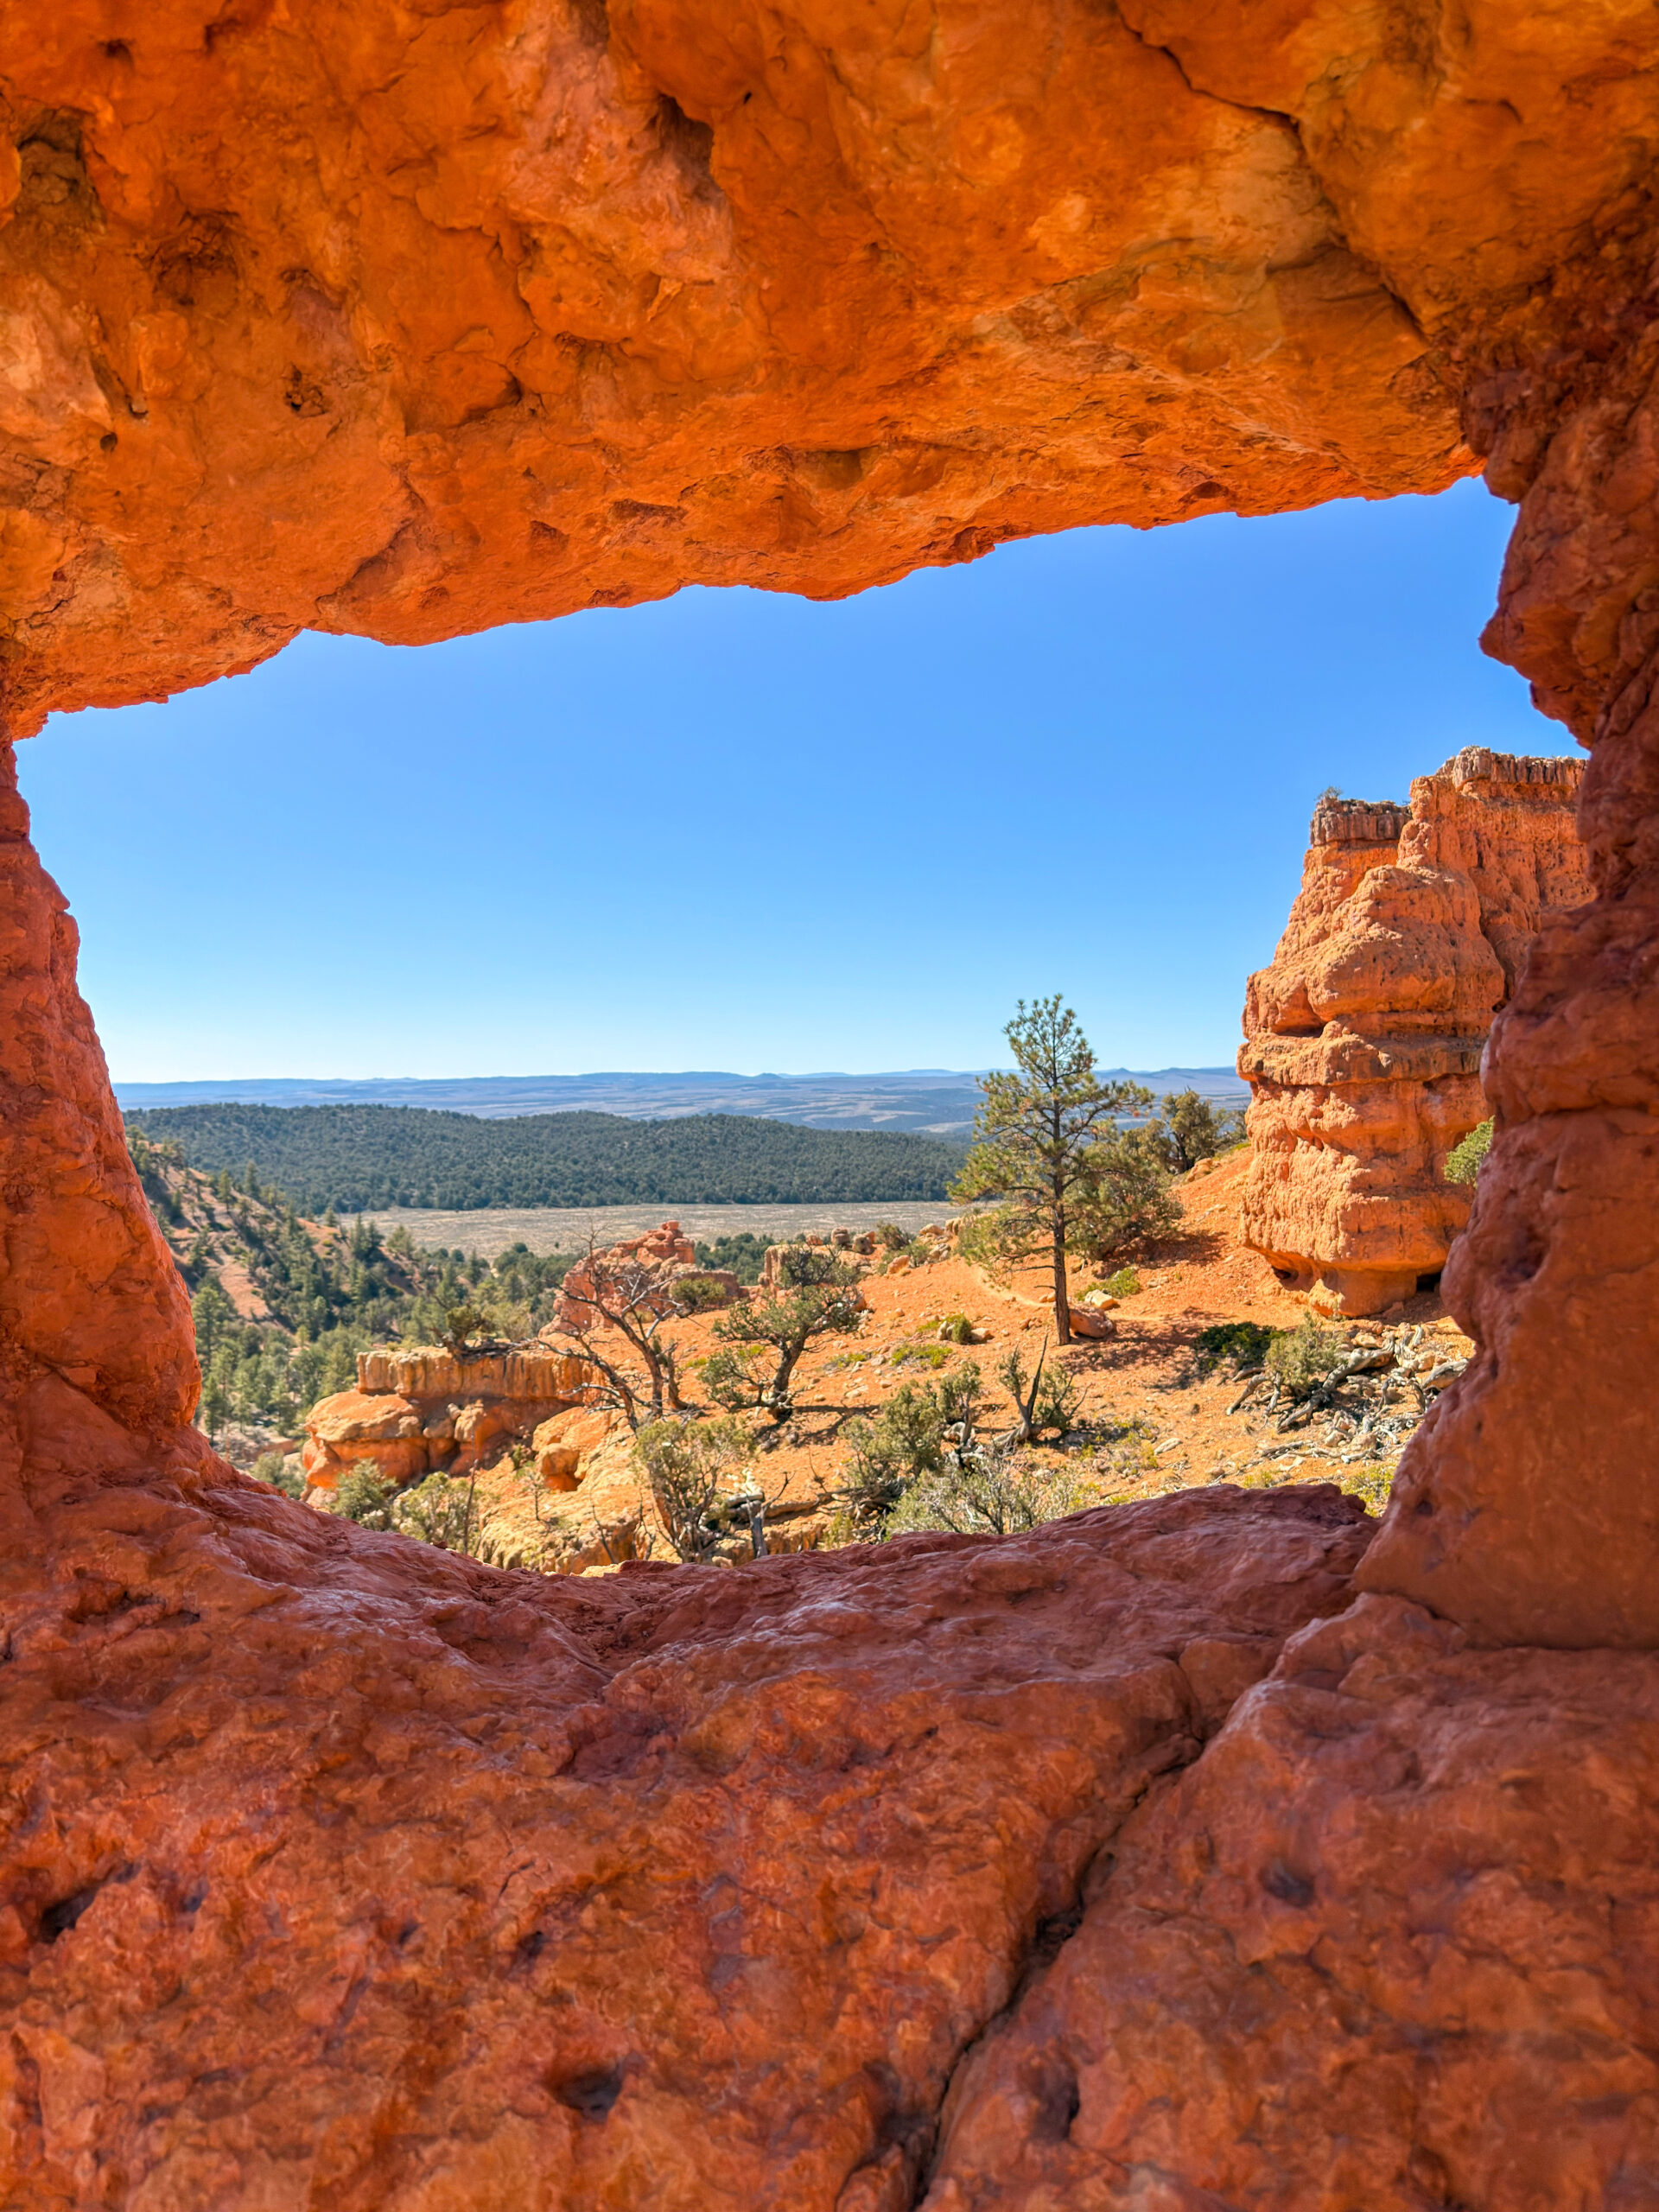
Our next stop was the Red Canyon Arches Trail, located just a few minutes from Bryce Canyon. Compared to the national park, this place felt incredibly peaceful. There’s a good chance you’ll have much of the trail entirely to yourself. Here you’ll once again find red sandstone formations, natural windows, arches, and towering rock spires. Some of the rock windows frame the surrounding landscape like giant natural picture frames. Others resemble enormous mushrooms with massive stone caps or balancing boulders that somehow seem to defy gravity. The entire area around Bryce Canyon and Red Canyon felt like one of the most diverse landscapes in southern Utah.
In a single day, we walked among hoodoos, natural arches, rock windows, and narrow tunnels. And speaking of tunnels… We also drove through several of them in this part of Utah. Each one had been carved directly into the red sandstone cliffs and blended perfectly into the surrounding landscape. They’re only brief stops along the drive, but it’s little moments like these that make travelling through Utah so special.
Day 10 (October 21, 2025)
Island Kolob Arch [23.56 km | ↑ 659 m | ↓ 659 m]
The Belly of the Dragon [4.05 km | ↑ 81 m | ↓ 81 m]
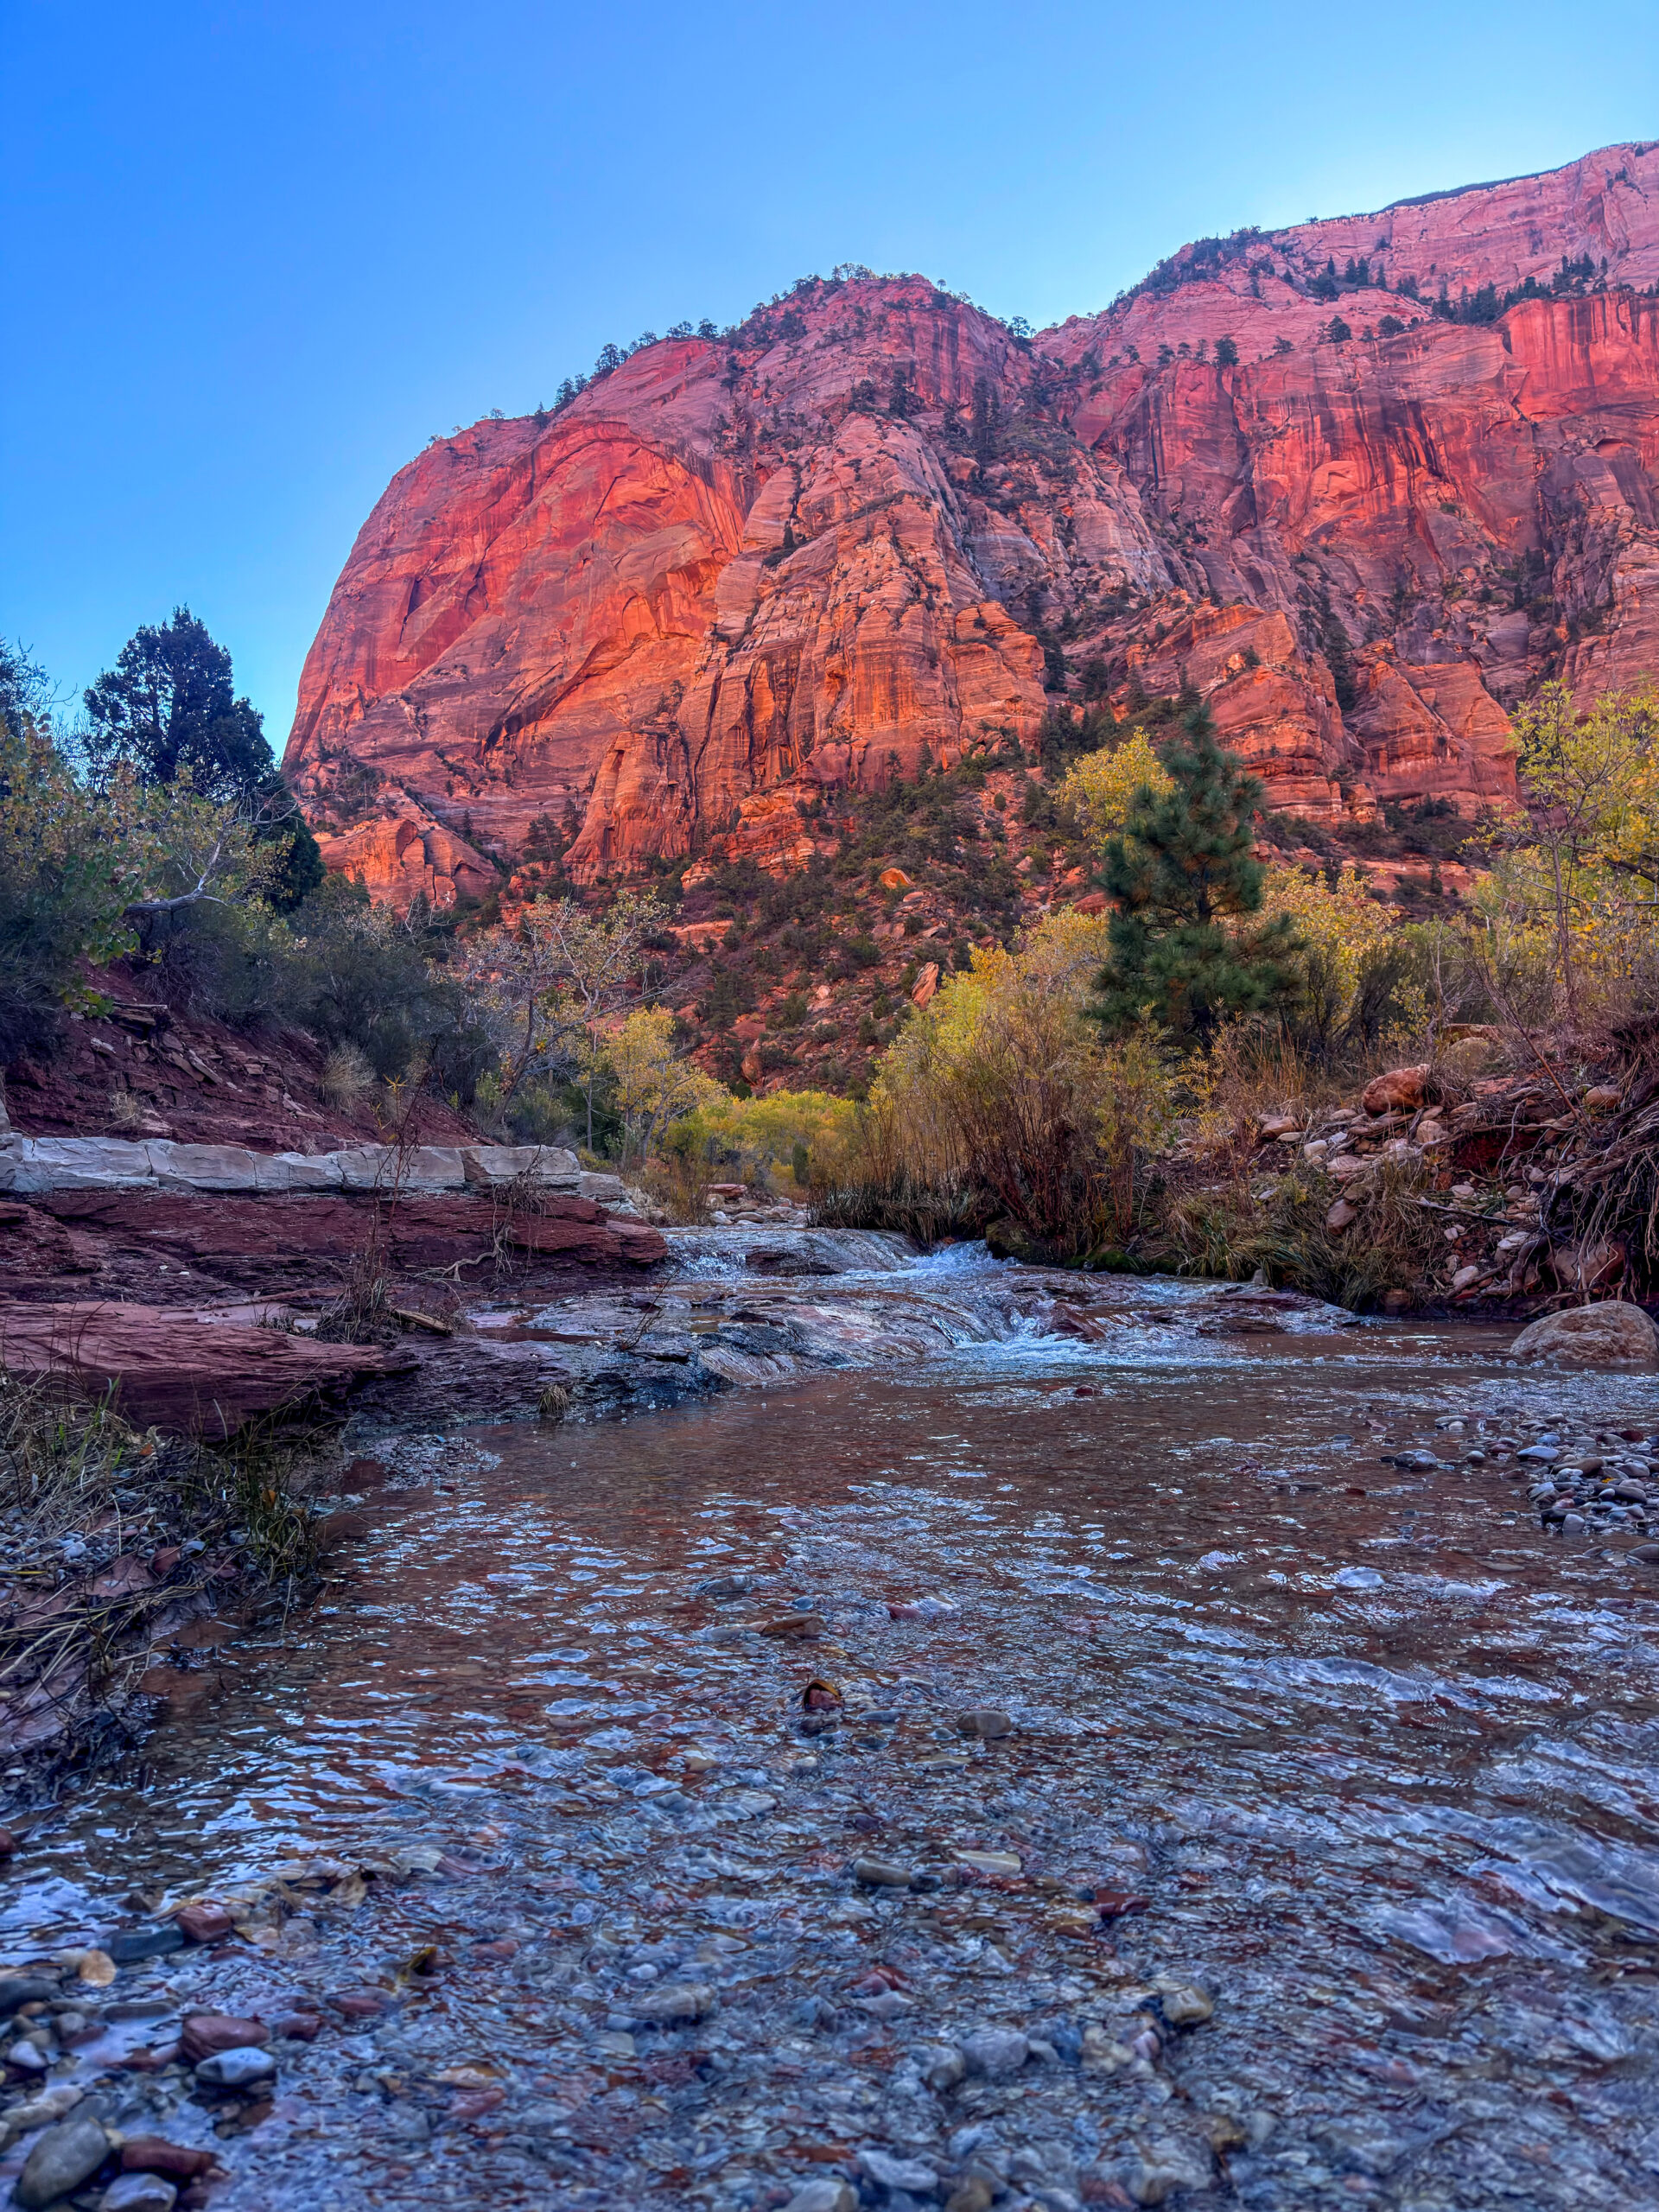
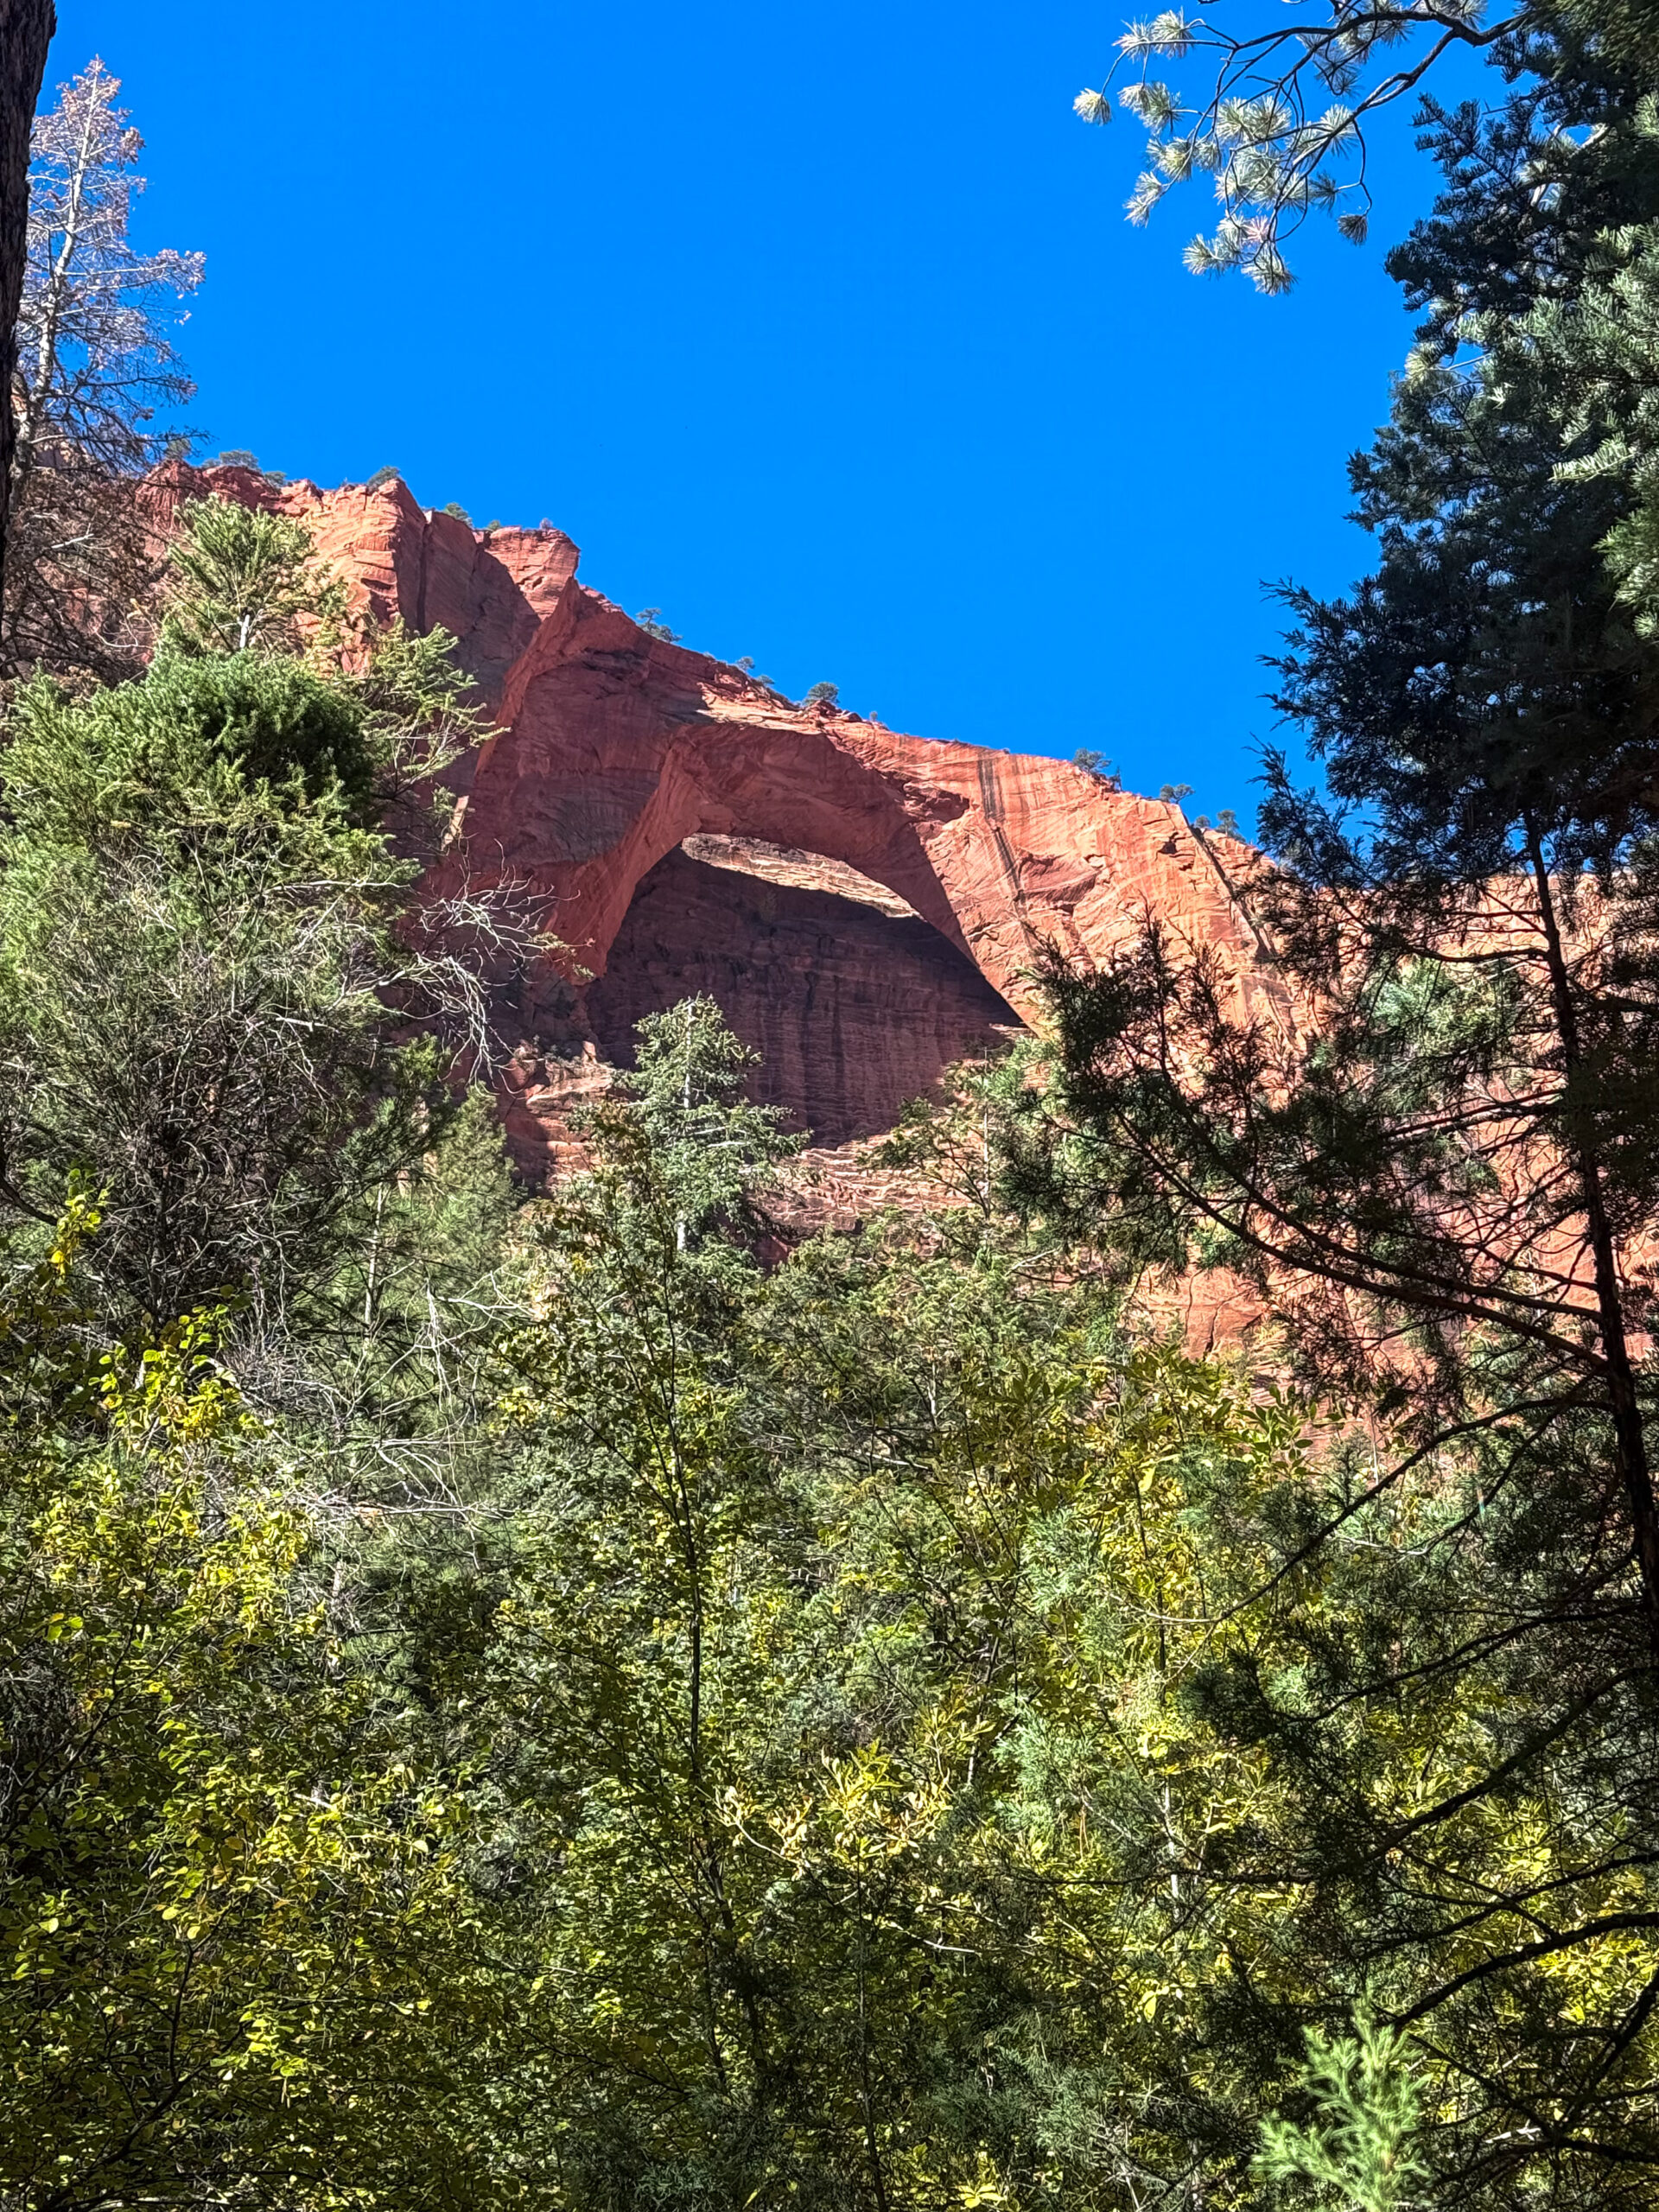
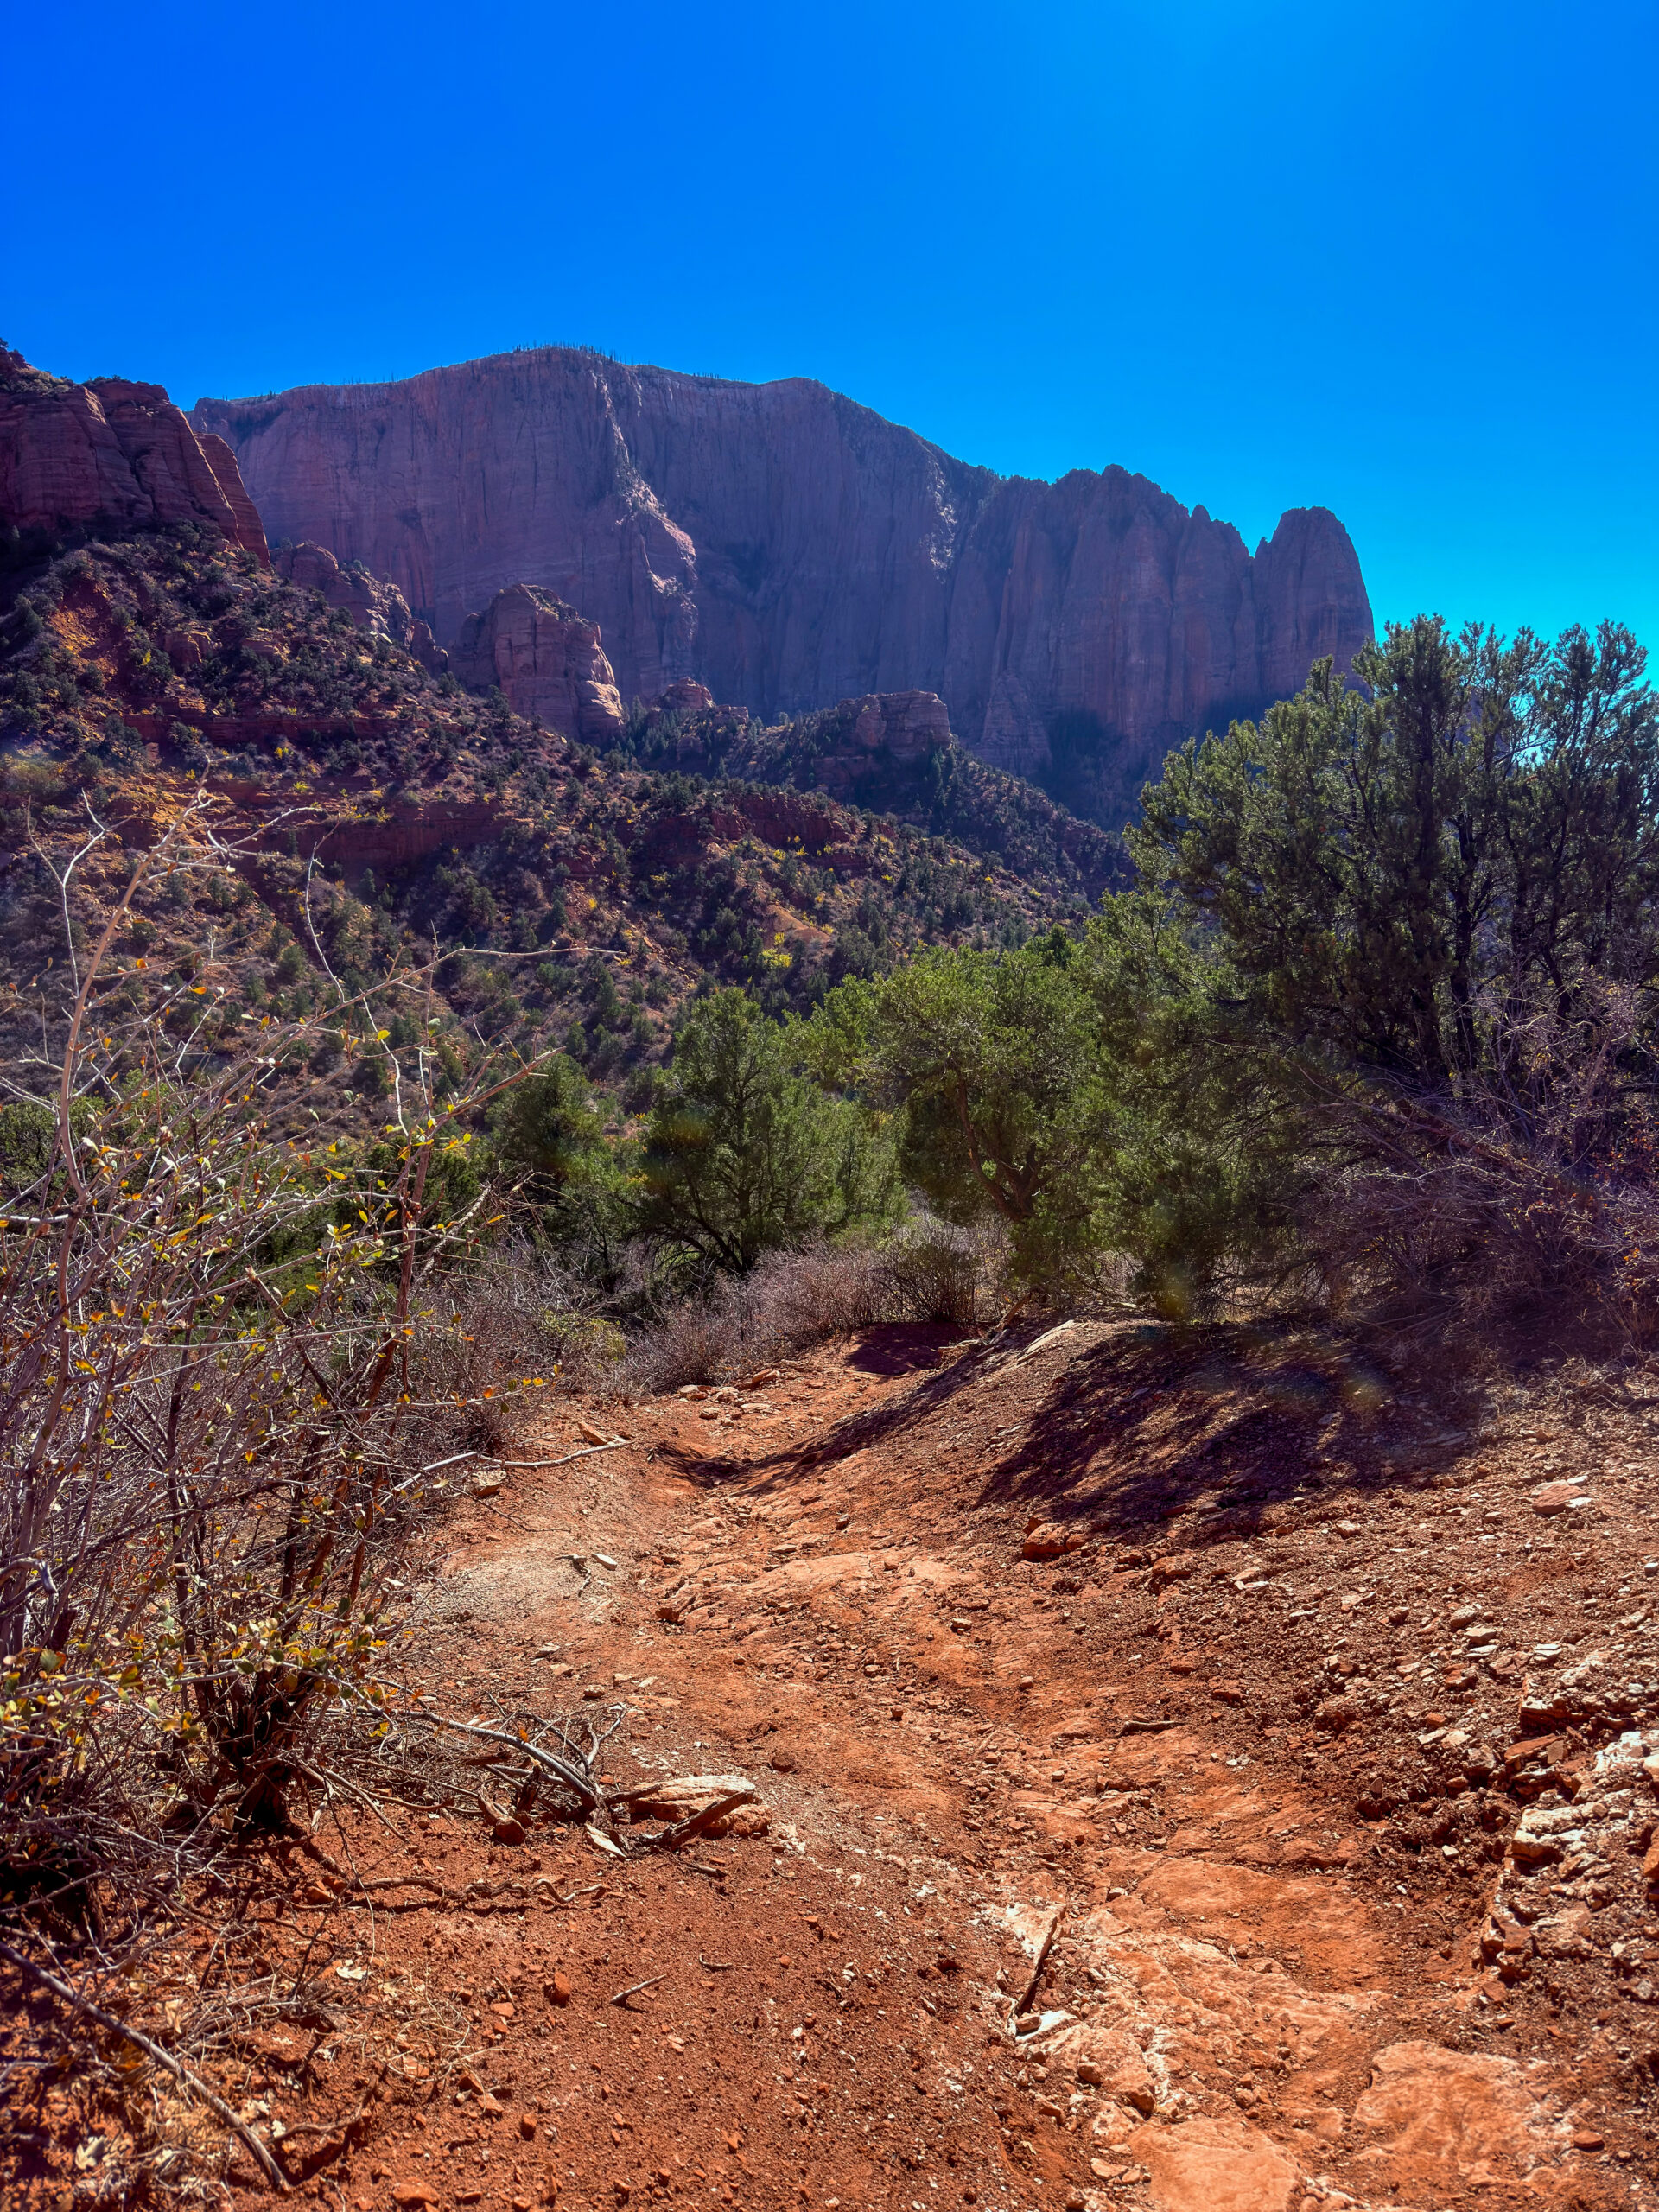
We decided to visit Kolob Arch to experience a completely different side of Zion National Park. We spent the night right at the trailhead parking lot. We had tried to find another place to camp, but by then it was already late. There was also a campervan parked there with its lights on when we arrived, so we figured we’d just take the risk. We only got there in the evening and planned to leave early the next morning anyway, so it was just a few hours of sleep.
Honestly, if you’re short on time in Zion, I’d prioritise hikes like Angels Landing, Scout Lookout, Emerald Pools, The Narrows, Weeping Rock, or Observation Point. That doesn’t mean the Kolob Arch Trail isn’t beautiful. Quite the opposite. The trail passes through a peaceful and much quieter part of Zion where you’ll meet very few people. However, if your main motivation is seeing the arch itself, you might be a little disappointed.
After hiking more than 23 kilometres, Kolob Arch is still quite far from the viewpoint and is partially hidden among the trees. It’s not the kind of arch you can stand beneath or admire up close. So if your main interest is natural arches, I think Arches National Park or Corona Arch offer a much more rewarding experience. I’d mainly recommend the Kolob Arch Trail to people who’ve already explored Zion’s most famous attractions and want to experience a completely different side of the park—one that’s peaceful, quiet, and far away from the crowds.
After returning to the car, we once again drove through Zion’s iconic tunnels and winding scenic roads, enjoying the incredible canyon views before continuing towards Kanab.
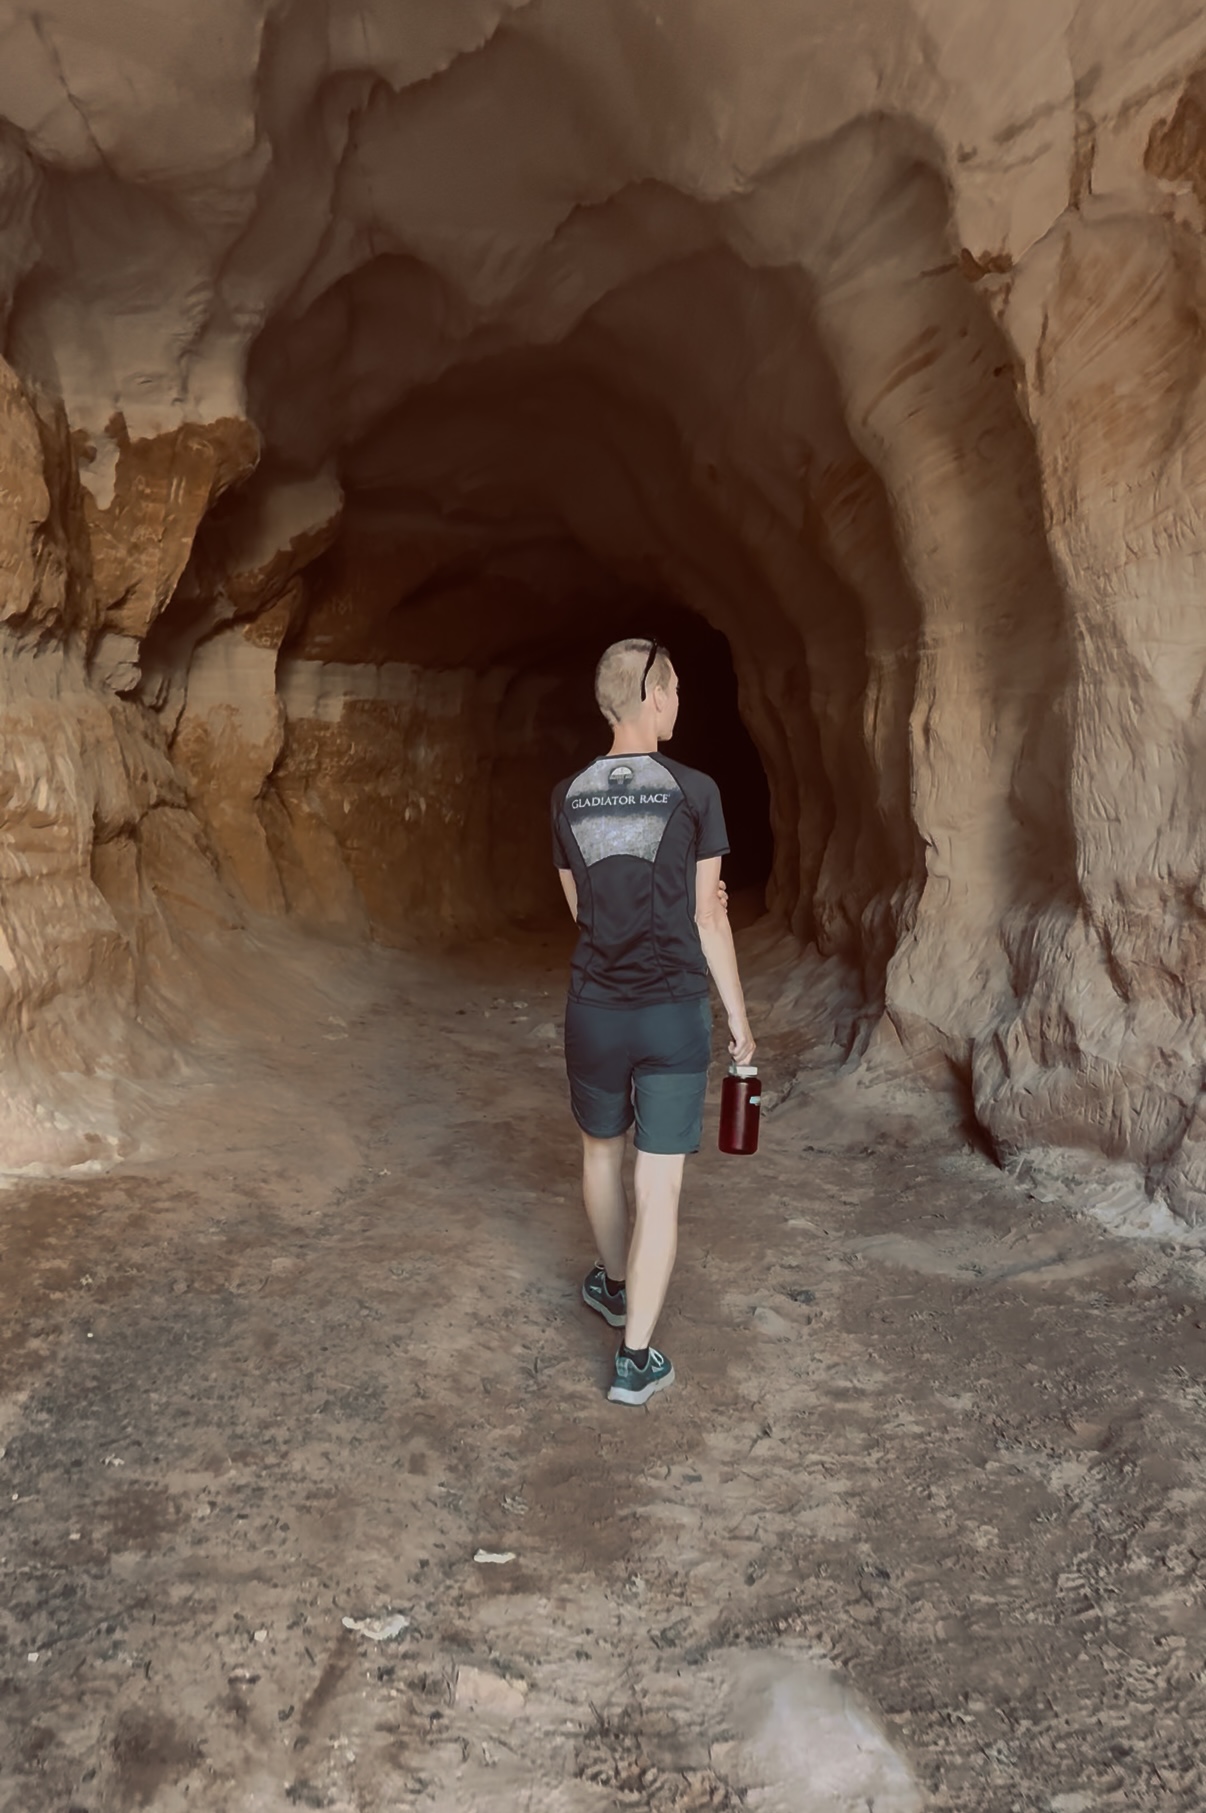
Along the way, we made one more short stop at The Belly of the Dragon. At first glance, it looks like a natural cave, but it’s actually a man-made drainage tunnel beneath Highway 89. The tunnel is about 90 metres (295 feet) long, and over the years, flowing water mixed with sand has carved smooth, wave-like patterns into the walls, making it look remarkably like the inside of a dragon’s belly—which is exactly how it got its name. The tunnel is freely accessible, but never enter it during rain or if thunderstorms are expected. It serves as a drainage channel, and during heavy rainfall it can turn into a dangerous torrent within minutes.
We continued for roughly another two kilometres beyond the tunnel before deciding to turn around. The rest of the trail didn’t feel particularly interesting or especially well-marked. For us, the tunnel itself is the main reason to stop here.
The following day, we planned to try our luck at getting a permit for The Wave, so we continued to Kanab, where we spent the night. The town itself wasn’t really our destination. Our main goal was simply to stay as close as possible to the visitor centre, where we planned to go first thing the next morning to learn everything we needed to know about the lottery and permit process.
Day 11 (October 22, 2025)
Unfortunately, I hadn’t done enough research about The Wave before our trip, so I had no idea that a permit obtained through a lottery was required here as well. And honestly? Compared to Angels Landing, getting a permit for The Wave is even more difficult.
So first thing in the morning, we headed to the Kanab Visitor Center, where we asked the rangers to explain all of our options. There are two ways to obtain a permit.
- The Advanced Lottery is intended for people planning their trip well in advance. Applications are submitted through Recreation.gov approximately four months before your planned visit. The application costs $6 USD per group, and if you’re successful, you’ll pay an additional $7 USD per person.
- The second option is the Daily Lottery, which is what we wanted to try. You can only apply if you’re physically located within the designated geofenced area around Kanab or Page. Applications are submitted on your phone two days before your planned hike between 6:00 a.m. and 6:00 p.m. If you’re successful, you must visit the visitor centre the day before your hike to receive your permit, a map, and a mandatory safety briefing.
The entire system is quite strict. Only 64 people per day are allowed to enter Coyote Buttes North, where The Wave is located. Of those, 48 permits are allocated through the Advanced Lottery, while only 16 permits are available through the Daily Lottery. Thanks to these limits, you’ll never encounter large crowds, and the area has managed to preserve its unique atmosphere. On the other hand… It also means that getting a permit is incredibly difficult. Our friend Jess, for example, told me she’d already entered the lottery more than ten times without ever being successful. I also found countless stories online from people who had applied every year for several years and still hadn’t managed to get a permit. So we started looking for a backup plan.
At the visitor centre, we asked about Buckskin Gulch, one of the longest and most famous slot canyons in the world. The rangers weren’t particularly enthusiastic about that idea. The entrance fee is $8 USD per person, and the ideal way to hike it is one-way with two vehicles—leaving one at each trailhead. Our original plan had been to hike in and back out, or perhaps hitchhike from the far end if necessary. However, the rangers explained that, at that time of year, some sections of the canyon had water up to waist-deep, so they only recommended hiking a shorter section.
If we hadn’t already explored Peek-a-Boo and Spooky Gulch a few days earlier, we probably would have given at least part of Buckskin Gulch a try. But since we’d already experienced something very similar, we decided to save our time and continue towards our next destination: Reflection Canyon. Before the trip, we’d read countless comments claiming it was impossible to reach without a high-clearance 4WD. To be honest, we didn’t completely believe them. Because we’d already visited several places where the internet insisted four-wheel drive was essential, only to discover our car handled them without any problems. This time, however… The internet was absolutely right. Reflection Canyon is one of those places where both high clearance and 4WD really are essential. After taking a careful look at the road conditions, we decided it simply wasn’t worth risking damage to our car.
So we turned around and continued on our way. It might seem like that was the end of our Utah adventure… But in the end, we decided to try our luck in The Wave lottery after all. We didn’t want to completely rearrange our itinerary because of it, so we simply continued with our original travel plans. How did it all turn out? You’ll find out in the Arizona article.
Day 12 (October 25, 2025)
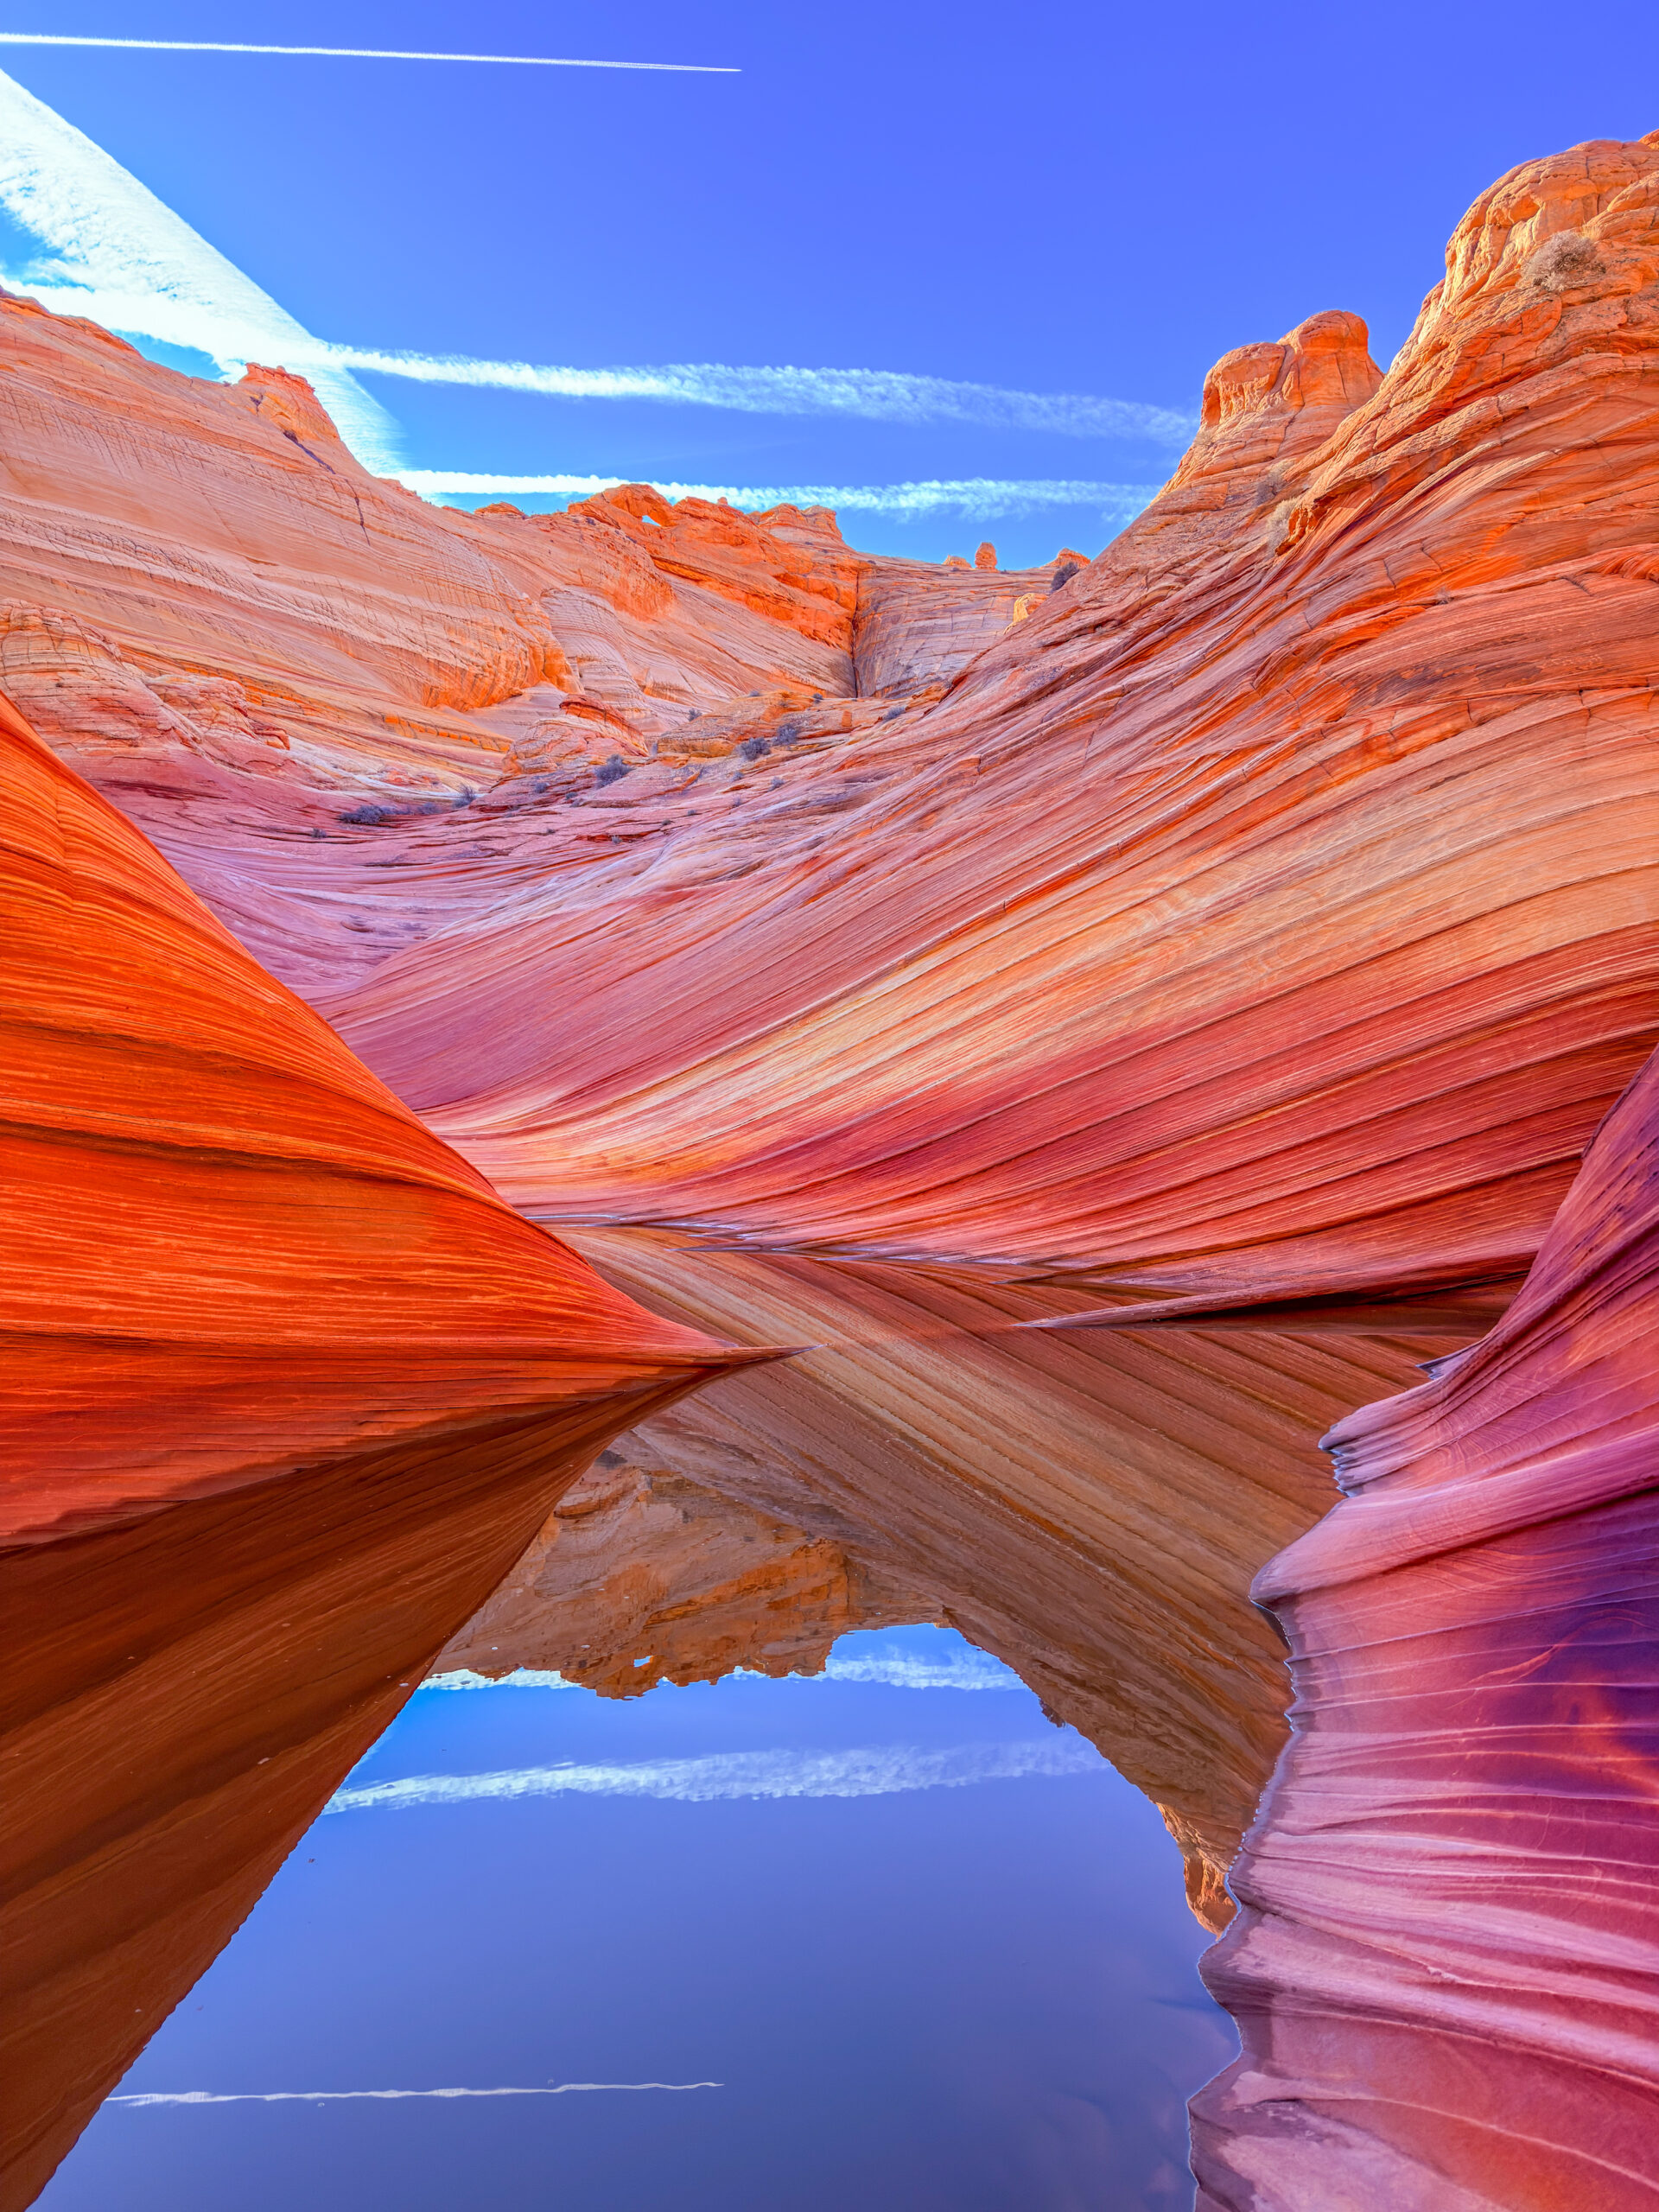
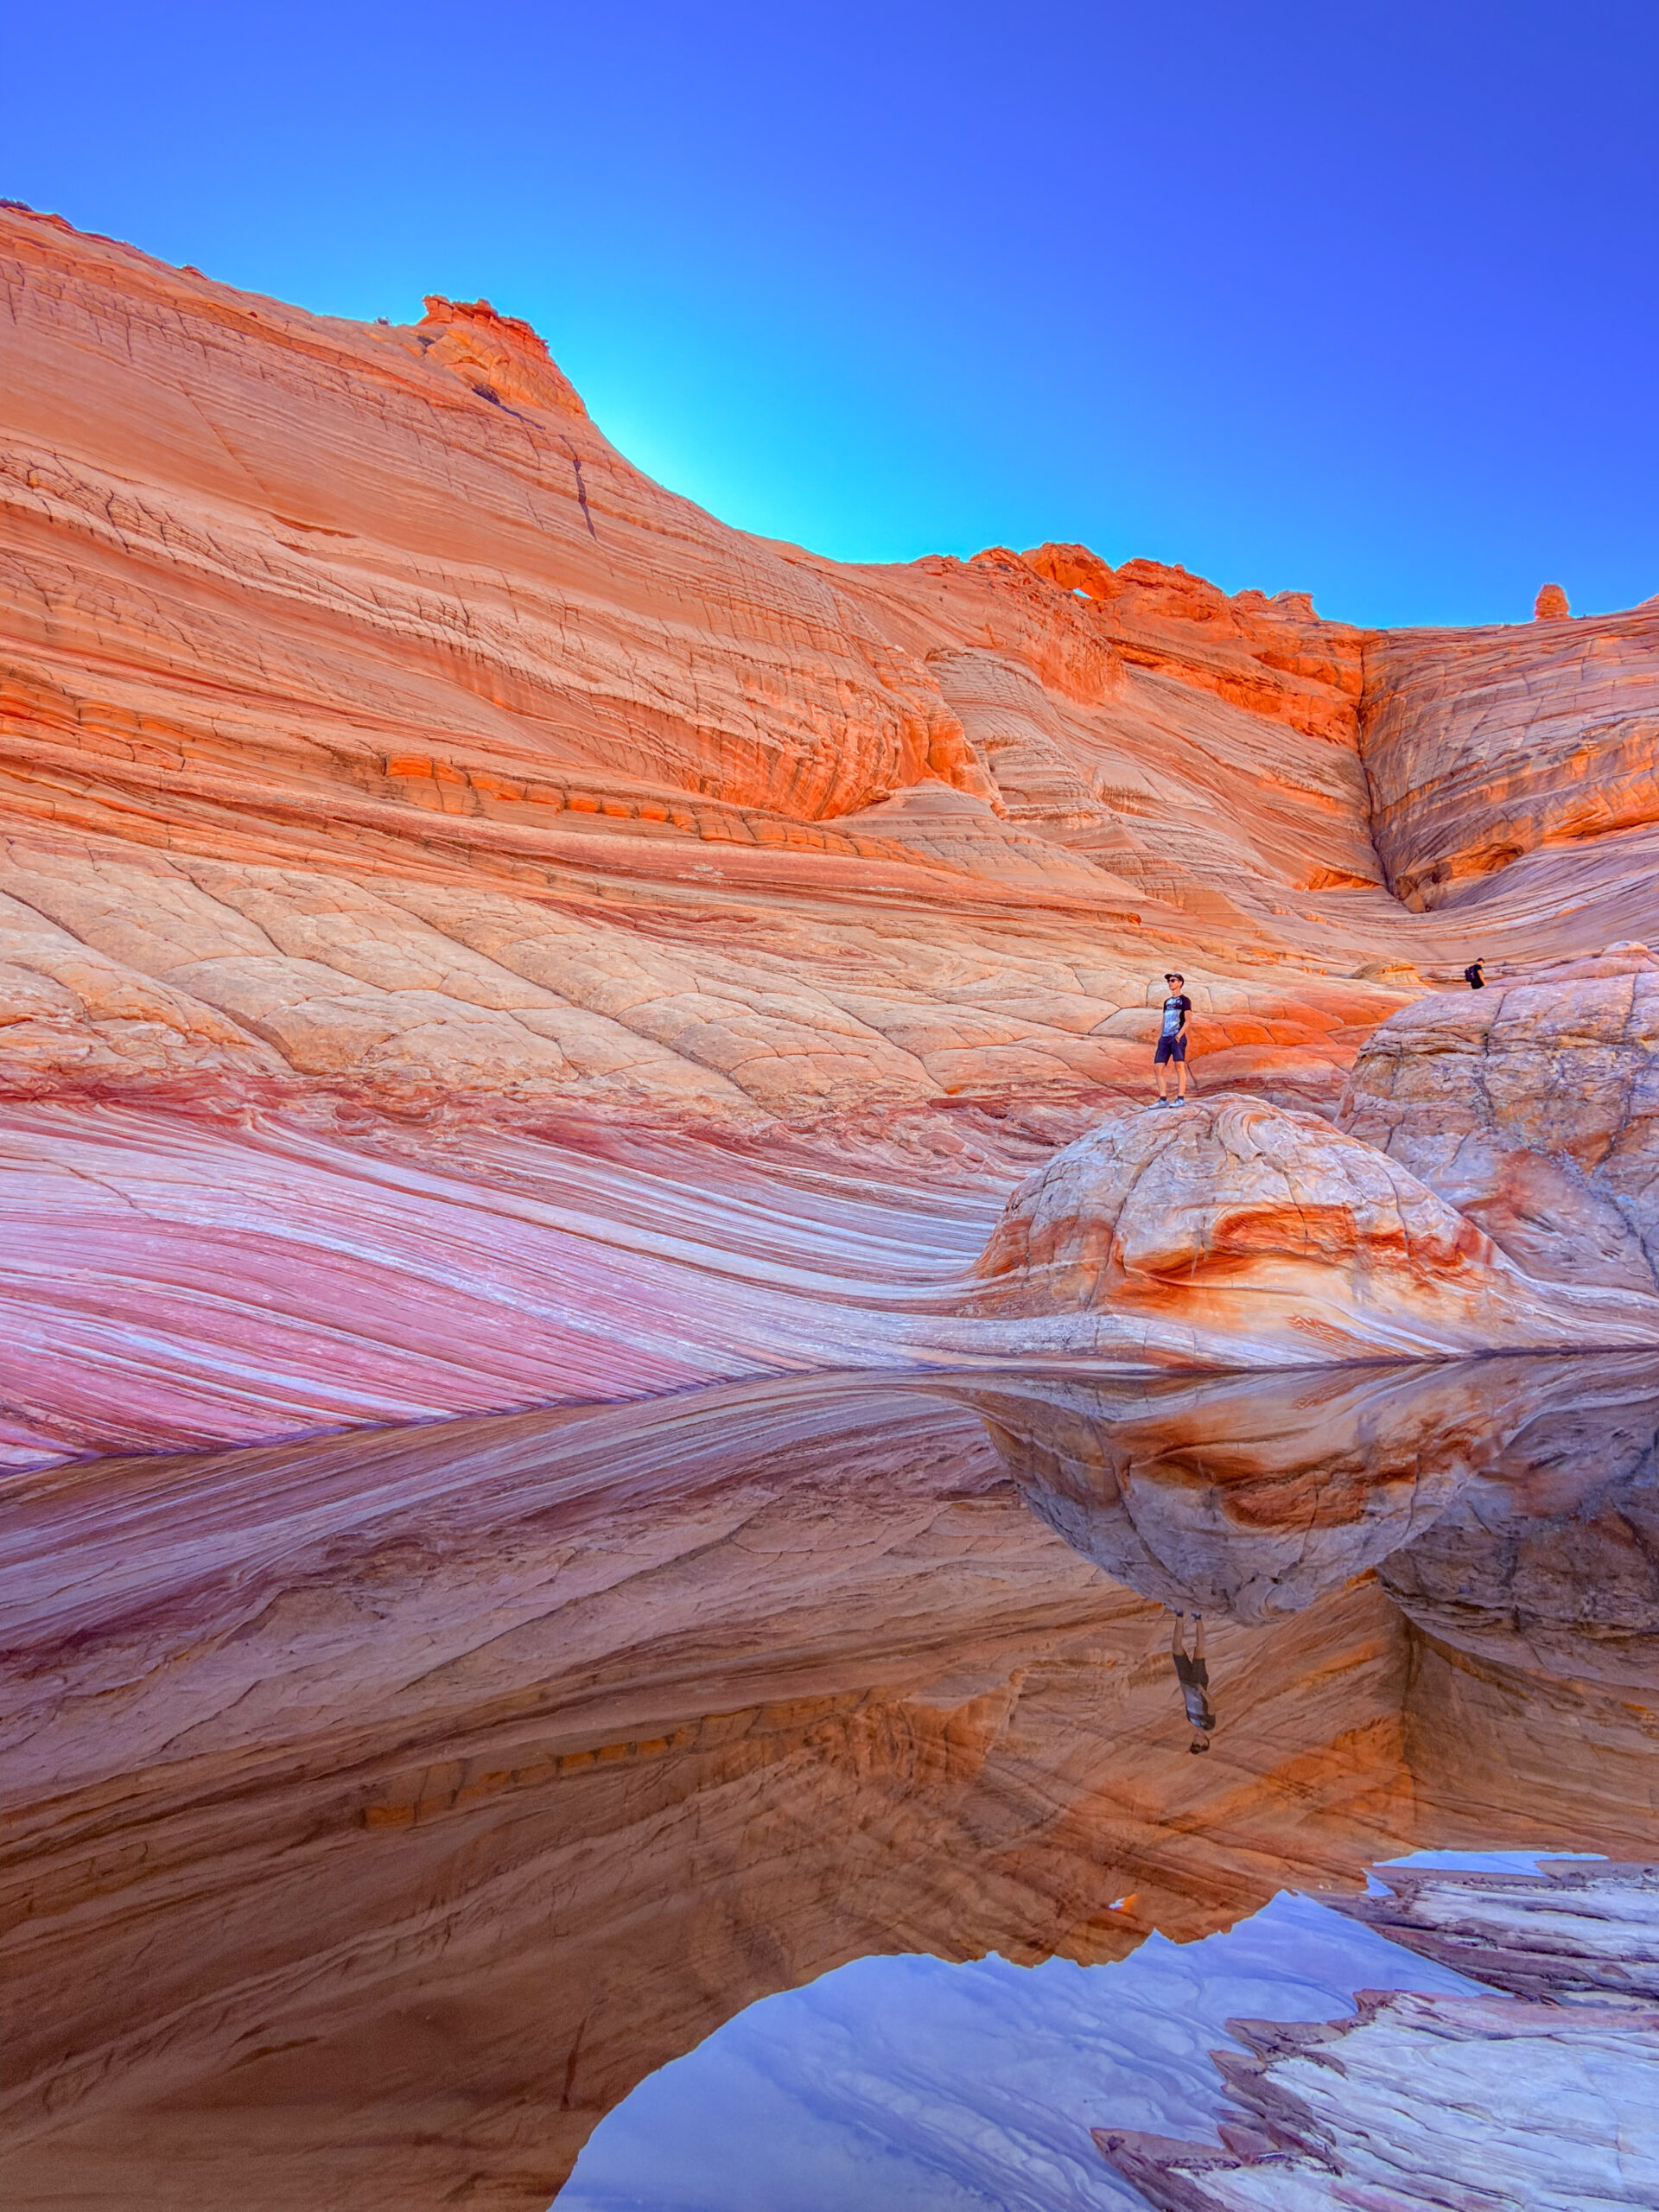
The Wave [16.35 km | ↑ 714 m | ↓ 714 m]
Cascade Falls [1.79 km | ↑ 60 m | ↓ 60 m]
As you may have guessed from the previous chapter, we actually got lucky in the lottery. To this day, I still don’t understand how. We were successful on our second attempt, and that could only mean one thing—We were heading back to Utah. Since we were already in Arizona at the time, we attended the mandatory orientation at the Page Visitor Center. At first, we thought it might be a bit unnecessary, but in the end we were really glad we went. The trail is barely marked with traditional signs, and only a limited number of people are allowed to visit each day. The ranger explained how to navigate the area, pointed out the most important landmarks, and warned us about several places where hikers most commonly lose their way.
That night, we camped at the beginning of the dirt road leading to the trailhead. It wasn’t the quietest place to spend the night since we were fairly close to the highway, but it had one big advantage—we didn’t have to wake up ridiculously early the next morning. Even so, we wanted to start hiking as early as possible, partly for photography and mainly to avoid the midday heat. There is very little shade along the trail.
We arrived among the first hikers of the day—quite possibly the very first. There were already a few vehicles in the parking lot, but we assumed those visitors were heading to Buckskin Gulch, because for quite a while we didn’t see a single person on the trail to The Wave. For several magical minutes, we had The Wave entirely to ourselves. After the recent rain, several shallow pools had formed between the sandstone waves, perfectly reflecting the surrounding rock formations. It looked absolutely unreal. Honestly, I felt like I was standing on another planet rather than on Earth.
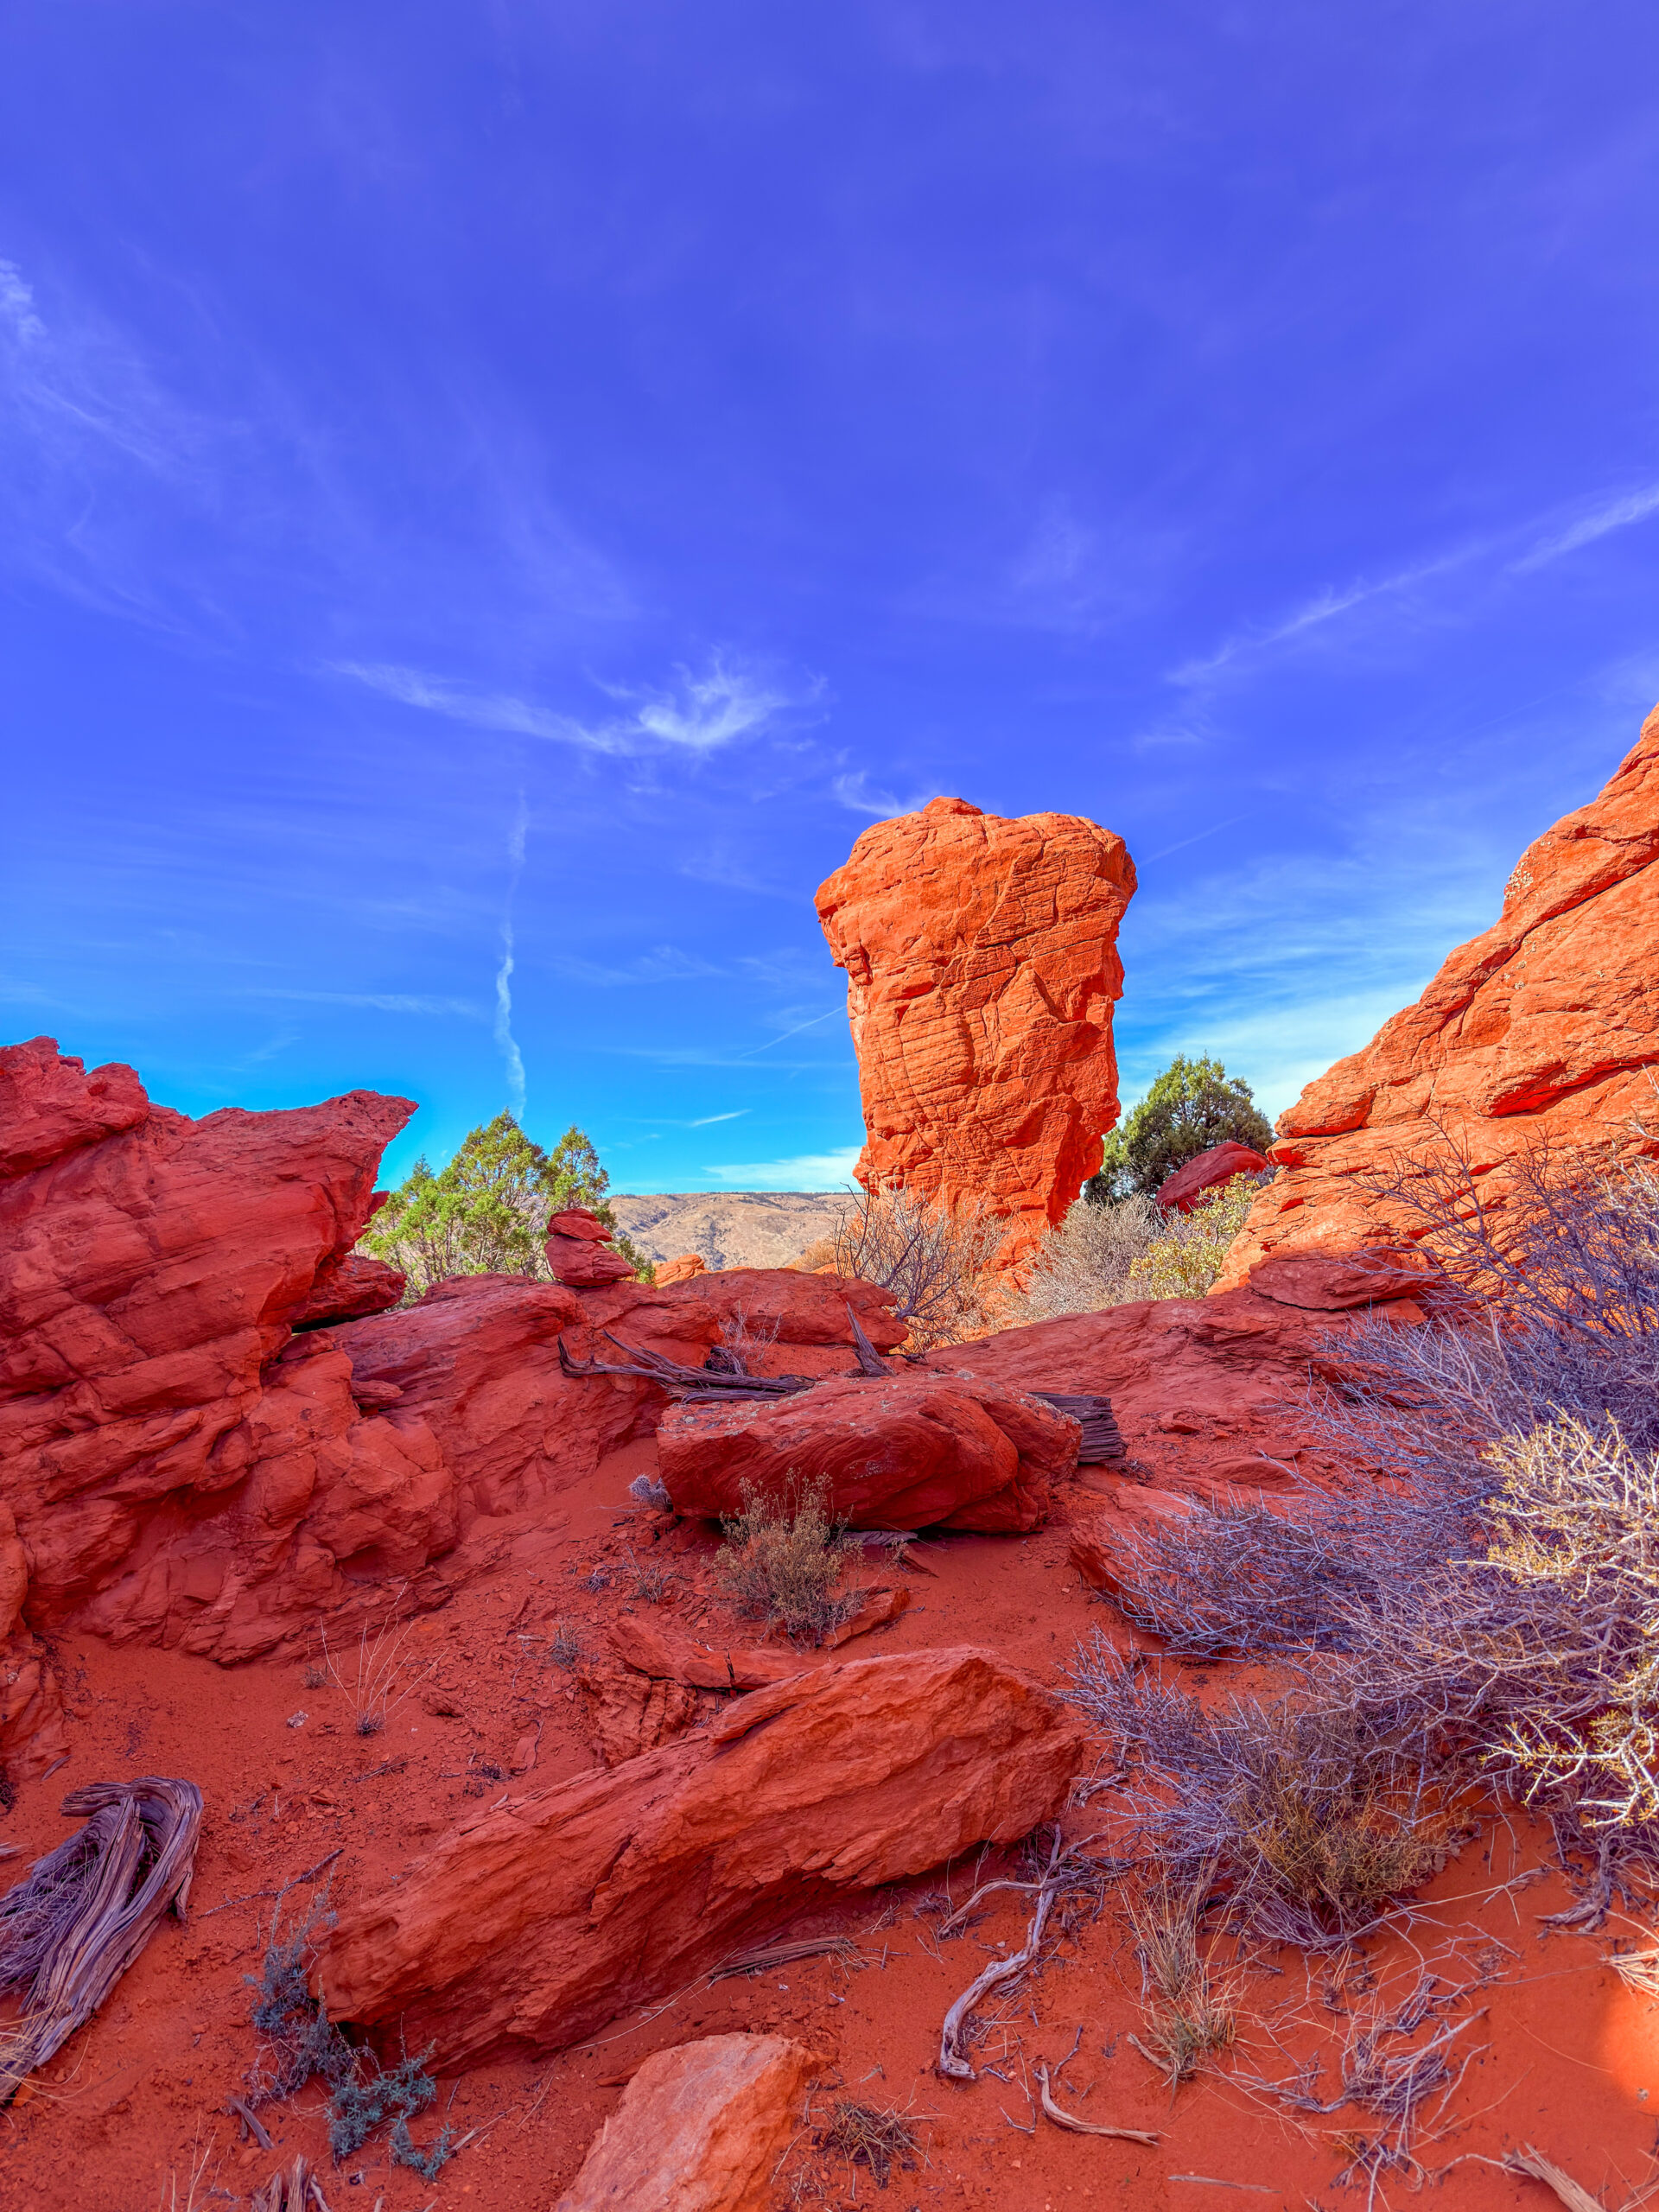
As more visitors slowly began to arrive, we decided to continue exploring instead of turning back. Rather than following the standard route, we extended our hike into a much larger loop. Most people hike around ten kilometres in total, but that wasn’t enough for us. Since we’d managed to get a permit for one of the most difficult places to access in the American Southwest, we wanted to make the most of every minute.
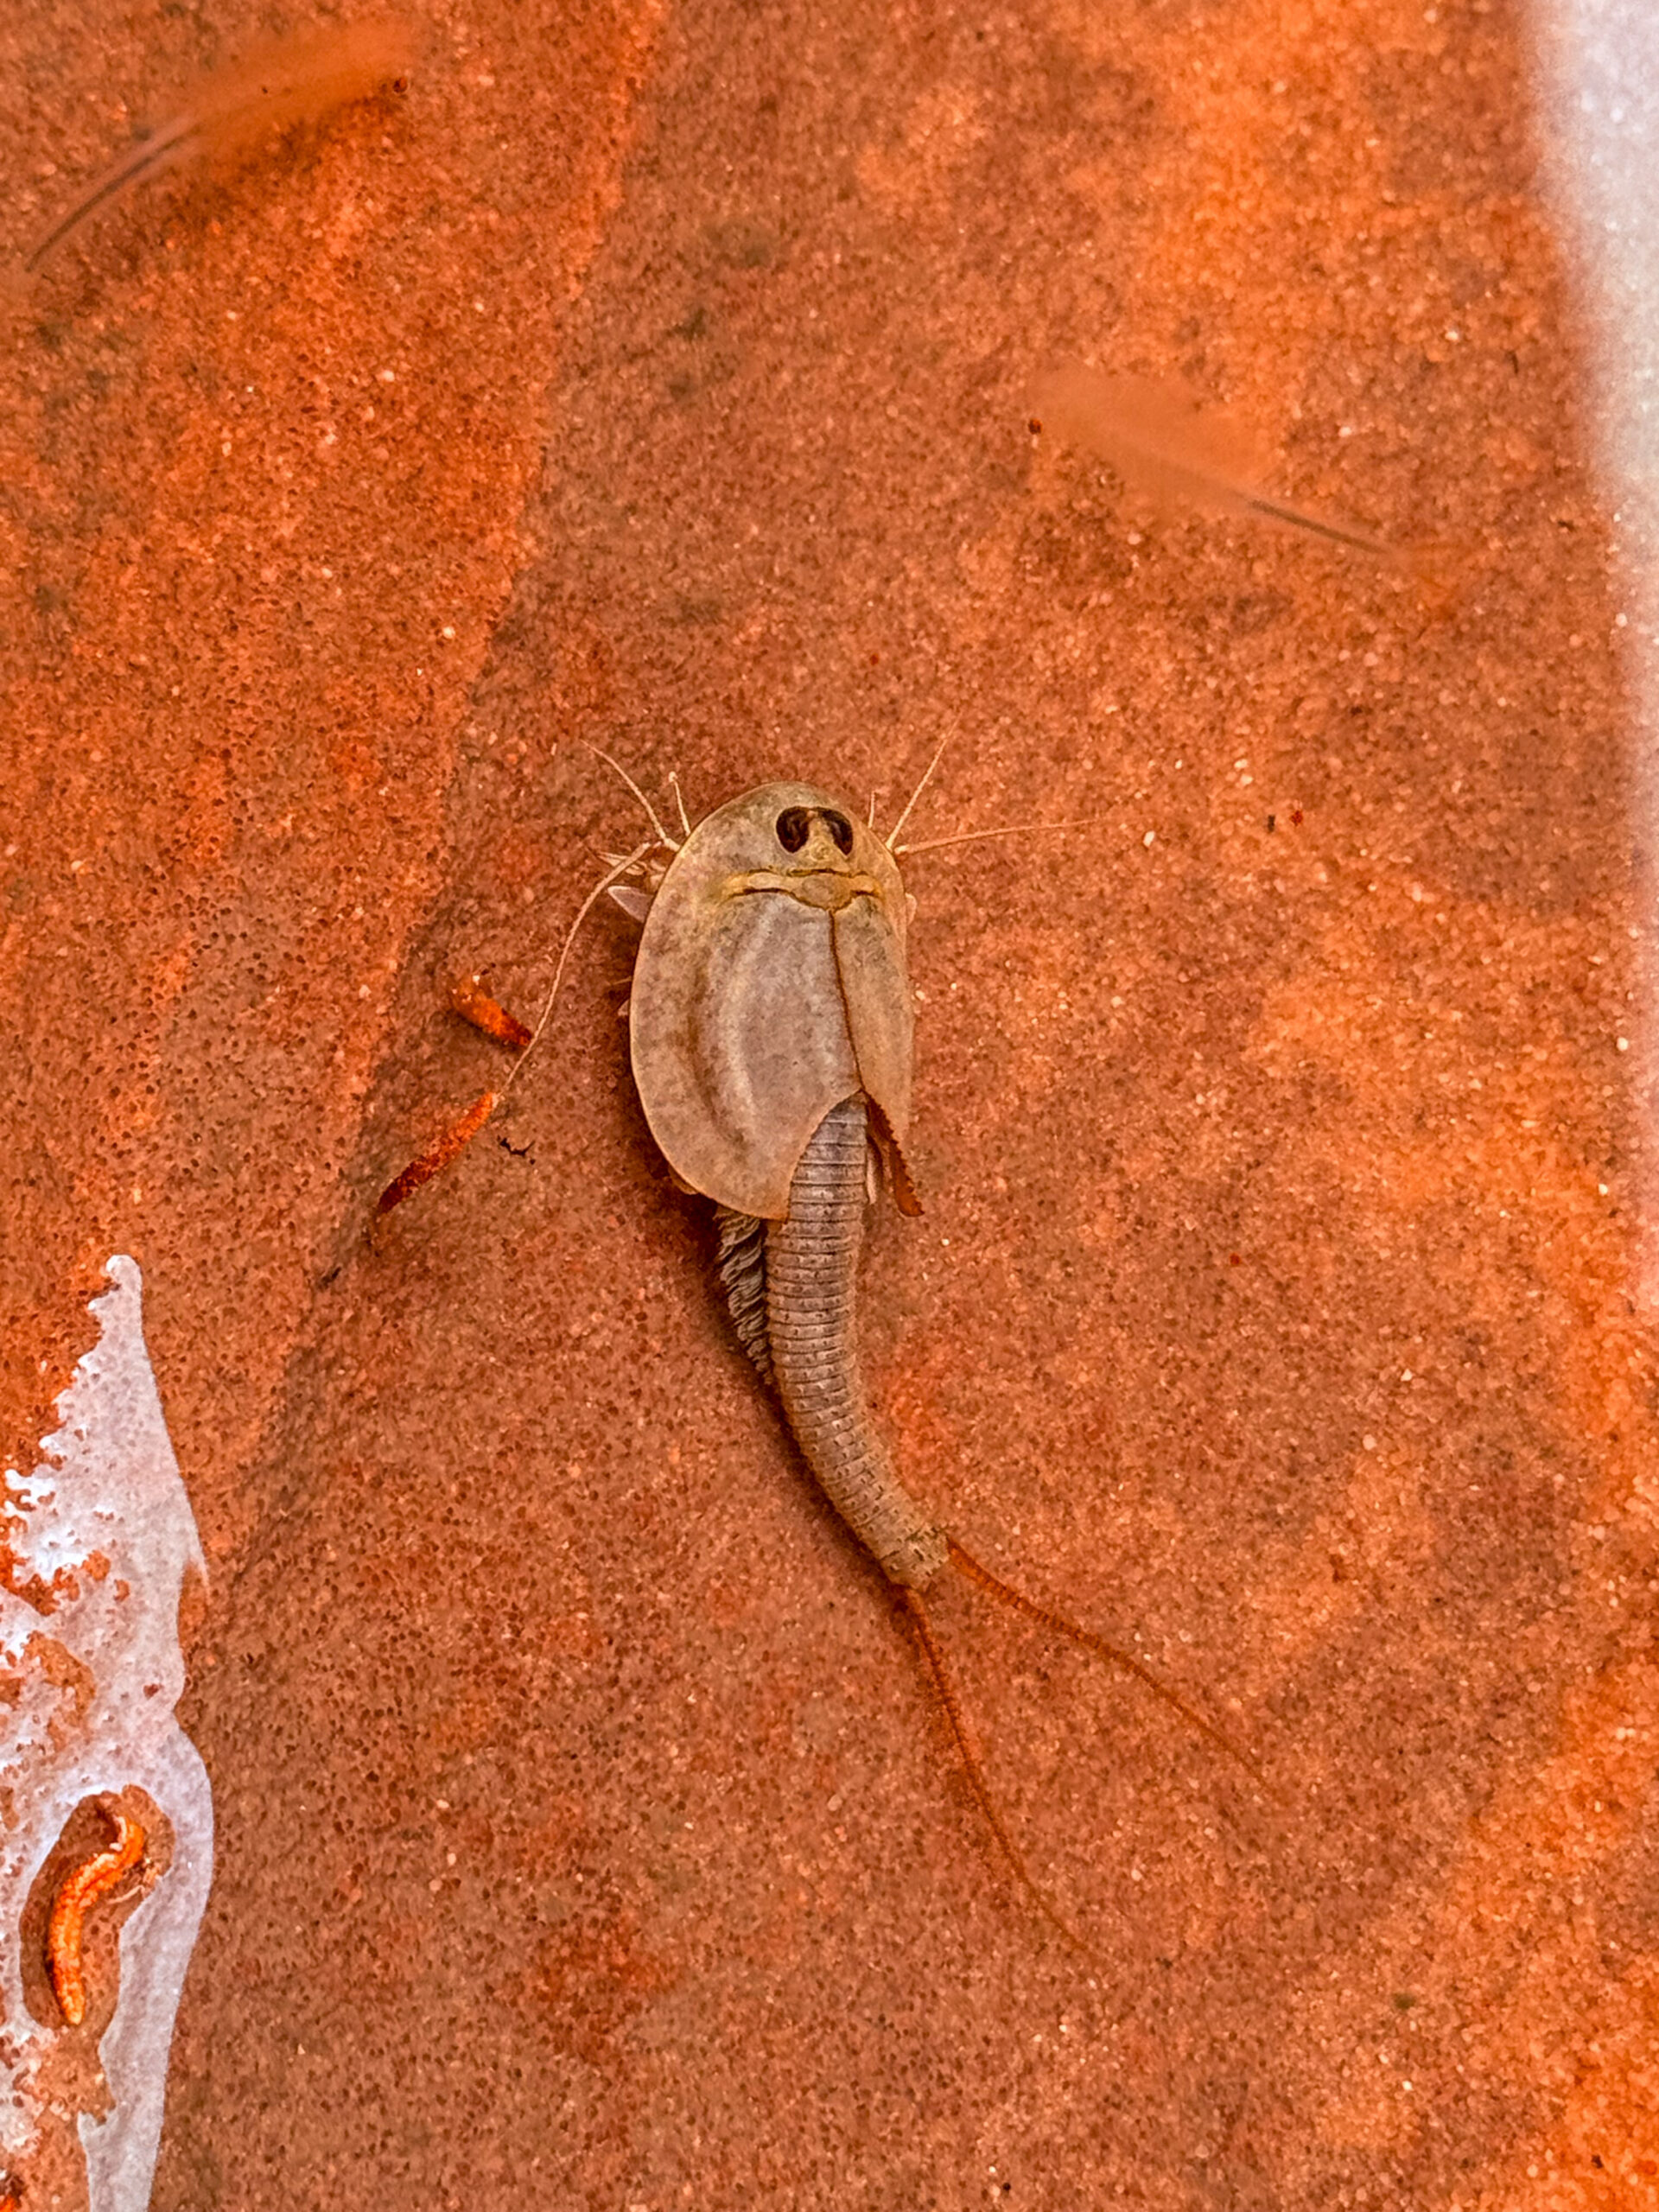
Of course, we stayed within the permitted area and navigated using the AllTrails app, which had worked flawlessly for us… Until it didn’t. At some point, we accidentally wandered off the route, lost our bearings, and spent a while rather aimlessly navigating between the sandstone hills. As if that wasn’t enough, I managed to stab my leg with some kind of desert plant. It wasn’t particularly painful, but I was surprised by how much it bled. Just to be safe, I took a photo of the plant so I could check later whether it might be poisonous. Fortunately, the wound dried quickly, there was no swelling or pain, and everything turned out to be perfectly fine.
After a while, we managed to find our way back to the correct route. We didn’t want to return the same way, so we completed the loop from above instead. If you ever visit The Wave, that’s actually the direction I’d recommend. You can make a complete loop around the area, and in my opinion it’s best done counterclockwise. Going the opposite direction means descending a fairly steep section of smooth sandstone, which I personally wouldn’t have enjoyed very much.
Before leaving, we returned to The Wave one last time. There was nobody else there, so we decided to take a short break for snacks and drinks. It wasn’t long before a volunteer working with the National Park Service stopped by to check our permit. About five minutes later, a group of around fifteen people arrived. For us, that meant only one thing. It was time to move on and keep our best memory of The Wave exactly as it had been—Absolutely peacefull.
There are several other iconic destinations in this part of the American Southwest. One of them is White Pocket. Just as with Reflection Canyon, we’d read countless comments saying you needed both a high-clearance vehicle and four-wheel drive to get there. Naturally, we wanted to see for ourselves. This time, though, there was nothing to debate. Right at the turnoff, a large sign clearly warns that you should not continue without a high-clearance 4WD. In other words, if you ignore the warning and something happens, you’ll likely find yourself in serious trouble. So we made the sensible decision and turned around.
We already knew we’d be back one day anyway. Our list still includes White Pocket, Reflection Canyon, and Rainbow Bridge National Monument, which can also be reached by boat. Those boat trips are fairly expensive, however, and they’re also dependent on the water level of Lake Powell, so they aren’t available year-round.
Our next stop was Cascade Falls. We reached the “waterfall” while there was still daylight… Except there wasn’t actually a waterfall. I’m not sure whether it was because of the long dry summer, low water levels, or simply bad timing, but there was no water at all. So unless you’re simply looking for a peaceful walk away from the crowds, I’d honestly skip this stop.
Fortunately, the evening more than made up for it. As we drove towards our campsite, the sky began to glow in incredible shades of red, orange, and purple. It looked as though the entire sky was on fire. It was one of the most spectacular sunsets we’d seen during the whole trip, and the colours lingered long after the sun had disappeared below the horizon.
Then, once we arrived at our campsite, another surprise was waiting for us. The moment we stepped out of the car, we were “greeted” by freezing air. Every step was accompanied by the unmistakable crunch of frost beneath our feet. After spending the day in the desert heat, it felt incredibly strange. Good thing we have sleeping bags rated to around −6°C (21°F) for comfort, because this turned out to be one of the coldest nights of our entire road trip.
Day 13 (October 26, 2025)
Alpine Pond [3.89 km | ↑ 100 m | ↓ 100 m]
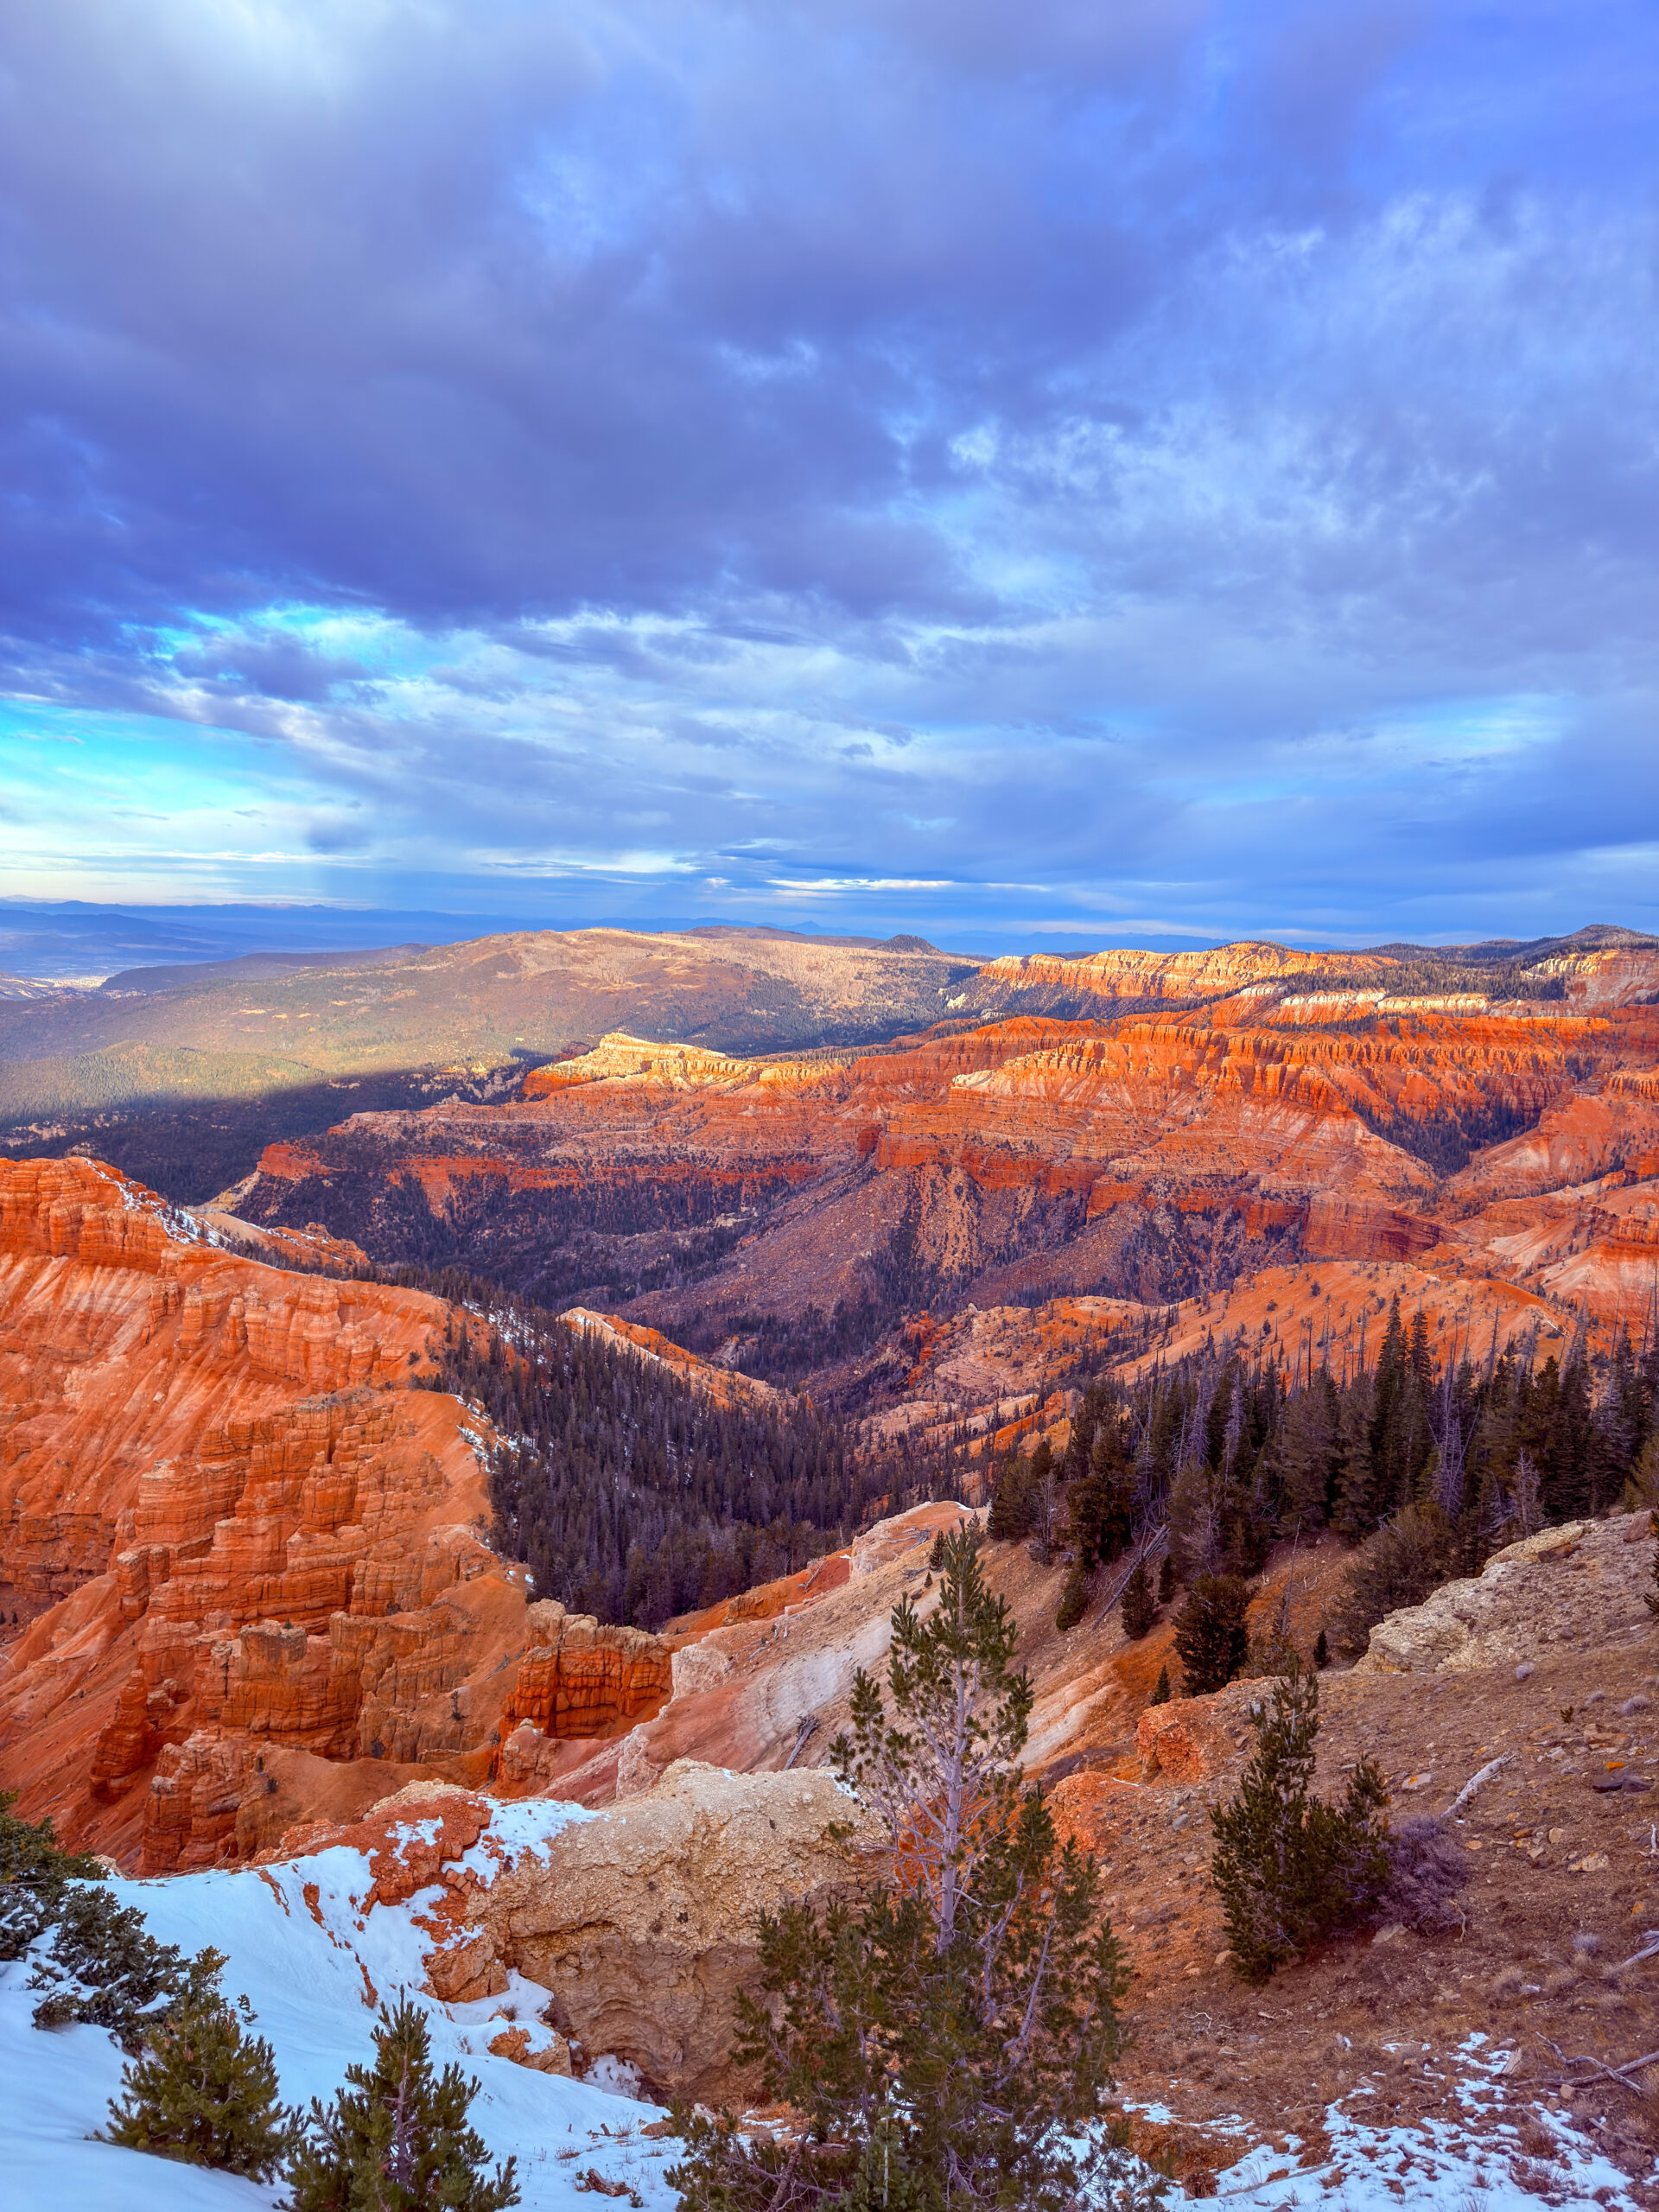
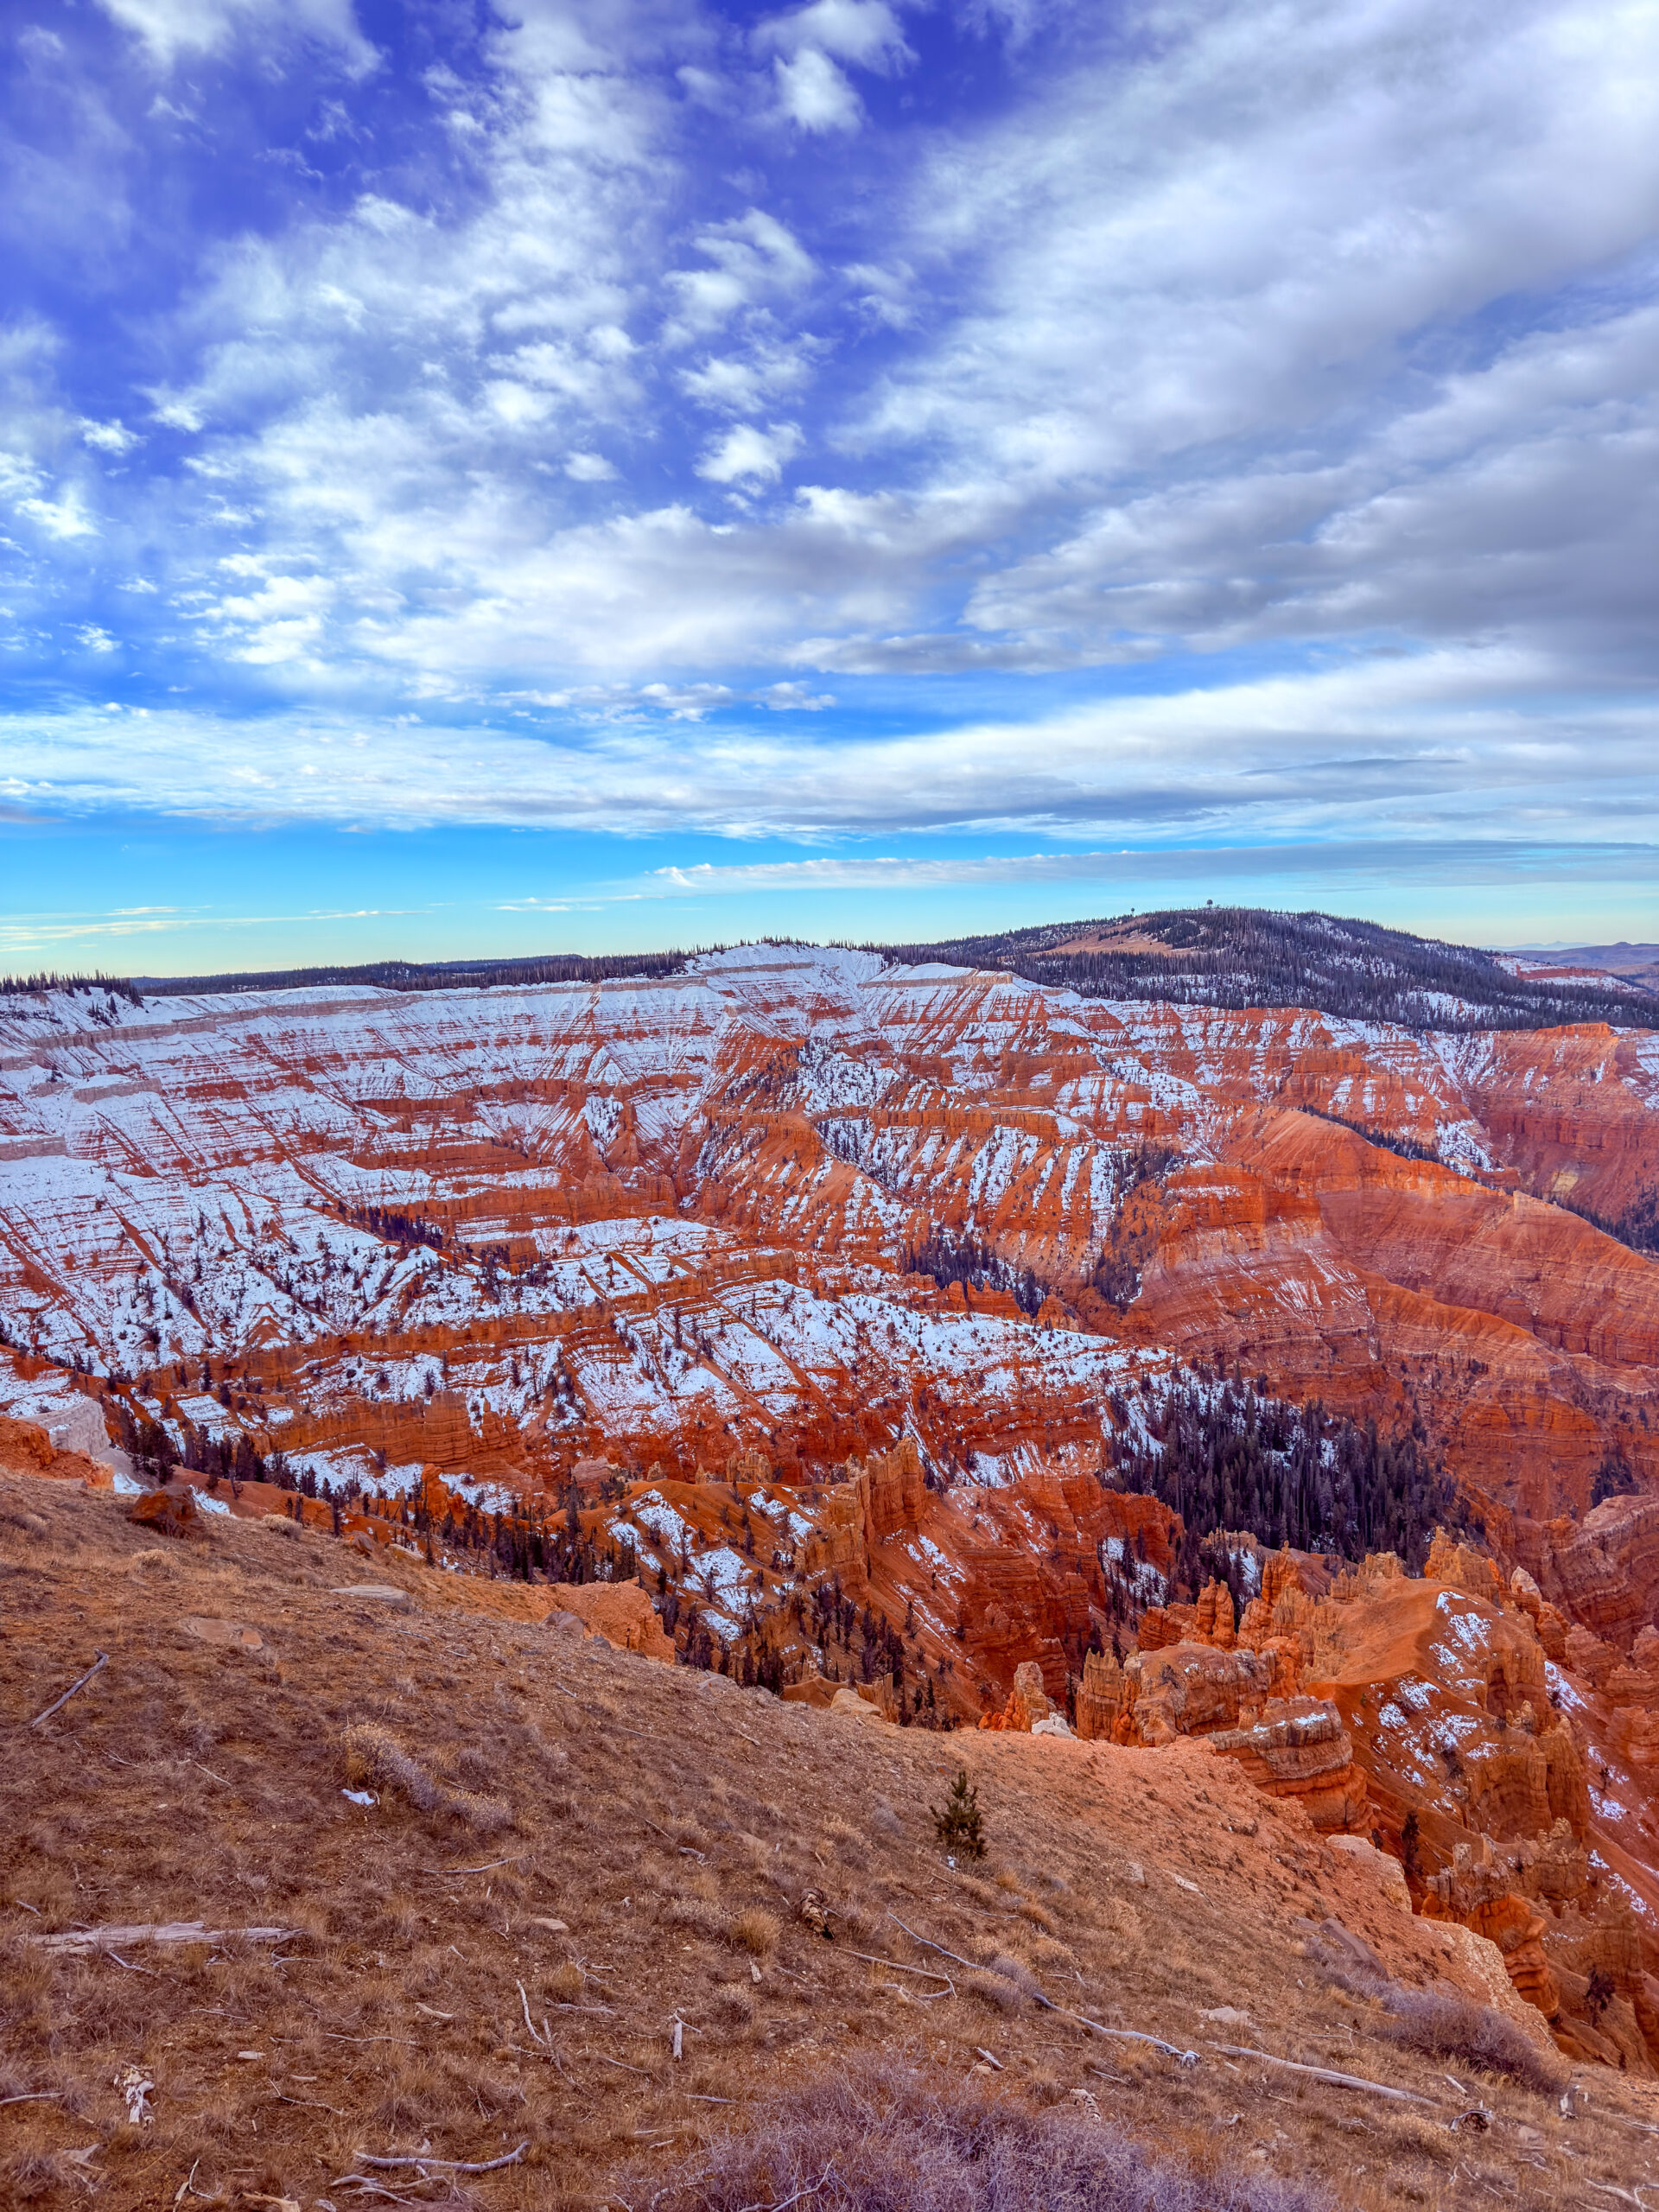
In the morning, we went for one final short walk in Utah to Alpine Pond. Even on the way there, I was fascinated by the surrounding rock formations. Their shapes reminded me of Bryce Canyon National Park, with one major difference-Everything here was covered in snow. What surprised me most was how unevenly the snow covered the landscape. In some places, there were several inches of snow, while just a few metres away there wasn’t a single trace of it. Still, I was happy to get at least a glimpse of what Bryce Canyon might look like under a blanket of snow.
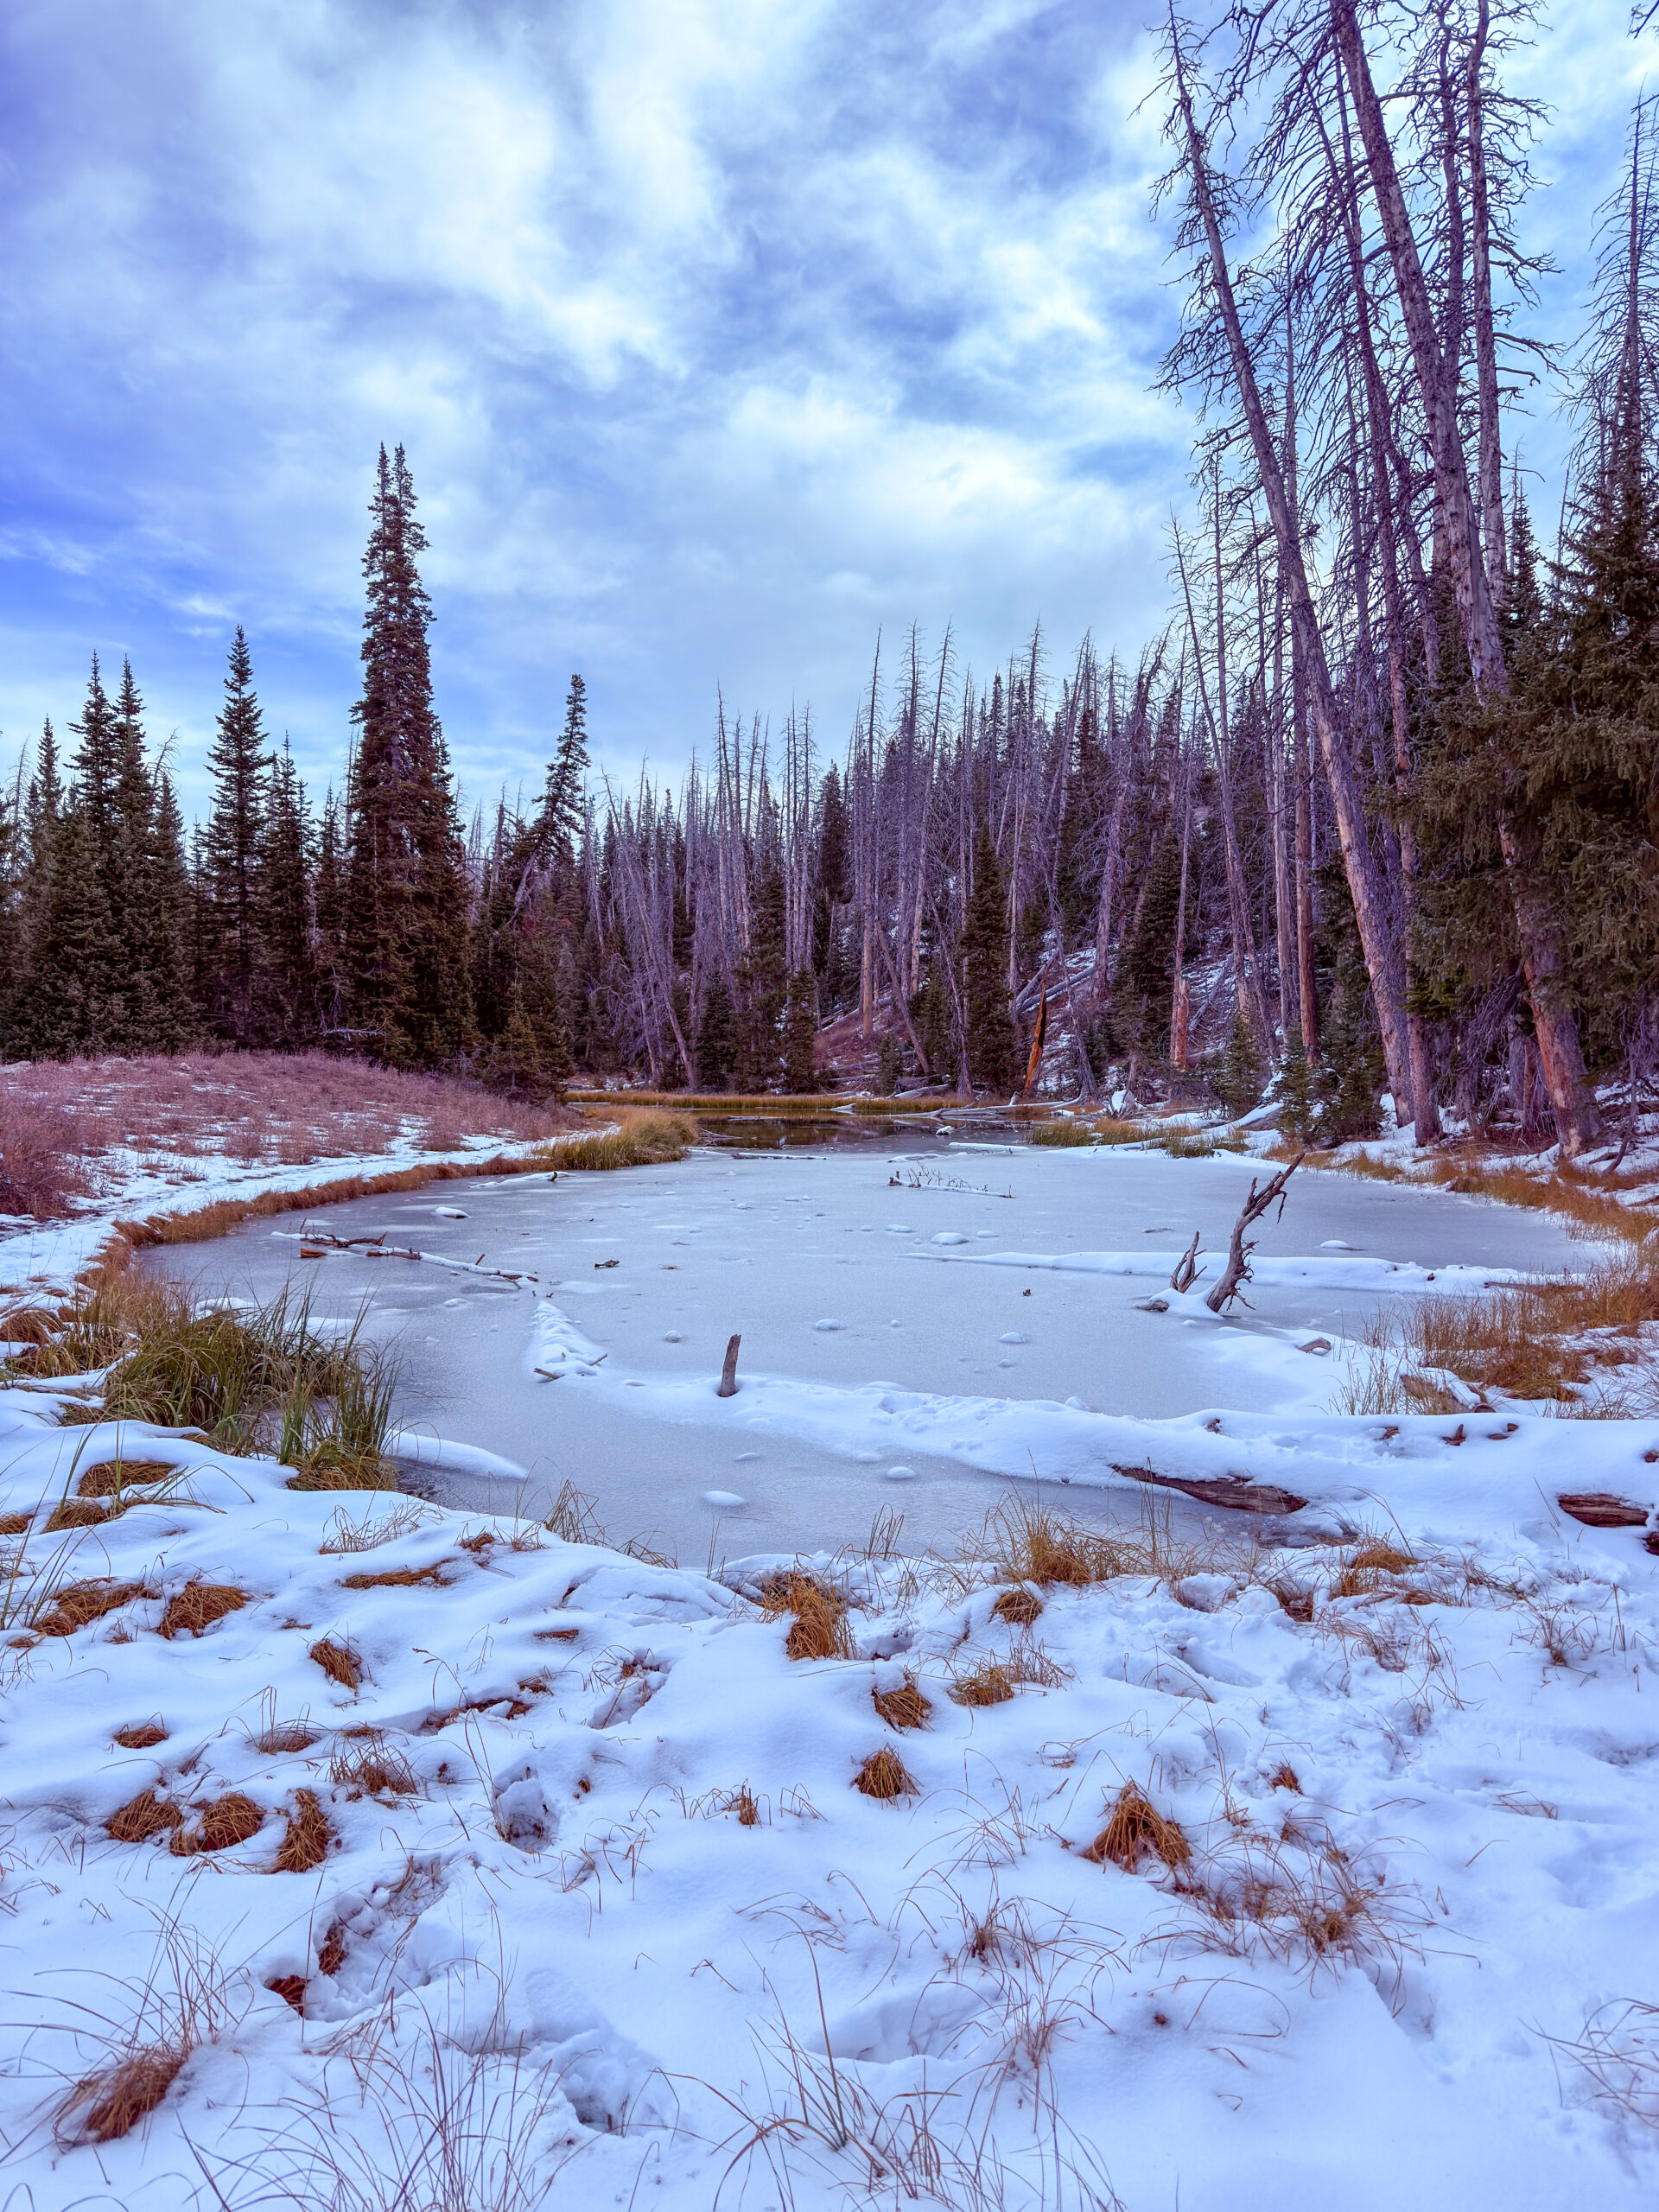
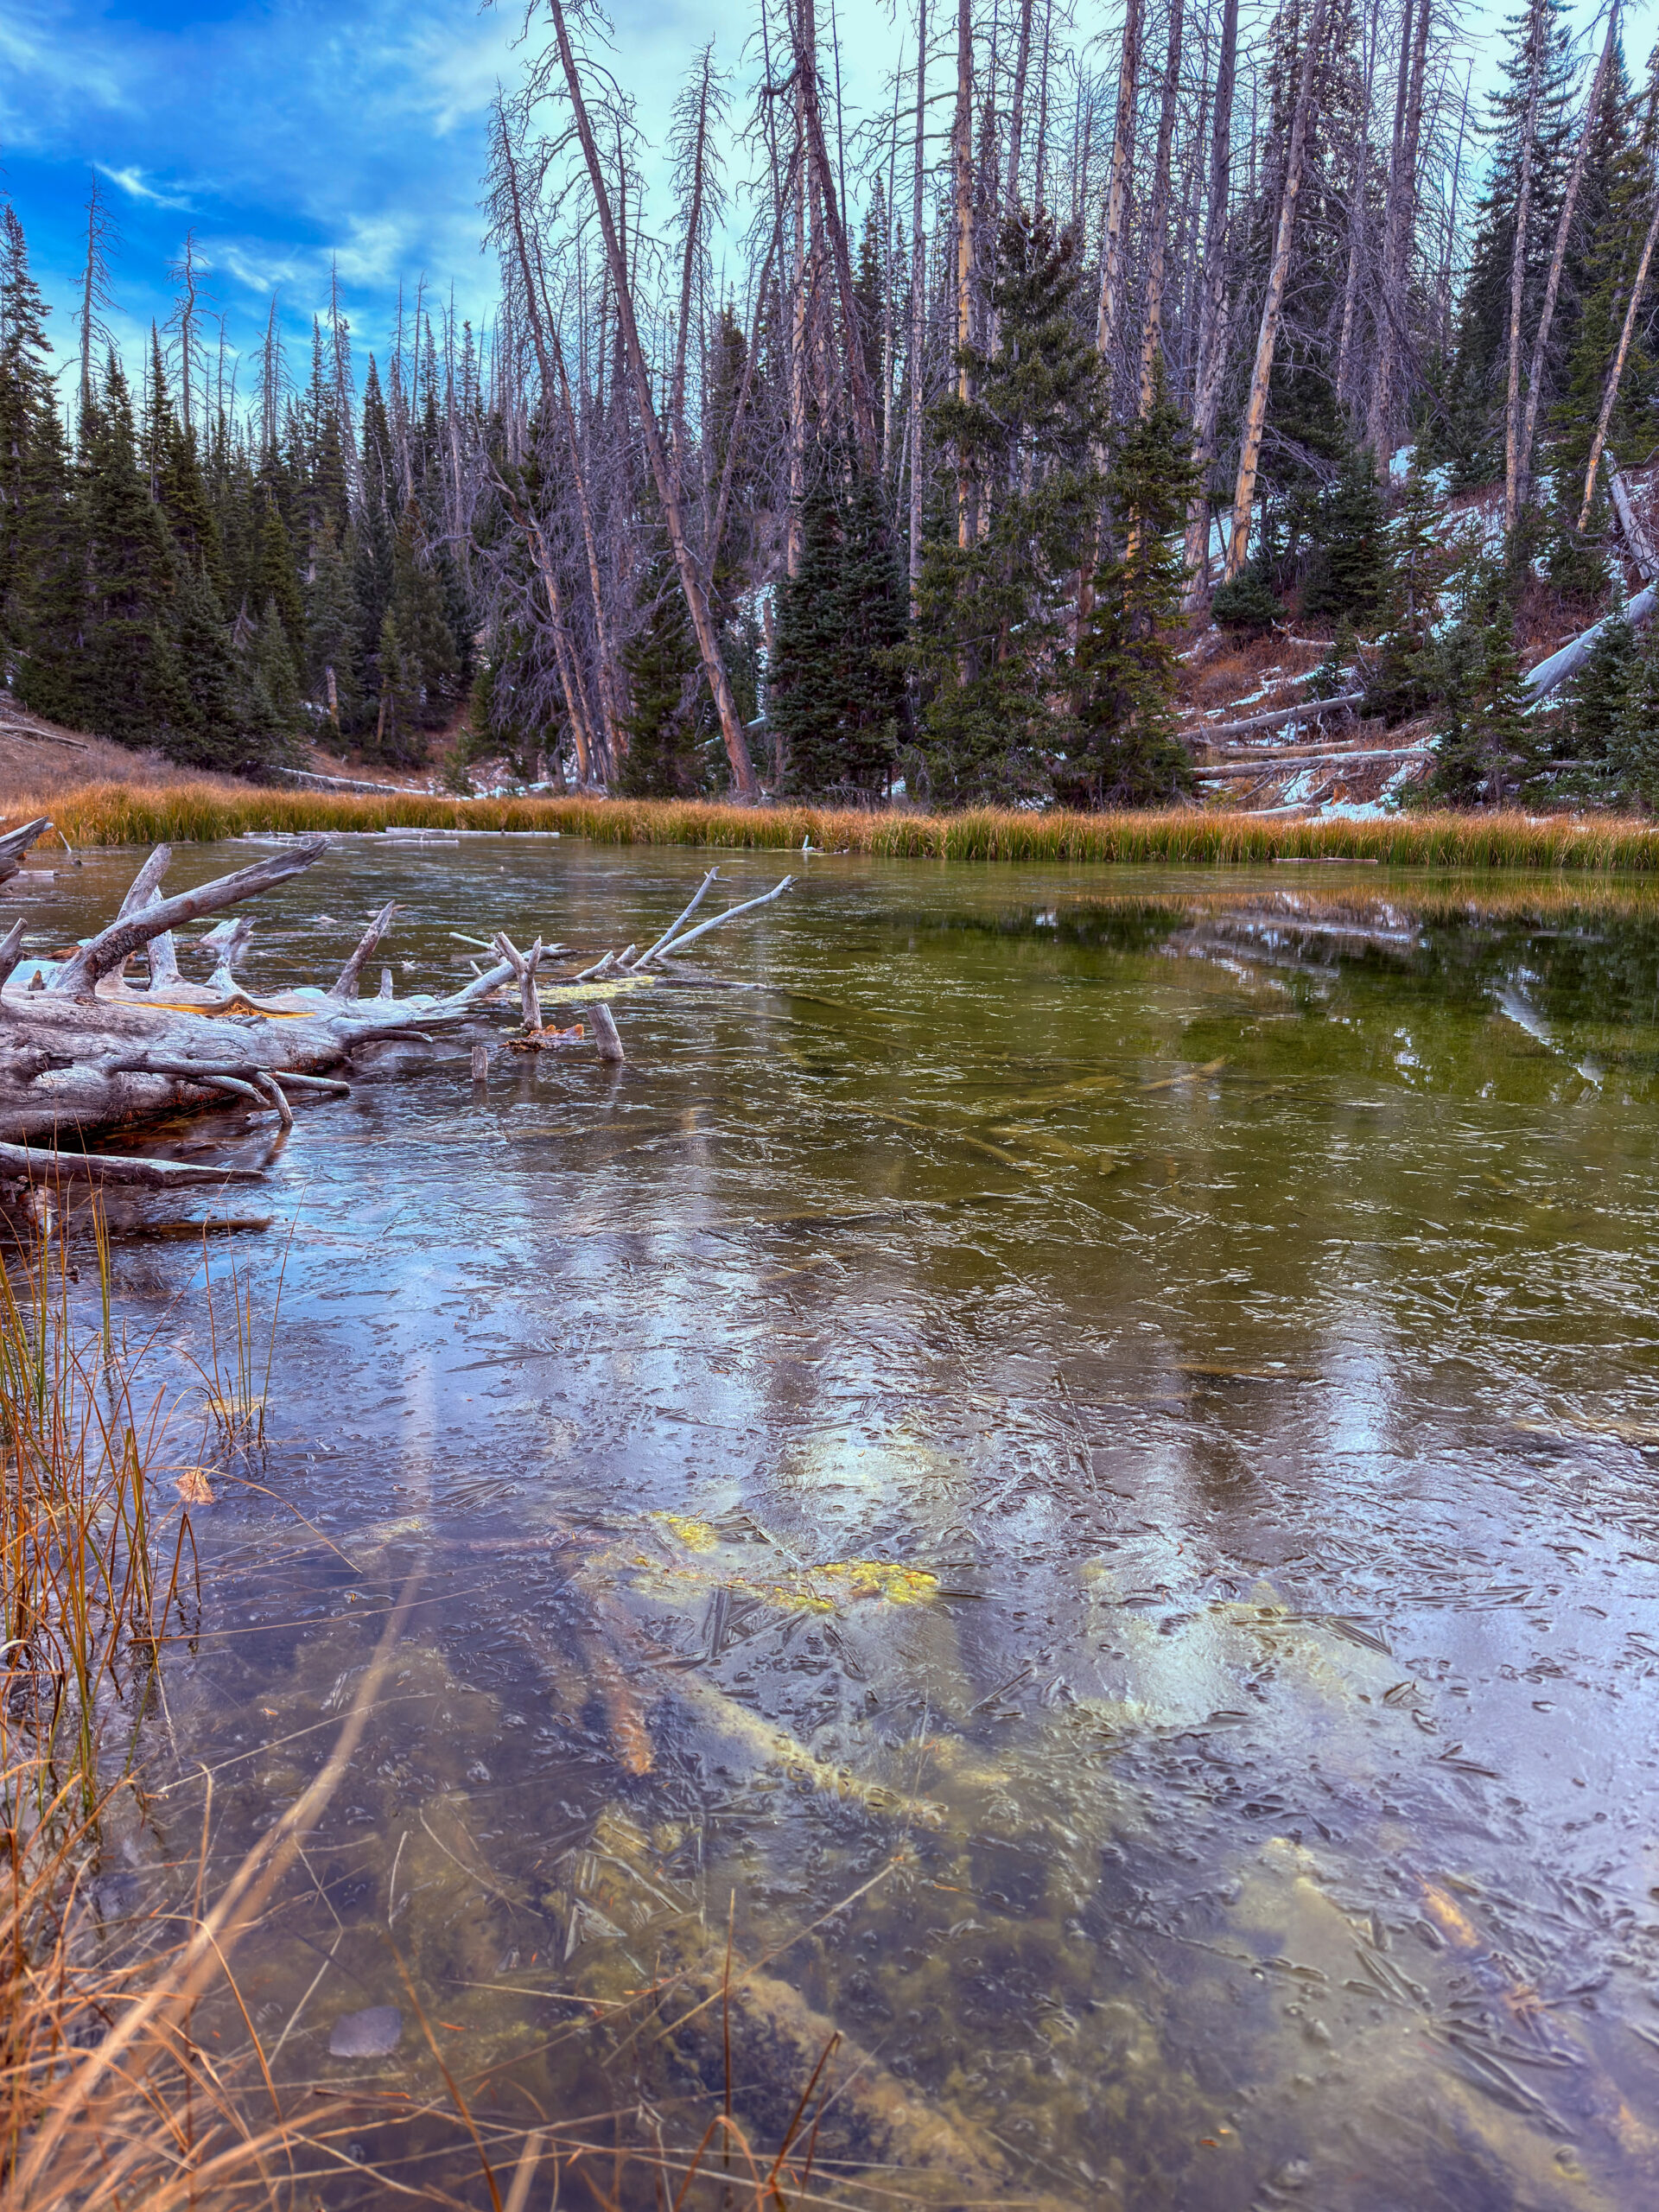
As we walked toward the pond, the frozen snow crunched loudly beneath our feet, giving the entire hike a beautiful winter atmosphere. The pond itself wasn’t completely thawed either. Thin sheets of ice still floated across the surface, creating delicate patterns and giving the whole place a peaceful, almost magical feeling.
As you’ve probably noticed from the way we travelled around the American Southwest, we were constantly adjusting our itinerary based on whatever happened along the way. For example, after winning the permit for The Wave, we actually turned around and drove back from the Grand Canyon National Park area to Utah. On top of that, we were supposed to meet our friends, we’ve met in Canada, Denise and Joe, in Arizona, but they couldn’t arrive until early November (I think it was around November 7th). Until then, we filled our time exploring lesser-known places nearby, such as Cascade Falls and Alpine Pond.
Eventually, though, we decided it was the perfect time to tick another dream off our bucket list—Las Vegas. Originally, we’d planned to visit it on our way back, but our entire road trip had been full of spontaneous changes from the very beginning. So once again, we rewrote our plans.
What we experienced in Las Vegas, and where our journey took us afterwards, you’ll find out in the next articles.
This trip was completely planned from day 1 but everything kept changing and I’m definitely not complaining
Approximate expenses for the whole 13 days and 2 people:
- Gas = $302.34
- Food = $178.05
- Permits = $32
- Others = $214.66
TOTAL: $727.05 (27.96USD/person/day)
 Low-cost tip:
Cook your own meals + sleep in car
Travel Q&A
Practical tips from our road trip that can save you time, money, and stress.
🚐 Where can you sleep in your car?
Sleeping in your car is one of the easiest ways to travel low-cost — but knowing where it's legal and safe is key.
Read full guide⚠️ Travel Smarter: Save Money, Stay Safe & Know Bear Country
Want to spend less and avoid common mistakes while traveling? Check out my practical tips on saving money on food and accommodation, plus essential advice for staying safe in places like bear country.
See my pro tips🎟️ How to find the best activities & experiences?
If we wanted to book a tours or unique experiences we use GetYourGuide to discover more — it can make planning much easier on the road.
🗺️ Want even more practical travel tips & itineraries?
I create itineraries based on real experiences from the road, including low-cost travel advice, sleeping spots, and practical planning tips. I've also added hotels for those who prefer more comfort.
Explore travel itineraries